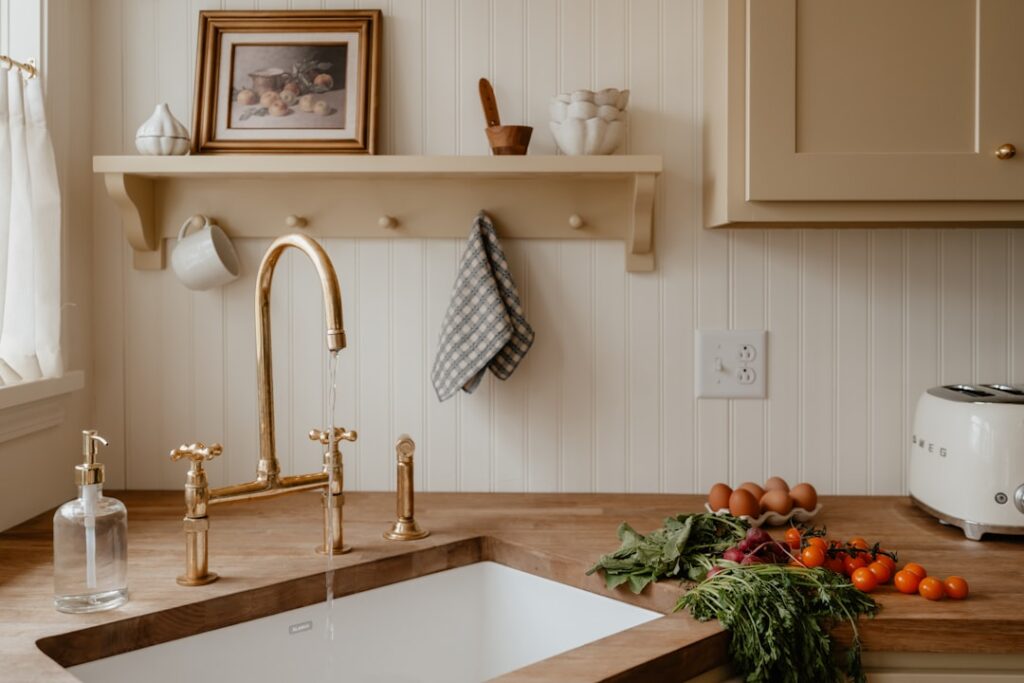
Mounting a faucet on the wall instead of the countertop was standard in farmhouse and commercial kitchens for generations, and it’s back in a big way. A wall mount kitchen faucet with sprayer frees up your entire counter and sink deck, wipes clean in seconds because there’s no base gunk to scrub around, and lends a striking industrial or vintage look that deck-mounted faucets can’t match. The catch is that installation is a plumbing-in-the-wall project rather than a drop-in swap, so understanding the rough-in requirements before you buy saves a lot of grief.
Part of our Kitchen Remodeling guide — explore the full guide →
Why Choose a Wall-Mounted Faucet
The appeal starts with the countertop. Because the faucet body and valves live inside the wall, your sink deck and the surface behind the sink stay completely open. That means no crevices around a faucet base collecting grime, easy wiping from edge to edge, and a clean, minimalist sightline. For deep apron-front farmhouse sinks, a wall-mount also solves a real problem: a tall wall faucet clears the high front of the sink far more gracefully than a deck faucet crowded behind it.
The integrated sprayer adds everyday function. Whether it’s a pull-down spray head or a separate side spray, it gives you the reach to rinse tall pots, fill containers off to the side, and clean the sink itself. Combined with the airy look, that practicality is why designers keep specifying wall-mount faucets in both modern and vintage-inspired kitchens.
Understanding the Rough-In Requirements
This is the part that trips people up. A wall-mount faucet’s water lines come out of the wall, not up through the countertop, so the plumbing must be roughed in at the correct height and spacing behind the finished wall. If you’re building or remodeling and the wall is open, this is straightforward. If the wall is already finished, you’ll need to open it up to run and position the supply lines.
- Center-to-center spacing — Most wall-mount kitchen faucets use 8-inch center-to-center spacing between the hot and cold inlets, though some use adjustable or 6-inch spacing. Confirm your faucet’s spec before roughing in.
- Mounting height — Position the faucet high enough that the spout clears your sink and any tall pots. A common target places the spout 8 to 12 inches above the sink rim, but measure against your specific sink depth.
- Spout reach — Make sure the spout extends far enough to pour into the center of the sink bowl, not the back edge, so water doesn’t splash off the basin lip.
Because there’s no faucet body to hide leaks inside the cabinet, the connections behind the wall must be solid, so many homeowners bring in a plumber for the rough-in even if they handle the finish install themselves.
Sprayer Styles: Pull-Down vs. Side Spray
Wall-mount faucets pair with a sprayer in one of two ways, and the choice affects both looks and function. A pull-down or pull-out design integrates the spray head into the spout itself; you grab the head and pull the hose out to rinse, then it retracts back into place. This keeps the look clean and puts the spray exactly where the water already flows.
A separate side sprayer mounts as its own unit beside the faucet, connected by a dedicated hose. It’s the more traditional farmhouse and commercial look and lets you spray without disturbing the main spout. Side sprayers are easier to replace if they wear out but add a second penetration point to plan for. Commercial-style pre-rinse faucets, with their tall spring-arm sprayers, are a dramatic third option popular in serious cook’s kitchens.
Materials and Finishes to Consider
Spend for a solid brass faucet body if you can. Brass resists corrosion and holds up to decades of daily use, whereas cheaper zinc-alloy bodies can fail sooner. Ceramic disc valve cartridges are the gold standard for drip-free performance and outlast the rubber-washer valves of older designs.
Finish is where you set the tone. Polished chrome and stainless suit modern and commercial looks, matte black makes a bold contemporary statement, and oil-rubbed bronze or brushed brass leans farmhouse and vintage. Whichever you pick, choose a finish rated for durability, since a wall faucet is a focal point and any wear shows. Trusted brands in this category include Kohler, Kingston Brass, Delta, and Waterstone.
Installing a Wall-Mount Faucet
Assuming the rough-in is in place and at the right height and spacing, the finish installation is manageable for a confident DIYer. Shut off the water supply first, then mount the faucet body or the mounting plate to the roughed-in supply nipples, using thread sealant on the connections.
- Verify the rough-in — Confirm the inlets match your faucet’s spacing and that they’re plumb and at the planned height before mounting anything.
- Connect the supplies — Attach the faucet’s inlets to the hot and cold lines, wrapping threads with PTFE tape or applying pipe dope for a leak-free seal.
- Seal the escutcheon — Fit the wall plate flush and caulk around it with silicone to keep splash water from getting behind the wall.
- Mount the sprayer — Install the side sprayer or seat the pull-down head, and route the hose so it retracts freely.
- Test thoroughly — Turn the water back on, run both temperatures, and check every connection for drips, watching the wall area closely for hidden leaks.
Protecting the Wall Behind the Faucet
A wall-mount faucet introduces one concern deck faucets don’t have: water hitting the wall. Splashing, drips, and steam all land on the wall surface right behind and around the spout, so that area needs to be waterproof and cleanable. In a kitchen, the wall behind a wall-mount faucet should be tiled, or at minimum finished with a durable semi-gloss or high-gloss enamel paint that sheds water, rather than flat paint that soaks it up and grows mildew.
Many homeowners run the backsplash tile up behind the faucet specifically for this reason, which also looks intentional and finished. Pay attention to sealing at the escutcheon, the wall plate where the faucet penetrates the wall, since any gap there lets splash water travel behind the wall to the studs and cause hidden rot or mold. A clean bead of mildew-resistant silicone around the plate, inspected and refreshed periodically, is cheap insurance against an expensive concealed water problem.
Maintenance and Common Repairs
Wall-mount faucets are as reliable as any quality fixture, but their in-wall valves make some repairs a bit different. The most common maintenance item is the same as any faucet: a worn cartridge causing a drip, which you replace by shutting off the water, removing the handle and trim, and swapping the cartridge. Because the rough-in valve is behind the wall, buy a model with a serviceable cartridge accessible from the front, which nearly all residential wall faucets offer, so you never have to open the wall for routine service.
Mineral buildup affects wall faucets like any other, so unscrew and soak the aerator or spray head in vinegar when flow weakens. For pull-down models, the retraction hose and weight can occasionally need adjustment if the head stops retracting fully. Keep the finish clean by wiping with a soft damp cloth and avoiding abrasive or acidic cleaners that dull the plating. Because the plumbing lives in the wall, address any drip promptly rather than letting it linger, since a slow leak you can’t see is more damaging than one dripping visibly into a sink.
What It Costs
The faucet itself ranges widely. Budget wall-mount kitchen faucets with a sprayer start around $150 to $250, mid-range models from major brands run $250 to $500, and premium solid-brass commercial-style units reach $600 to over $1,200. The bigger cost variable is installation. A simple finish install on existing rough-in might be a couple hundred dollars in labor, but if a plumber must open the wall and reroute supply lines, expect $400 to $900 or more depending on access.
Budget for the whole picture, not just the faucet. When the wall is already open during a remodel, adding a wall-mount faucet is a reasonable upgrade; retrofitting one into a finished wall costs more but still delivers the clean counters, easy cleaning, and standout style that make this faucet style so popular.