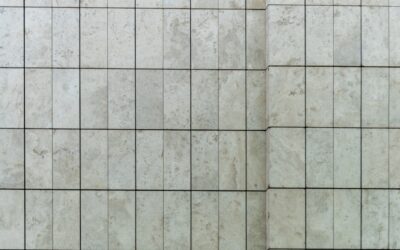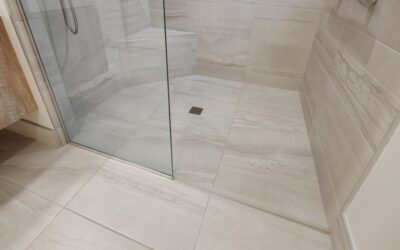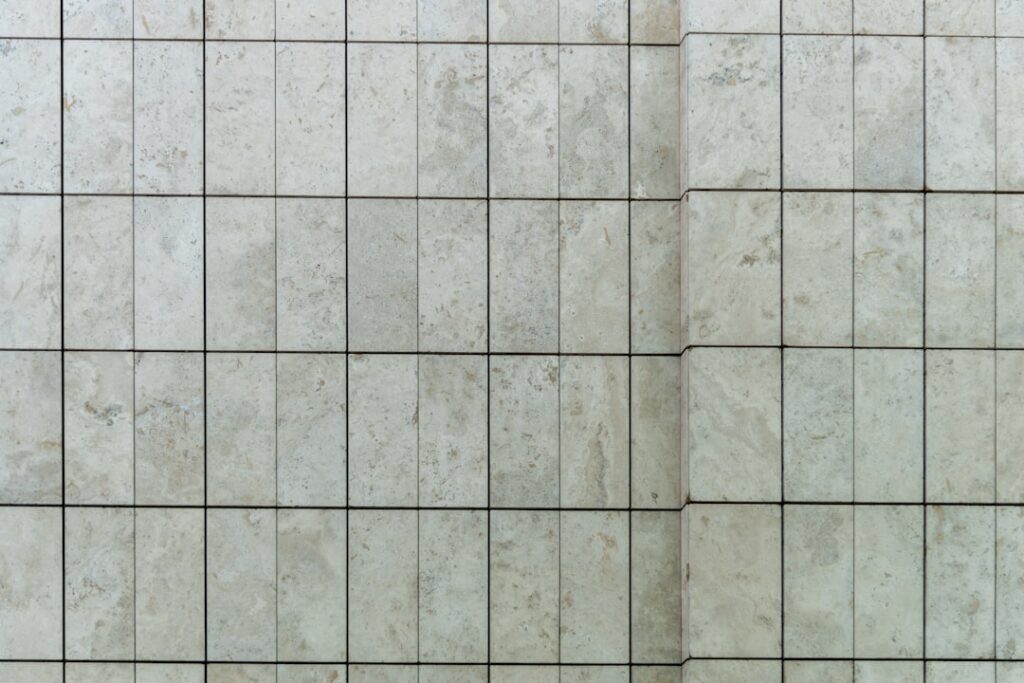
The fastest way to make a kitchen or bathroom look custom is rarely the floor; it is the wall. Walltile turns a plain painted surface into a backsplash, a full shower surround, or a feature wall that anchors the whole room, and it does it with a material that shrugs off water, grease, and daily scrubbing. Wall tile is also more forgiving and more affordable to install than many homeowners assume. This guide covers the tile types worth knowing, how to size and lay them out, what installation involves, and what you should expect to spend.
Wall Tile Versus Floor Tile
Not all tile is interchangeable. Wall tile is typically thinner and lighter than floor tile because it does not have to bear foot traffic, and many wall tiles have a softer glaze and a lower slip rating that would not be appropriate underfoot. Floor tile, by contrast, can almost always go on a wall, but a delicate wall tile should never go on a floor. When you shop, check the manufacturer’s rating to confirm the tile is approved for vertical use, and remember that a tile labeled for walls only belongs on walls.
Common Wall Tile Materials
The material sets the look, the durability, and the price.
- Ceramic: The classic, budget-friendly choice. Easy to cut, widely available, and offered in countless colors and finishes.
- Porcelain: Denser and more water resistant than standard ceramic, a strong pick for showers and wet areas.
- Glass: Bright, reflective, and popular for backsplashes and accent strips. Adds depth and light.
- Natural stone: Marble, travertine, and slate bring organic texture, but need sealing and gentler cleaners.
- Mosaic sheets: Small tiles mounted on mesh, ideal for curves, niches, and intricate patterns.
Sizes and Layout
Tile size shapes the feel of a room. Large-format tiles, say 12 by 24 inches, mean fewer grout lines and a clean, modern look that makes a small bathroom feel bigger. Classic subway tile at 3 by 6 inches reads timeless and works in nearly any style, while mosaics add detail and texture to niches and borders.
Layout is where personality comes in. A straight stack feels contemporary, a running bond (offset) is the traditional default, herringbone adds movement, and a vertical stack can visually raise a ceiling. Dry-lay a section before committing so you can balance the cut tiles at the edges and avoid a sliver-thin row in a conspicuous spot.
Where Wall Tile Earns Its Keep
Kitchen backsplashes are the most common project, protecting the wall behind the stove and sink while adding a finished look. Bathroom and shower surrounds rely on porcelain or properly sealed tile over a waterproofed substrate to keep moisture out of the wall cavity. Beyond the obvious, tile makes durable laundry-room walls, mudroom accents, fireplace surrounds, and even statement feature walls in living spaces.
What Walltile Costs
Material prices span a wide range. As a general planning guide, ceramic and porcelain wall tile commonly runs roughly $2 to $10 per square foot, with glass, decorative, and natural stone climbing to $15 to $40 or more. Installation typically adds about $7 to $15 per square foot depending on the complexity of the layout, with mosaics, herringbone, and niches costing more in labor than a simple straight set.
A modest kitchen backsplash of 30 square feet might land somewhere around $300 to $750 in materials plus installation, but these figures are estimates only. Local labor rates, tile choice, and prep needs swing the total, so gather at least three written quotes before you budget.
Installation Basics
Wall tile installation follows a clear sequence, and in wet areas the waterproofing step is non-negotiable.
- Prepare the substrate: cement backer board or a waterproof membrane in showers, smooth and primed drywall for dry backsplashes.
- Find the layout center and snap level reference lines.
- Spread thin-set with the correct notched trowel and set the tile, using spacers for consistent grout joints.
- Let the mortar cure, then grout, wipe, and seal as needed.
- Caulk the changes of plane and corners rather than grouting them, so they can flex.
A simple dry backsplash is achievable for a confident DIYer, but a full shower surround, where a waterproofing failure means hidden rot, is usually best left to a pro.
Grout and Sealing
Grout color dramatically changes the look: a matching grout makes the tile read as a continuous field, while a contrasting grout emphasizes the pattern and shape of each tile. Choose a grout rated for the joint width you are using, and in wet areas consider a stain-resistant or epoxy grout. Natural stone tile and many grouts benefit from periodic sealing to resist staining and moisture.
Care and Maintenance
Glazed ceramic and porcelain wall tile is among the easiest surfaces to keep clean: wipe with a mild cleaner and avoid harsh abrasives that can dull the glaze. Keep grout lines clean with a soft brush, and reseal stone and porous grout as recommended. Caulked corners eventually need refreshing, so plan to recaulk shower joints every few years to prevent leaks.
Design Ideas That Work
A few proven combinations make wall tile shine. A classic white subway backsplash with contrasting dark grout reads timeless and works in almost any kitchen. Large-format porcelain that mimics marble gives a luxurious shower wall without the maintenance of real stone. A vertical stack of slim tiles draws the eye upward and makes a low ceiling feel taller, while a herringbone accent behind a range becomes a focal point. For a bold but contained statement, tile a single feature wall or a niche in a vivid color or pattern and keep the rest neutral, so the room feels designed rather than busy.
Estimating How Much You Need
Buying the right quantity saves frustration and money. Measure the area to be tiled in square feet, then add overage for cuts, breakage, and future repairs. For a simple straight-set layout, a 10 percent overage is typical; for diagonal, herringbone, or patterned layouts, bump that to 15 or even 20 percent because those layouts generate more cut waste. Buy all the tile from a single production lot when possible, since dye lots vary, and keep a few spare tiles after the job for inevitable future repairs. Running short mid-project and discovering the lot has sold out is a classic, avoidable headache.
Is Wall Tile Right for Your Project
For any space that gets wet, splashed, or scrubbed, walltile is one of the most durable and design-flexible surfaces you can install. It costs more than paint up front, but it lasts for decades, cleans easily, and meaningfully raises the look and resale appeal of a kitchen or bath. Decide on the material and layout that fit your style, confirm the tile is rated for walls and for the moisture level of the location, and invest in proper waterproofing and installation. Done right, it is one of the highest-impact upgrades in the home.
Prefer to explore on your own?
See how new flooring looks in your actual room in seconds — free, no signup.
Try the free Floor Studio →