The edge of a tile installation is where amateur and professional work part ways. Raw cut tile edges chip, collect grime, and look unfinished, which is exactly the problem Schluter tile trim solves. Schluter-Systems is a well-known manufacturer of metal and PVC profiles that cap, protect, and finish tile edges and transitions. Used correctly, these profiles give corners, countertops, and floor edges a clean, durable, professional look while protecting the tile from chipping. This guide walks through the main profile lines, where each one belongs, and how to install them.
Part of our Tile & Grout guide — explore the full guide →
- What Schluter Tile Trim Does
- Common Schluter Profiles and Their Uses
- Choosing the Right Profile and Material
- Tools and Materials for Installation
- How to Install Schluter Tile Trim
- Common Mistakes to Avoid
- Choosing a Finish to Match Your Design
- DITRA and KERDI: Beyond Edge Trim
- Cost and Where It Pays Off
- Is Schluter Tile Trim Worth It?
What Schluter Tile Trim Does
Schluter profiles serve two jobs at once: protection and finish. They cover the exposed edge of tile so it does not chip under impact, and they give the edge a tidy, intentional border instead of a raw cut. Different profiles handle outside corners, transitions between flooring types, expansion joints, and decorative accents. The profiles come in anodized aluminum, stainless steel, brass, and PVC, in a range of finishes to match or contrast with tile and fixtures.
Common Schluter Profiles and Their Uses
Schluter makes many product lines, but a handful cover most residential projects:
- Schluter-JOLLY: The most common edge trim, used to finish and protect outside corners and the exposed edges of walls, countertops, and backsplashes.
- Schluter-RONDEC: A rounded edge profile that gives a soft, finished bullnose-style look for counters and wall corners.
- Schluter-SCHIENE: A straightforward edging and transition profile for floors and walls.
- Schluter-RENO series: Transition profiles that bridge tile to other flooring at different heights, such as tile to carpet or hardwood.
- Schluter-DILEX: Movement and expansion joint profiles that absorb stress and prevent cracking in larger installations.
Schluter also makes the well-known DITRA uncoupling membrane and KERDI waterproofing products, though those are underlayment and waterproofing systems rather than edge trim.
Choosing the Right Profile and Material
Match the profile to the job and the material to the environment. For a kitchen backsplash edge, JOLLY in a finish that complements your hardware is a classic pick. For a curved, softer counter edge, RONDEC works well. In wet areas and high-traffic floors, stainless steel and anodized aluminum hold up better than PVC. Brass and specialty finishes add a designer touch but cost more. Also confirm the profile height matches your tile thickness, since profiles are sold sized to common tile depths.
Tools and Materials for Installation
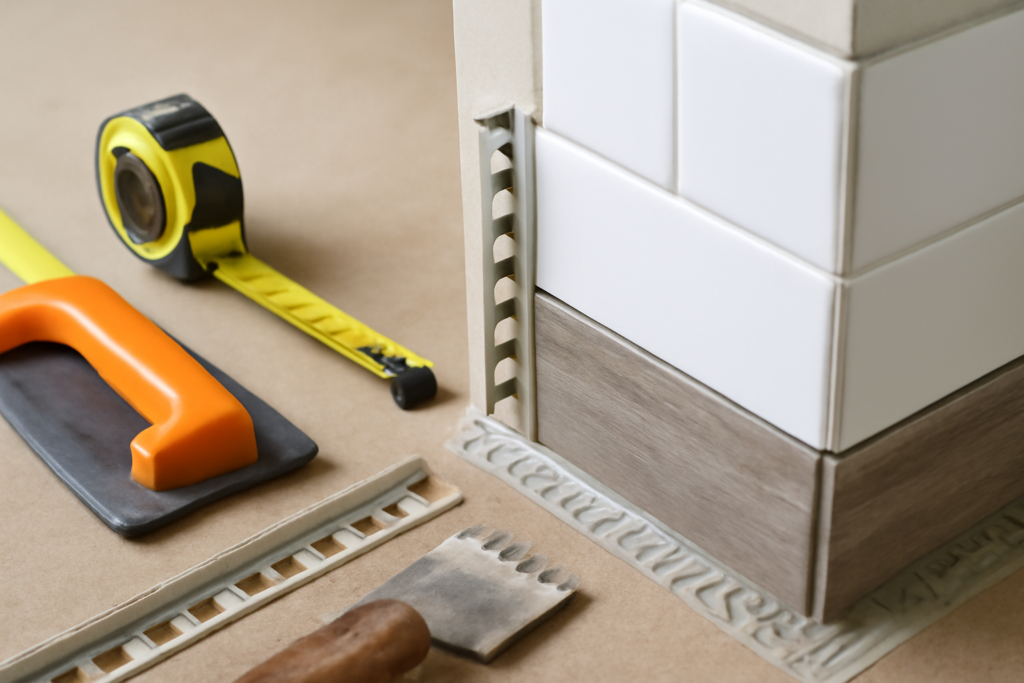
Installing Schluter trim alongside your tile requires only a few items beyond your normal tile setup:
- The correct Schluter profile sized to your tile thickness.
- Thin-set mortar, the same you use to set the tile.
- A hacksaw or miter saw with a metal-cutting blade for cutting profiles.
- A miter box or angle guide for clean corner cuts.
- A notched trowel, spacers, and a grout float.
How to Install Schluter Tile Trim
Trim is installed as part of the tile-setting process, not added afterward. The general sequence:
- Measure and cut the profile to length, mitering the ends for corners where two pieces meet.
- Spread thin-set on the substrate where the edge of the tile field will sit.
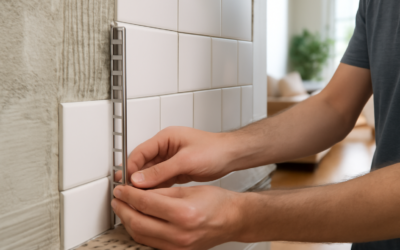
- Press the profile’s perforated anchoring leg into the thin-set so it lies flat and the visible edge stands at the right height.
- Set your tile up against the profile, embedding the anchoring leg under the tile.
- Maintain a consistent grout-joint gap between the tile and the trim’s edge.
- Let the thin-set cure, then grout the joint between the tile and the profile.
The key is embedding the perforated leg under the tile so the profile is mechanically locked in, not just glued to the edge.
Common Mistakes to Avoid
A few errors trip up first-timers. Choosing the wrong profile height leaves the trim sitting above or below the tile surface, which looks off and catches debris. Forgetting to miter corners produces ugly butt joints. Skipping the thin-set under the anchoring leg leaves the profile loose. And cutting metal profiles with the wrong blade leaves burrs, so always deburr cut ends with a file for a clean finish.
Choosing a Finish to Match Your Design
Schluter profiles come in a wide range of finishes, and the right choice ties the trim into your overall design. Brushed and satin finishes are versatile and hide fingerprints and water spots, making them a safe pick for busy kitchens and baths. Polished chrome and bright finishes read crisp and modern. Brass and copper tones add warmth and pair well with the warm-metal fixture trend. For a quiet, blended look, choose a finish close to your tile color so the trim disappears; for a defined, framed look, pick a contrasting metal that outlines the tile. Matching the trim finish to your faucets, cabinet hardware, and lighting creates a pulled-together result.
DITRA and KERDI: Beyond Edge Trim
While this guide focuses on edge profiles, it is worth knowing that Schluter also makes the systems many tile failures could have avoided. DITRA is an uncoupling membrane that goes under the tile to absorb movement in the substrate and help prevent cracked tile and grout. KERDI is a waterproofing membrane used in showers and wet areas to keep water out of the wall and floor assembly. These are different products from edge trim, but they come from the same manufacturer and are often specified together on quality tile jobs, so you will see the names alongside the profiles when shopping.
Cost and Where It Pays Off
Schluter profiles are an affordable upgrade relative to the polish they add. Individual profile lengths commonly run from roughly $10 to $40 each depending on material and finish, with stainless and brass at the higher end. For the cost of a few pieces, you protect tile edges from chipping and elevate the entire installation, which is why professionals rely on them. The payoff is biggest on visible edges: backsplash terminations, shower niches, counter fronts, and floor transitions.
Is Schluter Tile Trim Worth It?
For any tile project with exposed edges or transitions, Schluter tile trim is well worth using. It protects vulnerable edges, eliminates the awkward look of raw cut tile, and gives your work a finished, professional appearance. Choose the right profile and material for each location, install it embedded in thin-set as part of the tile-setting process, and your finished tile will look the way it should around every edge and corner.
Prefer to explore on your own?
See how new flooring looks in your actual room in seconds — free, no signup.
Try the free Floor Studio →