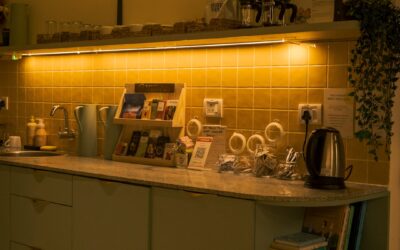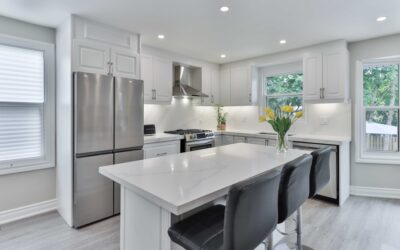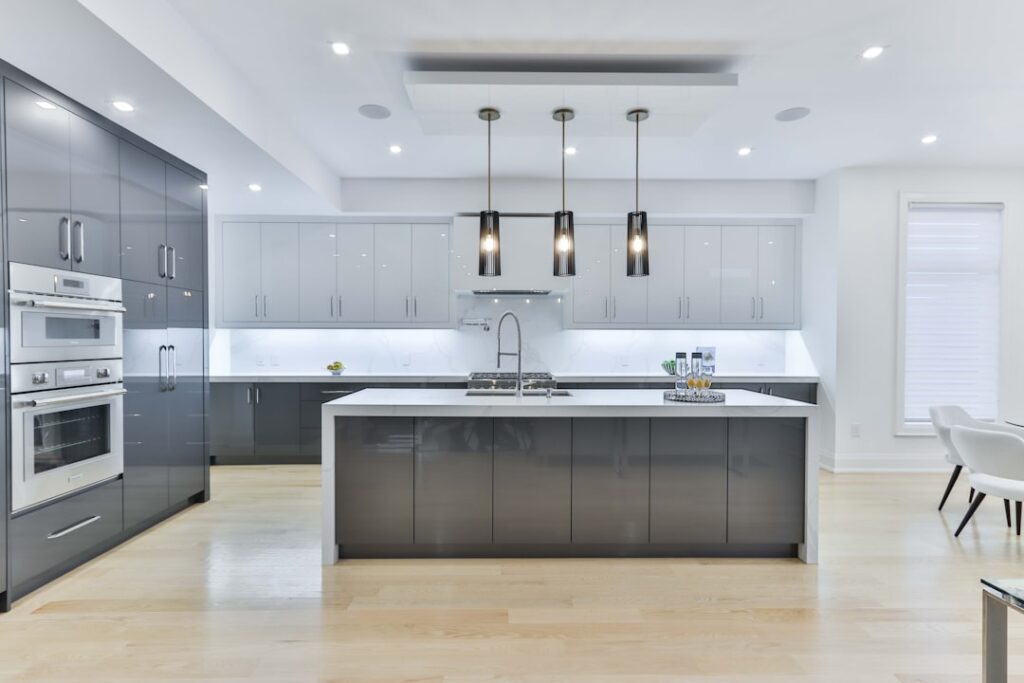
The single most common regret people voice after installing task lights is that they picked a bulb that turned their kitchen into an operating room. Warm white under cabinet lighting avoids that trap by casting a soft, inviting glow in the 2700K to 3000K range that flatters wood tones, warm countertops, and skin alike. If you want your kitchen to feel like a home rather than a showroom, warm white under cabinet lighting is almost always the right call.
Part of our Kitchen Remodeling guide — explore the full guide →
But color temperature is only half the story. The type of fixture, the beam quality, and how you wire it all decide whether the result looks custom or looks like a strip of glowing dots. This guide covers everything that matters.
Understanding Color Temperature
Color temperature, measured in Kelvin, describes how warm or cool a light appears. Lower numbers are warmer and more yellow; higher numbers are cooler and bluer.
- 2700K: Warmest common option, close to a traditional incandescent bulb. Cozy and relaxed, ideal for kitchens that open to living spaces.
- 3000K: Soft warm white, slightly crisper than 2700K while still inviting. The most popular under-cabinet choice.
- 3500K to 4000K: Neutral white, more clinical. Good task visibility but loses the cozy feel.
- 5000K and up: Daylight, cool and blue. Great for a garage workbench, wrong for a warm kitchen.
For most homes, 3000K is the sweet spot: warm enough to feel homey, bright and clean enough to chop vegetables and read recipes without straining. If your cabinets and counters skew warm, such as cherry wood or a beige quartz, 2700K enhances those tones beautifully.
Don’t Ignore CRI
Color rendering index, or CRI, measures how accurately a light shows the true colors of what it illuminates, on a scale to 100. Cheap LED strips often have a CRI in the low 80s, which makes food and finishes look slightly washed out or off. Look for fixtures rated CRI 90 or higher; the difference in how vivid your produce, backsplash, and countertop appear is immediately visible and worth the small premium.
A warm 3000K strip at CRI 95 will make a kitchen look far richer than a 3000K strip at CRI 82, even though the color temperature number is identical. Always check both specs together.
Types of Under-Cabinet Fixtures
Three main formats dominate, each with tradeoffs.
- LED strip / tape lights: Flexible ribbons of LEDs on adhesive backing. The most versatile and seamless, delivering continuous light with no hot spots. Best hidden behind a light rail or valance.
- Puck lights: Round individual fixtures that create pools of light. Easy to install but can leave gaps and scalloped shadows on the counter.
- Linear light bars: Rigid low-profile bars that link together. A good middle ground, cleaner than pucks and easier to mount than loose tape.
For an even, custom look with no visible dots on the counter, a continuous LED strip mounted toward the front edge of the cabinet bottom wins. Mounting it near the front rather than the back throws light onto the work surface instead of down the backsplash.
Wiring Options and Power
Under-cabinet LEDs run on low-voltage DC, so a driver or transformer converts your household 120V down to 12V or 24V. You have three routes to power them.
- Plug-in: The strip’s driver plugs into an existing outlet. Easiest for renters and quick jobs, but you’ll see a cord.
- Hardwired: The driver connects directly to household wiring, often controlled by a wall switch or dimmer. The cleanest permanent look, best done during a remodel or by an electrician.
- Battery or rechargeable: Wireless puck lights for spots without power. Convenient but dimmer and require recharging.
Whatever you choose, size the driver for the total wattage of your run plus about 20 percent headroom. A 16-foot strip drawing 4 watts per foot needs roughly a 75-watt driver, and running it under capacity keeps it cool and extends its life.
Installation Tips That Separate Pro From DIY
The mounting details make or break the finished look. Plan on a Saturday afternoon for a typical kitchen.
- Clean the cabinet underside thoroughly with rubbing alcohol so the adhesive bonds; grease is the number one cause of strips falling down within months.
- Mount the strip in an aluminum channel with a frosted diffuser cover. This hides the individual LEDs, prevents the dotted look, and acts as a heat sink.
- Position the channel toward the front lip of the cabinet so light hits the counter, not just the wall.
- Hide the driver inside a cabinet or above the crown, and route wires through small holes drilled in the cabinet backs or sides.
- Solder or use quality connectors at every joint; the cheap clip-on connectors that come with budget kits are the usual failure point.
Add an in-line dimmer or a smart controller so you can drop the light to a soft glow for evenings and crank it up for cooking. Dimmable warm white gives you the cozy 2700K feel at low levels because LEDs shift slightly warmer as they dim.
What It Costs
Budget varies with quality. A basic plug-in LED strip kit runs $25 to $60 and works but often has low CRI and visible dots. A quality high-CRI strip with aluminum channels and diffusers for a full kitchen runs $100 to $250 in materials. Hardwired professional installation adds $150 to $400 in labor. The upgrade to high-CRI strips and proper diffuser channels is the money best spent; it’s the difference between lighting that looks built-in and lighting that looks stuck on.
Calculating How Much Light You Need
Buying the right amount of light saves you from a strip that’s too dim to cook by or so bright it glares off the counter. Under-cabinet lighting is measured in lumens per foot, and for task lighting on a kitchen counter you generally want 175 to 300 lumens per linear foot of counter. Multiply your total run length by that figure to size the strip.
- Light chopping and prep work: Aim for the higher end, around 250 to 300 lumens per foot.
- Ambient glow and accent only: 150 to 200 lumens per foot is plenty.
- Dark countertops: Add roughly 20 percent more output, since dark surfaces absorb light and need more to read as bright.
A dimmer lets you buy toward the brighter end and dial it down, which is the flexible approach. Under-powering a strip to save money almost always disappoints, because you can’t add brightness later without rewiring.
Common Mistakes to Avoid
A handful of errors account for most disappointing installs. The biggest is buying cheap low-CRI strips that make food look gray and lifeless; the second is mounting bare tape without a diffuser so the counter shows a row of bright dots. Placing the strip at the back of the cabinet instead of the front throws light up the backsplash and leaves the work surface in shadow, a frequent complaint.
Other pitfalls include skipping the alcohol wipe so the adhesive fails within months, undersizing the driver so it runs hot and dies early, and forgetting to plan the wire routing so you end up with a visible cord. Mixing color temperatures between the under-cabinet strip and the room’s overhead lights also makes the kitchen look mismatched, so keep the whole space in the same warm 2700K to 3000K family.
Smart Control and Automation
Modern under-cabinet lighting can do more than switch on and off. Smart controllers let you tie the lights into a home automation system so they turn on at dusk, respond to voice commands, or come on automatically when motion is detected in the kitchen at night. A motion sensor at the toe-kick or under a cabinet is especially nice for a midnight glass of water, giving you a gentle glow without hunting for a switch.
Tunable-white systems go a step further, letting you shift from a warm 2700K in the evening to a cooler, more energizing tone in the morning, all from an app or a wall control. These systems cost more, typically $50 to $150 above a basic strip for the controller, but for a kitchen used morning to night the flexibility is genuinely useful. Even without full automation, a simple in-line dimmer is the one control upgrade nearly everyone should add.
The Bottom Line
Choose 3000K for the best balance of cozy and functional, or 2700K if your kitchen runs warm. Insist on CRI 90 or higher, mount continuous strips in diffuser channels toward the cabinet’s front edge, and add a dimmer. Do those things and warm white under cabinet lighting will transform how your counters look and how your whole kitchen feels, morning coffee through late-night snacks.