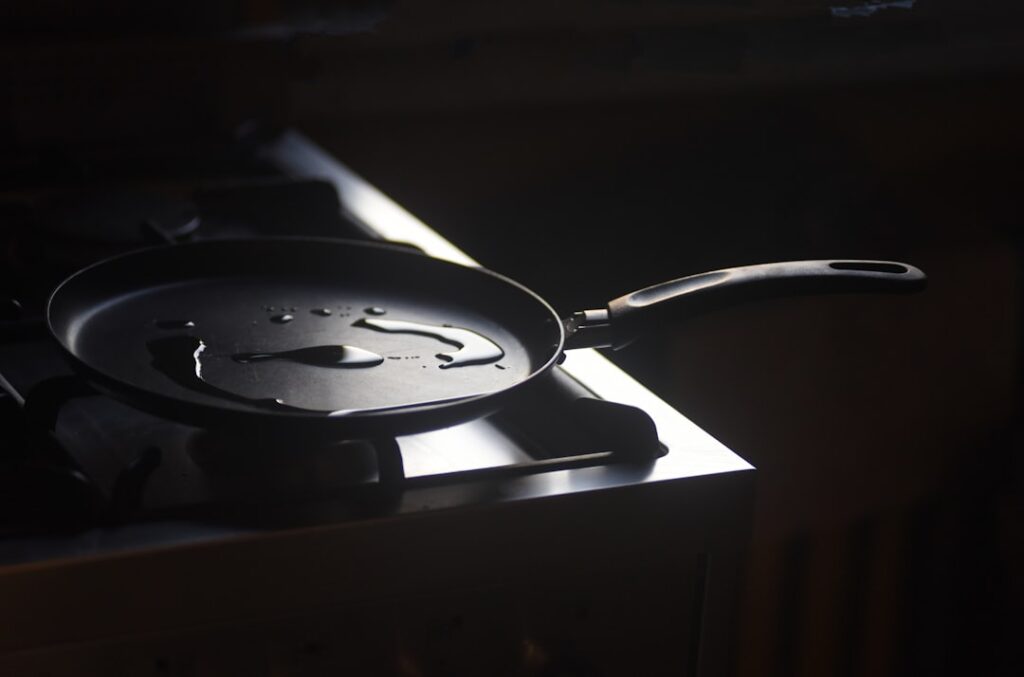
A water heater pan is the cheapest insurance in your house — a $15 to $40 tray that sits under the tank and catches leaks before they soak your subfloor, ruin drywall, or flood the room below. Most homeowners never think about it until they’re standing in an inch of water. If your heater lives anywhere water damage would be expensive — a finished basement, an attic, a second-floor closet — a properly drained pan isn’t optional. Here’s how to pick, size, and install one right.
- What a Drain Pan Actually Does
- When Code Requires One
- Pan Sizes and How to Measure
- Pan Materials: Plastic vs. Metal
- Draining the Pan the Right Way
- Installing a Water Heater Pan Under an Existing Tank
- Pairing the Pan With Leak Protection
- Common Mistakes to Avoid
- Maintaining the Pan Over Time
- Frequently Asked Questions
What a Drain Pan Actually Does
The pan does two jobs. It catches slow leaks and condensation drips from the tank, fittings, or T&P valve, and — if it’s connected to a drain line — it carries that water safely away to a floor drain or the outside. Without a drain connection, the pan only buys you time; it holds maybe a gallon or two before it overflows. Connected properly, it can handle a persistent weep indefinitely and give you a fighting chance against a real tank failure.
What it won’t do is stop a catastrophic burst. When a rusted tank splits, it can dump 40-plus gallons faster than any 2-inch drain line can carry it. The pan buys time and handles the far more common slow leaks — but pair it with a leak sensor or automatic shutoff for real peace of mind.
When Code Requires One
Plumbing code (the IRC and Uniform Plumbing Code) generally requires a pan wherever a leak would cause damage — think attics, upper floors, and finished living spaces. The pan must be drained to an approved location: a floor drain, a standpipe, or the exterior. The code calls for the pan to be at least 1.5 inches deep and the drain line to be at least 3/4-inch, though many inspectors and manufacturers prefer 1-inch or larger.
Even where code doesn’t strictly demand it — a garage or unfinished basement with a floor drain nearby — installing a pan is smart practice. Local amendments vary, so check with your building department before a replacement install; an inspector can flag a missing pan and hold up your permit.
Pan Sizes and How to Measure
Match the pan to your tank’s footprint. Pans are sold by diameter, and they need to be a few inches wider than the tank so drips off the sides actually land in the pan.
- 20-inch pan: fits most 30- and 40-gallon tanks.
- 22- to 24-inch pan: the common choice for 40- to 50-gallon tanks.
- 26- to 30-inch pan: for 65- to 80-gallon or wide commercial tanks.
Measure the outside diameter of your tank at its widest point and add at least 2 inches. If your tank sits in a tight closet, measure the opening too — you need clearance to slide the pan under and still connect the drain fitting on the side.
Pan Materials: Plastic vs. Metal
You’ve got two real choices, and the right one depends on your heater.
Plastic (Polyethylene)
Cheap ($10 to $25), rust-proof, and easy to cut for the drain fitting. Perfect for electric water heaters. The catch: plastic can’t take direct high heat, so it’s not code-appropriate directly under a gas heater’s burner area in some jurisdictions.
Aluminum or Galvanized Steel
Metal pans ($20 to $45) tolerate heat and are required under gas heaters in many areas because the burner sits at the base. They’re sturdier and won’t crack in cold, but they can corrode over years of standing water. Aluminum resists rust better than galvanized steel.
Draining the Pan the Right Way
A pan with no drain is a bucket waiting to overflow. The drain line should:
- Connect to the pan’s threaded side fitting (usually 1-inch or 3/4-inch).
- Run downhill the entire way — gravity does all the work, so no uphill sections.
- Terminate over a floor drain, into a properly trapped standpipe, or through an exterior wall where discharge won’t cause damage or freeze.
- Stay the same diameter or larger the whole run; never reduce it.
Use PVC or CPVC for the drain line. If you route it outside, angle the termination down and keep it short to avoid freeze-ups in cold climates. Never tie the pan drain into a pressurized line or connect it where it could siphon.
Installing a Water Heater Pan Under an Existing Tank
Retrofitting a pan under a full tank is the awkward part, because you have to lift the heater. Here’s the realistic process:
- Shut off power (breaker) or gas, and close the cold-water supply.
- Drain the tank via the drain valve and a garden hose — 40-plus gallons takes time.
- Disconnect the water lines and, for gas, the gas line and vent.
- Tip and lift the empty tank aside (get a helper — even empty it’s 100-plus pounds).
- Position the pan, cut the drain-fitting hole if needed, and thread in the fitting with the drain line attached.
- Set the tank back in the pan, reconnect everything, refill, and check for leaks before restoring power or gas.
Honestly, the ideal time to add a pan is when you’re replacing the heater anyway — the tank’s already out. If your current unit is more than 8 years old, it may be worth waiting for that replacement rather than draining a tank with years left.
Pairing the Pan With Leak Protection
A water heater pan is far more powerful when you drop a battery-powered leak sensor in it. Models from Govee, Moen Flo, or a smart-home hub cost $15 to $50 and scream (or ping your phone) the instant they detect water — long before the pan overflows. For the ultimate protection, an automatic water shutoff valve closes the supply the moment a leak is sensed. Together, a drained pan, a sensor, and an auto-shutoff turn a potential five-figure flood into a minor mop-up. For the price of a nice dinner, it’s the best money you’ll spend on your heater.
Common Mistakes to Avoid
A pan only protects you if it’s installed correctly. The errors that render one useless show up again and again on inspections:
- No drain connection: A pan with no drain line is just a shallow bowl. It buys minutes, not protection. Always route the drain to an approved point.
- Uphill drain runs: Gravity is the only force moving water out of a pan. Any uphill section traps water and defeats the whole system.
- Undersized pan: A pan the same width as the tank misses drips that run down the sides. Go at least 2 inches wider than the tank diameter.
- Plastic under a gas heater: Many codes require a metal pan beneath gas units because of the burner heat at the base. Check local rules.
- Reducing the drain diameter: Never neck a 1-inch pan fitting down to a 3/4-inch line — keep it the same size or larger the whole run.
Maintaining the Pan Over Time
A drain pan isn’t fully “set and forget.” Twice a year, glance under the heater: a dry pan is good news, but standing water — even a cup — signals a slow leak worth investigating before it grows. Check that the drain line is clear by pouring a little water into the pan and confirming it flows out the discharge. Metal pans can develop rust spots from years of the occasional drip; if a galvanized pan looks corroded, plan to swap it at your next heater replacement. Keep the area around the pan clear of stored boxes and clutter so a leak stays visible and the discharge line isn’t blocked.
Frequently Asked Questions
Is a water heater pan required by code?
It depends on location. Codes generally require a drained pan wherever a leak would cause damage — attics, upper floors, and finished living spaces. Garages and unfinished basements with a floor drain nearby may not require one, though it’s still smart. Check your local building department.
Can a pan stop a burst tank from flooding?
No. A catastrophic tank rupture dumps 40-plus gallons faster than any drain line can carry it. The pan handles the far more common slow leaks and condensation; pair it with a leak sensor and auto-shutoff for real burst protection.