
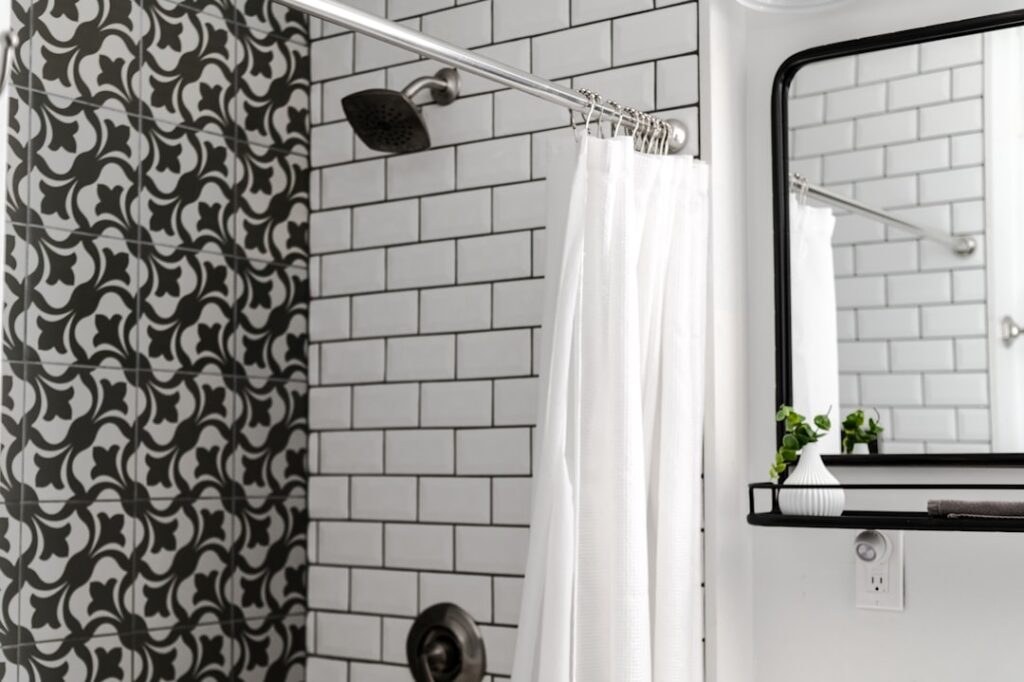
The most expensive tile job in the world will fail if the wall behind it lets water through, which is why choosing the right waterproof tile board for shower construction is the single most important decision in any shower build. This backer board sits between your framing and your tile, providing a stable, moisture-resistant surface that keeps water from rotting studs and breeding mold inside the wall. Skip it or choose poorly, and you are looking at a torn-out shower within a few years. Get it right, and your shower can last decades leak-free.
Part of our Roofing guide — explore the full guide →
Why You Cannot Tile Over Drywall in a Shower
Standard drywall, even the green “moisture-resistant” variety, has no business behind shower tile. Grout is not waterproof, and neither is tile itself at the joints, so water inevitably reaches the wall behind. Drywall soaks up that moisture, disintegrates, and grows mold, taking your tile down with it. A proper waterproof tile board resists water, stays dimensionally stable when wet, and gives tile a rock-solid bonding surface. This is not an area to cut corners; the backer board is the foundation of the entire installation.
Types of Waterproof Tile Board
Several categories of backer board work in showers, each with distinct pros and cons:
- Cement backer board: The traditional workhorse (brands like Durock and HardieBacker). It is not itself waterproof but is impervious to water damage, meaning it will not rot or mold even when wet. It must be paired with a separate waterproofing membrane. Heavy, durable, and affordable.
- Foam tile backer board: Lightweight waterproof panels (such as Wedi and Kerdi-Board) with a waterproof core. They are fully waterproof out of the box when seams are sealed, extremely easy to cut and handle, and add insulation. More expensive but faster to install.
- Glass-mat gypsum board: Water-resistant panels (like DensShield) with a built-in moisture barrier, lighter than cement board and easier to cut, suitable for shower walls when seams are treated.
- Membrane over cement board: A sheet or liquid waterproofing membrane applied over cement board, combining the durability of cement with a guaranteed waterproof surface.
Foam Board vs. Cement Board
The most common decision is between traditional cement board and modern foam board. Cement board is cheaper per sheet, incredibly rigid, and time-tested, but it is heavy, dusty to cut, and requires a separate waterproofing step with a membrane or liquid coating. Foam board costs more upfront but is featherlight, cuts with a utility knife, and is already waterproof once you seal the seams and screw holes, which can save labor and speed the job. For a DIYer, foam board’s ease often justifies the price; for a budget-conscious pro comfortable with membranes, cement board plus a membrane remains a reliable, economical system.
What It Costs
Backer board is a modest part of a shower budget, but the choice affects both material and labor:
- Cement backer board: $10 to $15 per 3×5 foot sheet, roughly $0.70 to $1 per square foot.
- Waterproofing membrane: $1 to $3 per square foot on top of cement board.
- Foam tile backer board: $2 to $6 per square foot, membrane already built in.
- Glass-mat gypsum board: $12 to $20 per sheet.
- Professional installation: $3 to $8 per square foot on top of materials.
For a standard shower, expect to spend $150 to $600 on backer board and waterproofing materials, a small fraction of the total shower cost but the part that protects everything else.
How to Install Waterproof Tile Board
Whichever board you choose, the installation logic is similar. Here is the general sequence:
- Prepare the framing. Confirm studs are spaced 16 inches on center and are plumb, adding blocking where panel edges will meet.
- Install a vapor barrier if required. Cement board systems may need a moisture barrier behind the board or a membrane in front; follow the system’s instructions and never trap moisture between two barriers.
- Cut and fit the boards. Score and snap cement board or cut foam board with a knife. Leave a small gap at the tub or pan edge per the manufacturer.
- Fasten securely. Screw the board to studs with corrosion-resistant backer-board screws every 8 inches, keeping fasteners flush.
- Waterproof the seams and corners. Tape and thinset the joints on cement board, then apply the membrane. On foam board, seal every seam, corner, and screw with the system’s sealant and banding.
- Flood test if possible. For the shower pan, plug the drain and fill it to test for leaks before tiling. Then tile directly over the waterproof surface.
Common Mistakes to Avoid
Even experienced installers slip up here. The biggest error is treating cement board as if it were waterproof on its own; it is water-durable but not waterproof, so it always needs a membrane in a shower. Another common mistake is doubling up vapor barriers, trapping moisture that cannot dry in either direction. Never skip sealing the seams, corners, and screw penetrations, which are the exact spots water finds. And do not forget to integrate the wall waterproofing with the shower pan or curb so there is a continuous, unbroken waterproof envelope from top to bottom.
Waterproofing the Whole Shower Envelope
The backer board is only one part of a waterproof shower; the real goal is a continuous, unbroken waterproof envelope from the ceiling to the drain. That means the wall waterproofing must tie seamlessly into the shower pan or curb, with no gaps at the transition. Pay special attention to the trouble spots where leaks almost always start: inside corners, the joint where walls meet the pan, around the mixing valve and showerhead penetrations, and any niche or bench you build in. Each of these needs waterproof banding, preformed corners, or extra membrane and sealant. A recessed shampoo niche is a classic leak point because it creates several new corners and a sloped shelf; waterproof it as carefully as the pan itself, sloping the base slightly so water drains out rather than pooling.
Matching Board to Your Tile and Location
Your tile choice and the wall’s exposure influence which board makes sense. Heavy natural stone or large-format porcelain tiles need the most rigid, well-supported substrate, favoring cement board or a thick foam board over studs at proper spacing. For a tub surround that gets splashed but is not a full shower, a water-resistant glass-mat gypsum board with treated seams is often sufficient and easier to work with. In a steam shower, where vapor pressure is intense, you need a fully sealed vapor-tight system and should follow the manufacturer’s steam-specific instructions, since ordinary shower waterproofing is not always rated for continuous steam. Always confirm the board and membrane you choose are approved for the specific application, and keep the product data sheets in case a warranty question ever arises.
Frequently Asked Questions
Can I tile directly over cement backer board in a shower?
You can tile over cement board, but the board itself is not waterproof, only water-durable. In a shower you must add a waterproofing membrane over or behind it to keep water from reaching the framing and causing mold.
Is foam board better than cement board for showers?
Foam board is lightweight, easy to cut, and waterproof once seams are sealed, saving labor. Cement board is cheaper and extremely rigid but needs a separate membrane. Foam suits DIYers; cement board suits budget jobs done by pros comfortable with membranes.
How much does waterproof tile board for a shower cost?
Cement board runs about $0.70 to $1 per square foot plus $1 to $3 for a membrane, while foam board costs $2 to $6 per square foot with waterproofing built in. Total materials for a standard shower run $150 to $600.
What happens if I tile a shower over drywall?
Water passes through grout and reaches the drywall, which soaks it up, disintegrates, and grows mold. The tile eventually loosens and the wall behind rots, forcing a full tear-out and rebuild within a few years.
Do I need a vapor barrier behind waterproof tile board?
It depends on the system. Some cement board installs use a barrier behind the board, while membrane and foam systems waterproof the front. Never use two barriers that trap moisture between them; always follow the specific system’s instructions.
Prefer to explore on your own?
See how new flooring looks in your actual room in seconds — free, no signup.
Try the free Floor Studio →

