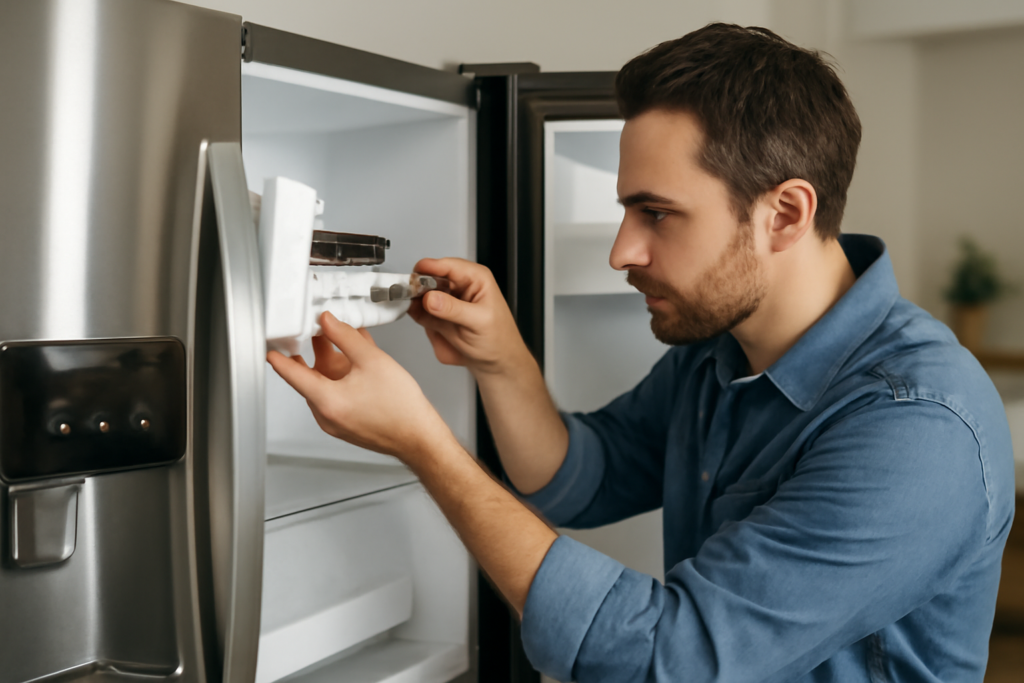
When your whirlpool refrigerator ice maker stops dropping cubes, the problem is almost never the mysterious sealed guts of the fridge and almost always one of five simple, fixable things. Before you call a tech or price out a new unit, you can usually diagnose it in about ten minutes with a flashlight and a multimeter.
This guide walks a whirlpool refrigerator ice maker from “no ice at all” to “back in business,” covering the water supply, the fill valve, the ice maker module itself, freezer temperature, and the resets that fix more problems than people expect. I have swapped a lot of these modules, and the diagnostic order below saves you from throwing parts at the wrong cause.
How a Whirlpool Ice Maker Works
Understanding the cycle tells you where to look. A Whirlpool modular ice maker follows a simple loop: a thermostat in the module senses the mold has reached about 15 degrees F, a solenoid water valve opens for a timed fill of a few seconds, the water freezes for roughly 90 to 120 minutes, then a small motor rotates the ejector arms to sweep the cubes out. As the cubes eject, the fill valve triggers again for the next batch.
Break any link in that chain, water, freezing, or ejection, and no ice comes out. Your job in troubleshooting is figuring out which link failed.
Start Here: The Quick Checks
Ninety percent of “no ice” calls are one of these, so rule them out first:
- Is the wire arm or feeler up? A raised metal arm or a feeler paddle in the off position tells the ice maker to stop. Someone may have bumped it. Lower the arm or confirm the control is on.
- Is the freezer cold enough? Ice makers need the freezer at or below 0 to 5 degrees F. At 10 or 15 degrees F, cubes freeze too slowly to eject. Put a thermometer in there for an hour and confirm.
- Is the water line kinked or the valve shut? Pull the fridge out and check the 1/4-inch supply line and the saddle or shutoff valve behind it. A pinched line starves the maker.
- Is the water filter overdue? A clogged filter chokes water flow. Whirlpool wants the Everydrop filter changed roughly every six months. A badly clogged one produces hollow, small, or no cubes.
Fix any of those and you may be done. If not, move to the harder checks.
No Water Reaching the Ice Maker
If the mold is bone dry, water is not arriving. Two prime suspects:
- Water inlet valve: This solenoid valve, mounted at the back bottom of the fridge, opens to feed the ice maker and dispenser. It needs about 20 to 120 psi to work. Test it with a multimeter, the solenoid coil typically reads a few hundred ohms; an open reading means a dead coil. Replacement valves run roughly $30 to $70.
- Frozen fill tube: The small tube that carries water into the mold can freeze into a plug, especially if a fill overshot. Thaw it with a hair dryer on low or a turkey baster of warm water. If it refreezes repeatedly, the inlet valve is leaking through or the freezer is too cold.
Low home water pressure or a half-closed saddle valve mimics a bad inlet valve, so verify you actually have flow at the valve before condemning it.
Water Arrives but No Ice Forms or Ejects
If the mold fills but nothing comes out, the module itself is the issue. Whirlpool’s modular ice makers (a common one is the wire-shelf style with a part number in the W105xxxxx family) use a replaceable head. Common failures:
- Dead ejector motor or gear: Stripped gears stop the sweep. You will often see cubes frozen solid in the mold with no attempt to eject.
- Failed thermostat: If the module never senses “cold enough,” it never triggers the eject cycle.
- Control board in the module: On electronic modules, the small board fails and the whole head stops.
The practical fix for most homeowners is replacing the entire ice maker module rather than rebuilding it. A complete Whirlpool ice maker assembly runs roughly $60 to $150 and installs with two or three screws and a wiring harness plug, usually a 20-minute job. Match the exact part number to your model; enter your full model number (inside the fridge on a sticker) into Whirlpool’s parts lookup to be sure.
The Resets That Actually Work
Electronic controls sometimes just need a reboot:
- Power cycle: Unplug the fridge for 5 minutes, plug it back in. This clears many control glitches.
- Feeler arm cycle: Raise the wire arm to off, wait 10 seconds, lower it to on.
- Module reset button: Some Whirlpool modules have a small test or reset point. Consult your specific model’s manual before shorting test contacts, as doing it wrong can trigger an unwanted fill.
- Force a harvest: Certain models let you initiate a test cycle to confirm the motor, thermostat, and valve all fire in sequence. It is the fastest way to isolate which component is dead.
Give any reset a full 24 hours to produce ice again before deciding it failed. A restarted ice maker needs a couple of hours just to freeze the first batch.
Slow, Small, or Bad-Tasting Ice
Not every problem is total failure. If cubes are hollow, undersized, or slow:
- Hollow or small cubes: Low water flow, usually a clogged filter or a partially blocked inlet valve. Change the filter first, it is the cheapest fix.
- Slow production: Freezer not cold enough, dirty condenser coils making the whole system run warm, or a door left ajar. Vacuum the coils and verify the freezer holds 0 degrees F.
- Off taste or odor: Old filter, stale ice absorbing freezer smells, or a moldy dispenser chute. Dump the bin, run fresh ice through, and clean the chute and bin with warm soapy water.
- Clumping cubes: Low usage lets cubes fuse. Break them up, and if you rarely use ice, consider turning the maker off between needs.
When It Is Not the Ice Maker at All
If cubes are not forming and the freezer itself is warmer than it should be, the ice maker is a symptom, not the disease. A freezer running at 20 degrees F points to a defrost problem, dirty coils, a failing evaporator fan, or a sealed-system fault. Clean the condenser coils and confirm the evaporator fan runs first.
Here is the safety line every homeowner needs to respect: the ice maker module, water inlet valve, fill tube, and water filter are all DIY-friendly. The sealed refrigeration system, meaning the compressor, refrigerant, and evaporator coils, is not. Federal law requires an EPA-608 certified technician to handle refrigerant, and there is no safe or legal way for a homeowner to open those lines. If your coils are clean, the fans run, and the freezer still will not hold temperature, that is a call to a certified tech, not a parts-store project.
Cost, Tools, and When to Replace
Most ice maker repairs are cheap. A filter is $30 to $50, an inlet valve $30 to $70, a full module $60 to $150. Your tools are a Phillips screwdriver, a nut driver, a multimeter, and a hair dryer for thawing. A professional service call, by contrast, typically starts around $100 to $150 before parts, so the DIY math is compelling for these components.
Replace rather than repair when the module gears are stripped or the control board is dead; a new module is more reliable than a patched one. Work the diagnosis in order, water supply, inlet valve, module, freezer temperature, and you will fix the vast majority of Whirlpool ice maker failures in an afternoon without opening anything you legally cannot touch.