Choosing the right water filter for Whirlpool refrigerator models sounds simple until you realize Whirlpool has sold at least half a dozen filter shapes across two decades of fridges. Grab the wrong one and it either won’t seat or it leaks. Getting the correct water filter for Whirlpool refrigerator units right the first time is mostly about reading two numbers — the fridge model and the filter code — and this guide shows you exactly where to find both.
I service these boxes for a living, and 90 percent of “my dispenser broke” calls turn out to be a filter that was overdue, mismatched, or never seated. Here’s how to handle it yourself.
- Why the Filter Matters More Than You Think
- Whirlpool Filter Types and Model Numbers
- Where Your Filter Is Located
- Genuine EveryDrop vs. Aftermarket
- How to Replace a Whirlpool Water Filter
- Resetting the Filter Status Light
- Fixing Common Filter Problems
- What the Filter Actually Removes
- Water Pressure and the Supply Line
- Running Without a Filter
- Yearly Cost and a Simple Habit
Why the Filter Matters More Than You Think
The carbon block inside the cartridge reduces chlorine taste and odor, and certified filters also cut lead, mercury, cysts, and pesticides. As it saturates, it stops filtering and starts restricting flow. A neglected filter is why your ice smells musty and your dispenser drips instead of pours. On a fridge that cost $1,500 to $2,500, a $40 cartridge is cheap insurance.
Whirlpool Filter Types and Model Numbers
Whirlpool consolidated its filters under the EveryDrop brand, but the old part numbers still float around. Match yours to one of these:
- EveryDrop Filter 1 (EDR1RXD1 / W10295370A): the round push-in filter in the top-right corner of the fresh-food section on most current side-by-side and French-door models.
- EveryDrop Filter 2 (EDR2RXD1 / W10413645A): found in the ceiling or upper grille of many French-door units.
- EveryDrop Filter 3 (EDR3RXD1 / 4396841 / 4396710): the “PUR” push-button style in the base grille of older 2000s models.
- EveryDrop Filter 4 (EDR4RXD1 / UKF8001): bottom-freezer and older French-door units, common 2005-2012.
- EveryDrop Filter 5 (EDR5RXD1 / 4396510): the older quarter-turn base-grille filter.
The fastest way to confirm: pull your current filter and read the number stamped on the side. No filter to check? Find the model number on a sticker inside the fresh-food compartment — usually on the right sidewall or the ceiling — and look it up on the manufacturer’s parts site.
Where Your Filter Is Located
Three common spots. Inside the fresh-food compartment, upper-right corner — push-in style, most common on units built after 2015. In the base grille at the bottom front — twist-style, older models. In the ceiling of the compartment behind a small door — some French-door designs. If you can’t find it, your fridge may not have a factory filter at all and instead relies on an inline filter on the water supply line behind the unit.
Genuine EveryDrop vs. Aftermarket
A genuine EveryDrop filter costs $40 to $55. Certified aftermarket brands — Waterdrop, GlacialPure, AquaCrest, Clatterans — run $12 to $18 each in multi-packs. The thing that matters is certification: look for NSF/ANSI 42 for taste and odor at minimum, and NSF/ANSI 53 if you specifically need lead or cyst reduction. That mark should be printed on the box.
I’ve installed plenty of good aftermarket filters, but I’ve also pulled swollen off-brand cartridges that cracked a housing. If you go the budget route, buy a certified brand and inspect the O-rings before it goes in. Skip anything that only claims to be “compatible” without an NSF number.
How to Replace a Whirlpool Water Filter
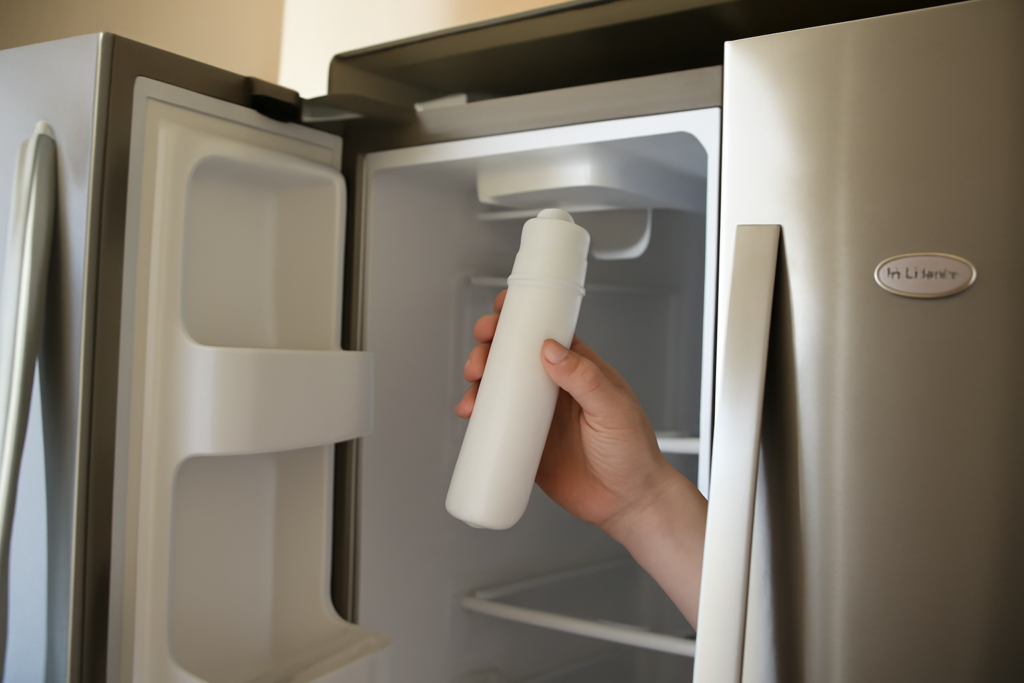
The internal push-in style is the most common, so here’s that procedure:
- No need to shut off the house water — the housing seals itself when the cartridge is out.
- Press the eject button or push the filter in and release, then pull it straight out.
- Take the caps off the new filter and line up the arrow or notch.
- Slide it in until it clicks and sits flush with the surround.
- Run 3 to 4 gallons through the dispenser to flush air and carbon dust. Expect sputtering and cloudy water at first — that’s air, and it clears in a few glasses.
For base-grille twist filters, turn a quarter turn counterclockwise, pull the old one out, insert the new one, and twist clockwise until it locks. Same flush afterward.
Resetting the Filter Status Light
The indicator doesn’t reset on its own. After installing:
- On dispenser models, press and hold the “Filter” or “Water Filter” button for 3 seconds until the light turns from red to blue or goes off.
- On some units, hold “Filter Reset” or a combination like “Light” plus “Lock” for 3 seconds.
- Listen for a beep or watch for the color change to confirm it registered.
If nothing happens, hold the full 3 seconds and try again — the panel needs a sustained press, not a tap.
Fixing Common Filter Problems
Leaking after replacement: the number-one cause is a filter that isn’t fully seated or an aftermarket O-ring that’s slightly off. Pull it, check the rings, wet them lightly, and firmly reseat.
Slow flow: a few glasses of trapped air is normal. If it stays slow, you may have an incompatible filter restricting flow or home water pressure under the 35 psi these systems need. A kinked or partially closed saddle valve behind the fridge is another usual suspect.
Bad taste that won’t quit: flush the full 3 gallons, then dump the first batch of ice. Old carbon in the reservoir behind the crisper can take an extra gallon or two to clear.
Ice maker stopped: some models pause ice if they don’t detect a properly seated filter. Confirm the lock, then allow up to 24 hours for the maker to refill and cycle.
What the Filter Actually Removes
It helps to know what you’re paying for. A basic NSF/ANSI 42 filter targets chlorine taste and odor and some sediment — that’s the “makes the water taste better” job. Step up to NSF/ANSI 53 and the cartridge is certified to reduce health-related contaminants like lead, mercury, cysts (including Cryptosporidium), and certain pesticides. Some premium filters add NSF/ANSI 401 for “emerging contaminants” such as trace pharmaceuticals and pesticides. If your water comes from a municipal supply that already tests clean, a 42-rated filter is plenty. If you’re on older plumbing with lead-solder joints or a private well, spend up for a 53-certified cartridge. What no fridge filter does is soften hard water or kill bacteria on a well — those need different equipment entirely.
Water Pressure and the Supply Line
Whirlpool dispensers need at least 35 psi at the fridge, with 40 to 60 psi ideal. If the whole house runs soft on pressure, a new filter still won’t pour fast. Behind the fridge, the 1/4-inch supply line runs from a saddle valve or a dedicated shutoff. A half-closed valve after someone cleaned behind the unit, or a kinked line pinched against the wall, will choke flow more than any filter. Straighten the line, open the valve fully, and you’ll often “fix” a slow dispenser without touching the cartridge at all.
Running Without a Filter
Every Whirlpool that uses an internal cartridge ships with a bypass plug, and the dispenser works fine without a filter installed — the water just isn’t polished by carbon. If you’re waiting on a replacement or you already have whole-house filtration, drop in the bypass cap to keep the housing sealed. It’s a legitimate option, not a workaround.
Yearly Cost and a Simple Habit
Two genuine filters a year run about $90 to $110; certified aftermarket brings that down to $30 to $50. Either way it beats a $90-to-$150 service call for a problem a $40 cartridge fixes. Write your fridge model and filter number inside a cabinet door, set a six-month reminder on your phone, and you’ll never be caught guessing which filter to buy or wondering why the water slowed to a drip.
Stay ahead of it and the dispenser pours cold and clean, the ice tastes like nothing at all, and the most complicated appliance in your kitchen quietly does its job for another decade.