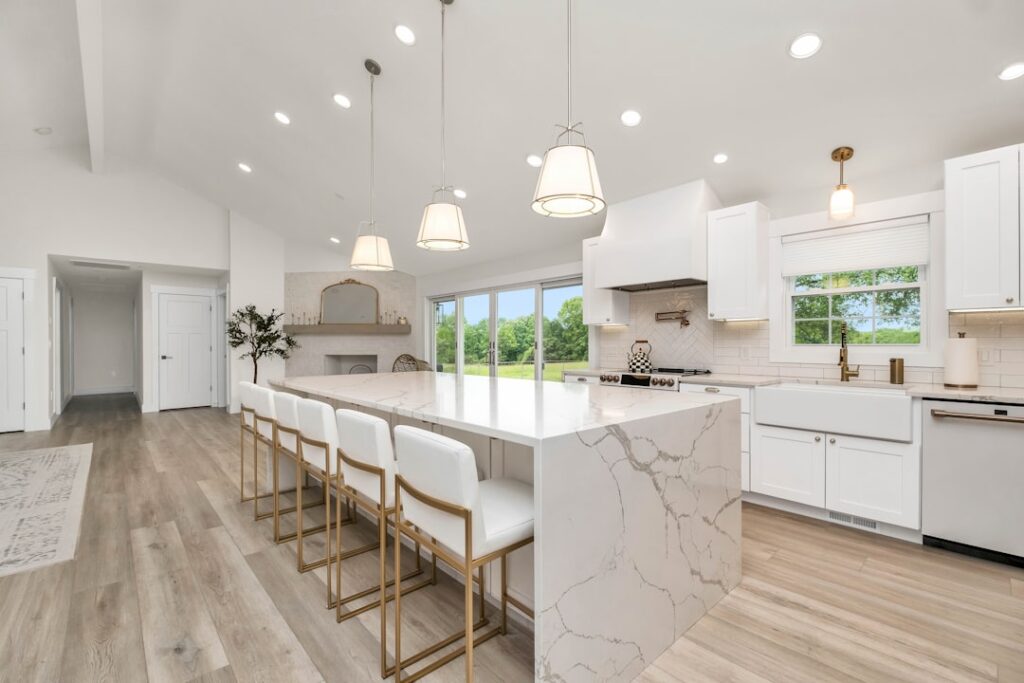
Want the clean, marble-like look of a high-end kitchen without the four-figure slab bill? White epoxy countertops deliver a seamless, mirror-glossy surface that you can pour right over your existing laminate or wood substrate. They have become a favorite among DIYers because a single kit can transform a tired counter for a fraction of what quartz or stone costs. But epoxy is not magic, and the difference between a stunning result and a cloudy, sticky mess comes down to prep, technique, and patience. Here is everything you need to know before you mix your first batch.
Part of our Epoxy, Concrete & Garage Floors guide — explore the full guide →
What Are Epoxy Countertops, Exactly?
Epoxy is a two-part resin: a resin and a hardener that, once combined, trigger a chemical reaction and cure into a hard, glass-like plastic coating. For countertops, you trowel or pour a self-leveling formula over a prepped base, then manipulate pigments to create the look you want. A solid white pour gives you a clean, modern slab. Add gray or gold veining and you get a convincing faux marble or quartz effect.
Unlike a slab material, epoxy is a coating, not a structural surface. The thickness is usually just 1/8 inch or less of cured resin sitting on top of plywood, MDF, or old laminate. That changes how you treat it, but it also explains why the cost is so low.
Why Homeowners Choose White Epoxy
White reads as bright, fresh, and timeless, which is exactly why it dominates kitchen remodels. A glossy white epoxy top bounces light around a small kitchen and makes the whole room feel larger. It also pairs with nearly any cabinet color, from navy shaker doors to warm walnut.
- Cost: A typical DIY epoxy kit covering 35 to 40 sq ft runs $150 to $300. Compare that to $40 to $100 per sq ft installed for quartz.
- Seamless finish: No grout lines, no seams between sections. The pour flows into one continuous surface.
- Customizable: You control the veining, the white tone, and the gloss level.
- DIY-friendly: No special tools beyond mixing buckets, a torch, and spreaders.
The Honest Downsides
Every counter material has trade-offs, and epoxy is no exception. Heat is the big one. Set a pot straight off the burner on epoxy and you can scorch or soften the resin, leaving a permanent mark. Always use trivets. Sharp knives will also scratch the gloss, so cut on a board, not the counter.
White specifically has a quirk: it can yellow over time, especially in spots that get strong, direct sunlight. Look for kits that advertise UV-resistant or UV-stable formulas if your kitchen gets a lot of afternoon light. Finally, epoxy is unforgiving of poor mixing. Off-ratio batches or under-stirred resin can stay tacky for days, and the only fix is sanding it off and starting over.
How to Pour White Epoxy Countertops, Step by Step
This is a weekend project if you respect the cure times. Work in a dust-free room between 70 and 80°F, because temperature dramatically affects how the resin flows and sets.
- Prep the surface. Clean thoroughly, then scuff-sand the existing counter with 120-grit so the epoxy bonds. Wipe away all dust with a tack cloth.
- Seal and base coat. Many systems call for a tinted base coat or primer first. Roll on a solid white base and let it dry per the label, usually overnight.
- Tape and protect. Mask the cabinet faces and floor. Epoxy drips off the edges, so set up a drip catch underneath.
- Mix the flood coat. Combine resin and hardener at the exact ratio. Stir slowly for the full time listed, scraping the sides and bottom, then transfer to a fresh bucket and stir again.
- Pour and spread. Pour the white flood coat and spread it with a squeegee or notched spreader. Let it self-level. Add accent colors for veining now if you want marble.
- Torch the bubbles. Pass a propane or butane torch a few inches above the surface to pop air bubbles. Keep it moving so you do not scorch.
- Cure undisturbed. Leave it 24 hours before light use and a full 7 days before heavy use. The resin keeps hardening for a week.
Creating a Faux Marble Look
White-on-white can look flat, so most people add subtle veining for depth. To pull off marble, drizzle thin lines of gray and a touch of metallic gold or silver into the wet white flood coat. Then drag a soft brush or feather through the lines to soften them. The trick is restraint. Real marble veins are irregular and faint near the edges, so do not over-vein the whole slab. Practice on a sample board first to get a feel for how the colors bleed before you commit to the real counter.
Caring for White Epoxy Countertops
Day-to-day cleaning is easy. Wipe with a soft cloth and mild dish soap or a gentle all-purpose cleaner. Skip abrasive pads, bleach, and harsh solvents like acetone, which can dull or cloud the finish. To keep that showroom gloss, some homeowners apply a thin coat of food-safe wax or a countertop polish a couple of times a year.
If the surface ever gets a scratch or a dull patch, the good news is epoxy is repairable. You can lightly sand the area and re-pour a thin top coat to refresh it, something you simply cannot do with stone. Keep a little leftover kit for touch-ups.
Is White Epoxy Right for Your Kitchen?
If you want a dramatic, budget-friendly refresh and you are comfortable with a careful DIY project, white epoxy countertops are hard to beat. They shine in laundry rooms, bathrooms, bars, and rental updates where you want maximum impact for minimal money. If you run a heavy-duty cooking kitchen with hot pans and rough use every day, a slab material may serve you better long-term. For most homeowners, though, a well-poured white epoxy top hits the sweet spot of looks, cost, and the satisfaction of doing it yourself.