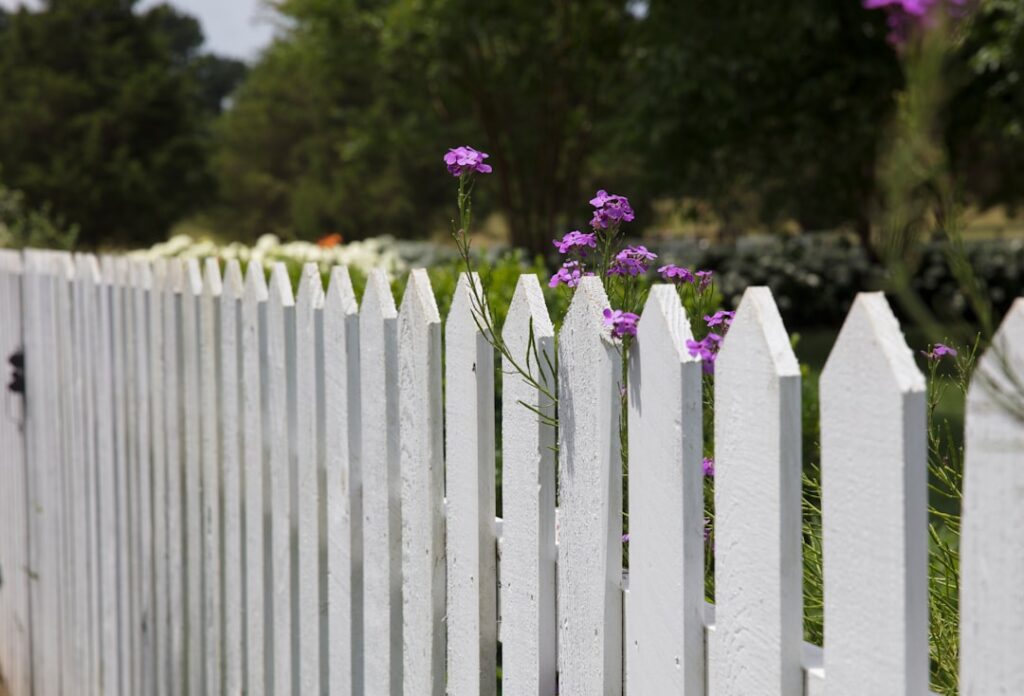
A freshly painted fence can lift the look of an entire yard, but the same fence painted without proper prep can peel into an embarrassing mess within a single season. Wood fence paint gives you the boldest color and the thickest protective barrier of any finish, yet it demands more care to apply and maintain than stain. Knowing when paint is the right choice, how to prep, and how to apply it correctly is what turns a weekend project into a finish that lasts five to ten years.
Part of our Decks & Outdoor guide — explore the full guide →
This guide compares paint to stain, covers the prep that makes or breaks the job, and walks through product selection, application, and upkeep for a fence that looks great for years.
Paint vs. Stain: Which Is Right for Your Fence
Before buying, decide whether paint or stain suits your goals, because they behave very differently. Paint forms an opaque film on the wood surface, delivering the widest range of solid colors, the best UV protection, and a bold, uniform look. Stain penetrates into the wood, showing the grain, and ranges from clear to solid.
- Paint pros: Any color imaginable, thick protective coat, hides weathered or mismatched wood, longest color life.
- Paint cons: Can peel and crack if moisture gets under the film, requires thorough prep and priming, harder to recoat because you must scrape failing areas.
- Stain pros: Soaks in so it will not peel, easier to reapply, shows natural grain.
- Stain cons: Fewer color options, less opaque coverage, generally needs more frequent reapplication.
Choose paint when you want a specific solid color, are covering older or blemished wood, or want maximum weather protection and are willing to prep properly. Choose stain if you prefer a low-maintenance, natural look.
Choosing the Right Paint
For fences, an exterior 100 percent acrylic latex paint is the standard recommendation. Acrylic latex flexes with the wood as it expands and contracts through temperature and humidity swings, which resists cracking far better than rigid oil-based paints. It also breathes slightly, letting some moisture escape rather than trapping it under the film.
Look for a paint labeled for exterior wood and fences, with mildew resistance and strong UV protection. Quality exterior acrylics from major brands run $35 to $60 per gallon. Expect one gallon to cover roughly 175 to 350 square feet per coat on a fence, less on rough or previously unpainted wood that drinks up paint. Most fences need two coats over primer for full, even coverage.
The Critical Role of Primer
Skipping primer is the number one reason fence paint fails. Bare wood, especially cedar and redwood, contains tannins that bleed through paint and leave brown stains, and unprimed wood absorbs topcoat unevenly. A quality exterior wood primer seals the surface, blocks tannins, and gives the paint a uniform, well-bonded base.
Use a stain-blocking exterior primer on all bare wood and any spots you scrape down to raw wood. Pressure-treated lumber must be fully dry before priming, which can take weeks to months after installation, since painting wet treated wood traps moisture and guarantees peeling. If in doubt, sprinkle water on the wood; if it beads instead of soaking in, the wood is not ready for paint.
Preparing the Fence for Paint
Prep is 80 percent of a lasting paint job. Rushing it is why so many fences peel. Follow these steps in order.
- Clean: Wash the fence to remove dirt, mildew, and old flaking finish. A pressure washer on a moderate setting or a scrub with a wood cleaner works well. Treat any mildew with a cleaner containing a mildewcide.
- Scrape and sand: Remove all loose or peeling old paint with a scraper, then sand rough edges smooth so new paint bonds cleanly.
- Repair: Replace rotten boards, reset loose nails or screws, and fill cracks with exterior wood filler.
- Dry: Let the fence dry completely, ideally two to three dry days after washing. Painting damp wood is the fastest route to failure.
- Prime: Apply exterior primer to bare and repaired areas, or the whole fence if it is new wood.
Application Techniques
How you apply the paint affects both speed and durability. You have three main tools. A sprayer is fastest for large fences and reaches gaps and grooves, but it wastes paint to overspray and requires masking nearby plants and surfaces. A roller covers flat boards quickly, and a brush handles edges, end grain, and rough textures where full penetration matters. Many pros spray or roll, then immediately back-brush to work the paint into the grain and eliminate thin spots.
Paint in the right conditions: a dry, mild day between 50°F and 85°F, out of direct blazing sun, which dries paint too fast and causes lap marks. Apply thin, even coats and let each dry per the label, usually two to four hours, before recoating. Two thin coats always outperform one thick, drippy coat. Do not forget the end grain at the tops and bottoms of pickets, where water enters and peeling begins.
Choosing the Right Color for a Fence
Color affects both looks and longevity on a fence. Lighter colors like white, cream, and soft gray reflect sunlight and stay cooler, which reduces the thermal stress that ages paint, though they show dirt and require more frequent cleaning. Darker colors such as charcoal, deep green, and black look modern and hide grime but absorb heat, which can accelerate wear on south-facing runs that bake all day.
For most yards, a mid-tone that complements your house trim or siding is the safest choice, tying the fence into the home rather than competing with it. Classic white suits traditional and farmhouse styles, while deep greens and grays recede visually and let landscaping stand out. Whatever you pick, buy enough paint from a single batch, or have the store box multiple gallons together, so the color stays consistent across the whole fence.
Special Cases: Pressure-Treated and Old Fences
Two situations trip up homeowners the most. New pressure-treated lumber is saturated with preservative and moisture at the mill and must dry out before it will hold paint, which can take several weeks to a few months depending on climate. Rushing paint onto wet treated wood is the single most common cause of peeling on new fences. Test readiness with the water-bead check and wait until droplets soak in.
Old, previously painted fences demand extra prep. Layers of failing old paint must be scraped and sanded back to a sound surface, and any gray, weathered, or rotted wood should be cleaned, brightened with a wood restorer, and repaired or replaced. Painting over a poor surface only locks in the problem. When an old fence has widespread rot or the paint is failing everywhere, sometimes replacing severely damaged sections first is more cost-effective than fighting a losing battle with the brush.
Maintenance and Longevity
A properly painted fence lasts five to ten years before needing a refresh, longer than most stains. Extend that life with simple upkeep. Rinse the fence once or twice a year to remove dirt and mildew, and keep sprinklers from constantly wetting it. Trim back plants and grass touching the boards, since trapped moisture rots wood and lifts paint.
Inspect annually for chips, cracks, or peeling, especially at the base and end grain, and touch up promptly before small failures spread. Catching a peeling spot early, scraping and spot-priming it, prevents the water intrusion that would otherwise undermine whole sections. Keep leftover paint sealed and labeled for these touch-ups.
Final Thoughts
Quality wood fence paint delivers the boldest color and the toughest protection available for a fence, but only when you respect the prep. Choose a flexible exterior acrylic latex, always prime bare wood, and never paint damp or freshly treated lumber. Clean, scrape, repair, and dry the fence before you start, apply two thin coats with back-brushing, and keep up with annual touch-ups. Do that, and your fence will hold its color and resist the weather for the better part of a decade.