When homeowners want the classic subway look but with a little more personality, they often land on the smaller, skinnier format. A 2×6 tile is exactly what it sounds like: a rectangle two inches tall and six inches wide, sitting right between a mini brick and a traditional 3×6 subway tile. That slimmer proportion reads as more modern and more detailed, which is why it shows up on so many kitchen backsplashes and accent walls today. This guide covers the best layouts, grout choices, materials, and real costs so you can decide if this format fits your project.
Part of our Tile & Grout guide — explore the full guide →
Why the 2×6 Format Stands Out
The standard subway tile is 3×6, a proportion so common it can feel expected. Dropping the height to two inches changes the whole rhythm of a wall. The tiles look more elongated and refined, and because there are more of them per square foot, you get more grout lines and more visual texture. That extra detail is what designers are after when they want a backsplash to feel custom rather than builder-grade.
Because it is narrower, this format also flatters tight spaces. A short backsplash run between countertop and upper cabinets can look busy with big tiles, but the 2×6 keeps the scale in proportion and makes a small kitchen feel considered.
Popular Layout Patterns
Layout is where you make this tile your own. The same box of tile can look completely different depending on how you set it.
Running Bond (Offset Brick)
The most common setup offsets each row by half a tile, just like brickwork. It is forgiving, hides minor size variation, and is the safe classic choice. A 50 percent offset is standard, though a one-third offset can reduce lippage on longer tiles.
Stacked
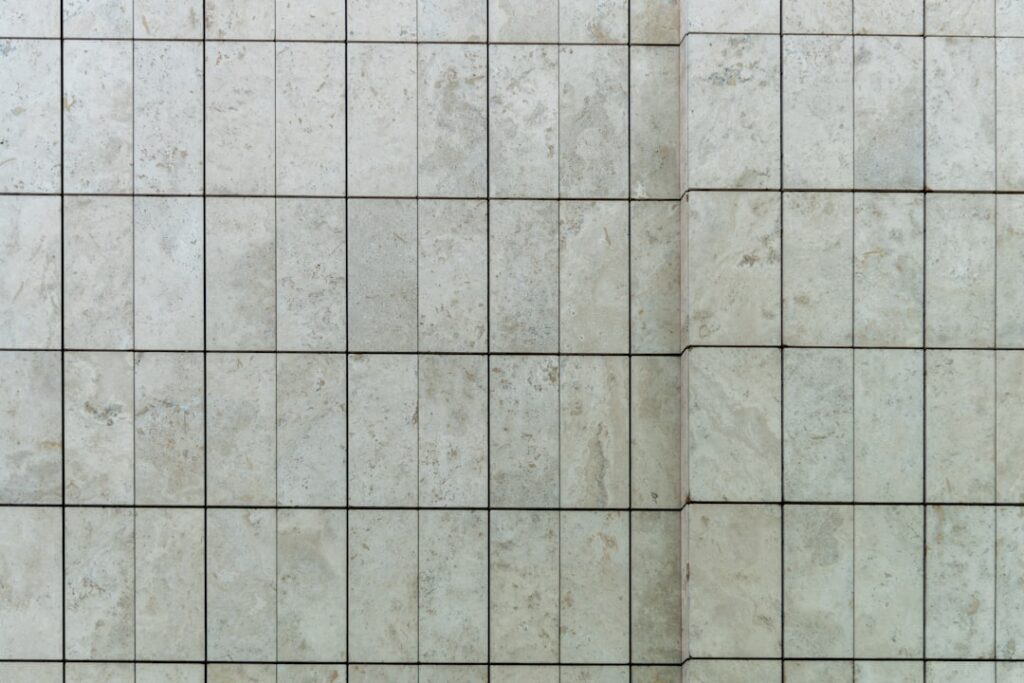
Setting the tiles in a straight grid, with grout lines aligning both horizontally and vertically, gives a crisp contemporary look. Stacked layouts demand precise installation because any misalignment is obvious, so it is best left to a careful DIYer or a pro.
Herringbone and Vertical
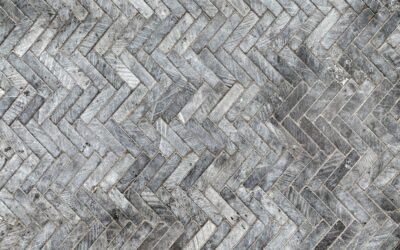
Because the tile is a long rectangle, it makes a striking herringbone. Turning the tiles vertically, in a stacked or offset column, is another trendy move that draws the eye up and makes low ceilings feel taller.
Materials to Choose From
This format comes in nearly every material, and each brings a different look and price point.
- Ceramic — the budget-friendly workhorse, easy to cut and perfect for walls and backsplashes.
- Porcelain — denser and more water resistant than ceramic, suitable for wet areas and even light floor use.
- Glass — reflective and vibrant, popular for backsplashes but pricier and requiring white thinset to avoid show-through.
- Marble and natural stone — a luxury look with soft veining, though it needs sealing and gentler cleaning.
For most kitchen and bathroom walls, ceramic or porcelain gives you the best balance of durability and cost. Save the marble and glass for a focal accent where the extra spend shows.
Grout Choices That Make or Break the Look
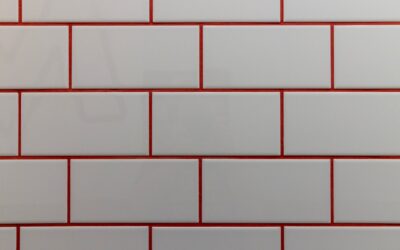
Grout color is not a small decision with this tile, because the format already gives you a lot of grout lines. A matching grout, like white grout with white tile, softens the pattern into a clean field. A contrasting grout, like charcoal or gray with white tile, turns every joint into a bold graphic line and emphasizes the brick-like layout.
Use an unsanded grout for the typical narrow joints of one-sixteenth to one-eighth inch on wall installations. Consider a stain-resistant or epoxy grout behind a stove or sink where grease and splatter attack the joints. For any natural stone tile, seal it before grouting so residue wipes off cleanly.
What a 2×6 Tile Project Costs
Material cost swings widely based on what you pick. Basic ceramic in this format runs about $8 to $12 per square foot, mid-grade porcelain lands around $12 to $18, and glass or marble can push $18 to $25 per square foot or more. Because the tiles are small, you also get more pieces per box, and cutting waste on a busy pattern like herringbone can run 10 to 15 percent, so buy extra.
Professional installation typically adds $10 to $20 per square foot depending on your region and the complexity of the layout. A simple running-bond backsplash of 25 square feet might total $450 to $900 installed with mid-grade tile, while a herringbone marble feature wall will cost considerably more. Always order 10 to 15 percent overage for cuts and future repairs.
Best Places to Use It
This format shines in vertical applications where its detail can be appreciated up close. Kitchen backsplashes are the number-one use, followed by bathroom shower walls, powder-room accent walls, and fireplace surrounds. It also looks great as a wainscot band or a niche accent inside a shower. On floors, stick to porcelain rated for floor use, and understand that a small tile means many more grout lines to clean, which is why larger formats usually win for flooring.
Wherever you use it, the 2×6 tile rewards clean layout planning. Dry-lay a section first, check your offset against a level line, and step back to eyeball the pattern before you commit thinset to the wall.
How Much Tile to Order
Figuring quantity is simple math with one important cushion. Measure the wall or floor area in square feet, then add waste: 10 percent for a straightforward running-bond or stacked layout, and 15 percent for herringbone or any diagonal pattern that generates lots of angled cuts. Buy it all in one order so the tiles come from the same production run, because shade and size can vary slightly between batches. Keep a full box of leftovers after the job; if a tile cracks in five years, a matching replacement from a discontinued line is nearly impossible to find, and stored extras save you from re-tiling a whole wall.
Remember that this small format packs many more pieces into a square foot than a large tile, so a box covers less area than you might expect. Read the coverage printed on the box rather than guessing, and round up on the number of boxes.
Trim, Edges, and Installation Tips
Where your tile ends, the edge treatment decides whether the job looks custom or unfinished. On a backsplash that stops mid-wall, options include a matching bullnose tile with a rounded finished edge, a metal or PVC edge trim like Schluter profiles in brushed nickel or matte black, or a mitered tile edge for a seamless wrapped corner. Bullnose is the traditional choice and blends in, while a metal trim adds a crisp modern accent line. Since many trendy patterns are made from tiles that do not offer a matching bullnose, plan your edge strategy before you buy so you are not stuck improvising at the end.
Start with a straight, level ledger line rather than trusting your countertop to be level; few countertops are. Use tile spacers or a leveling system to keep joints consistent, and back-butter glass or marble for full coverage. Mix your thinset to a peanut-butter consistency, and only spread as much as you can tile before it skins over. Wipe haze off promptly with a damp sponge, and give the installation 24 to 48 hours before grouting. Take your time on the layout, and this small tile delivers a big, custom-looking payoff.
Prefer to explore on your own?
See how new flooring looks in your actual room in seconds — free, no signup.
Try the free Floor Studio →