Subway tile earned its name from the glossy white 3×6 rectangles that lined New York City subway stations in 1904, and that classic proportion still defines the style. But today’s subway tile sizes stretch far beyond the original, from petite 2×4 mosaics to dramatic 4×16 planks. Choosing the right dimension changes the entire feel of a room, affects how much grout you see, and even influences how large a space appears. Understanding the full range helps you pick a size that fits your design goals and your walls.
Part of our Tile & Grout guide — explore the full guide →
The Classic 3×6 and Why It Endures
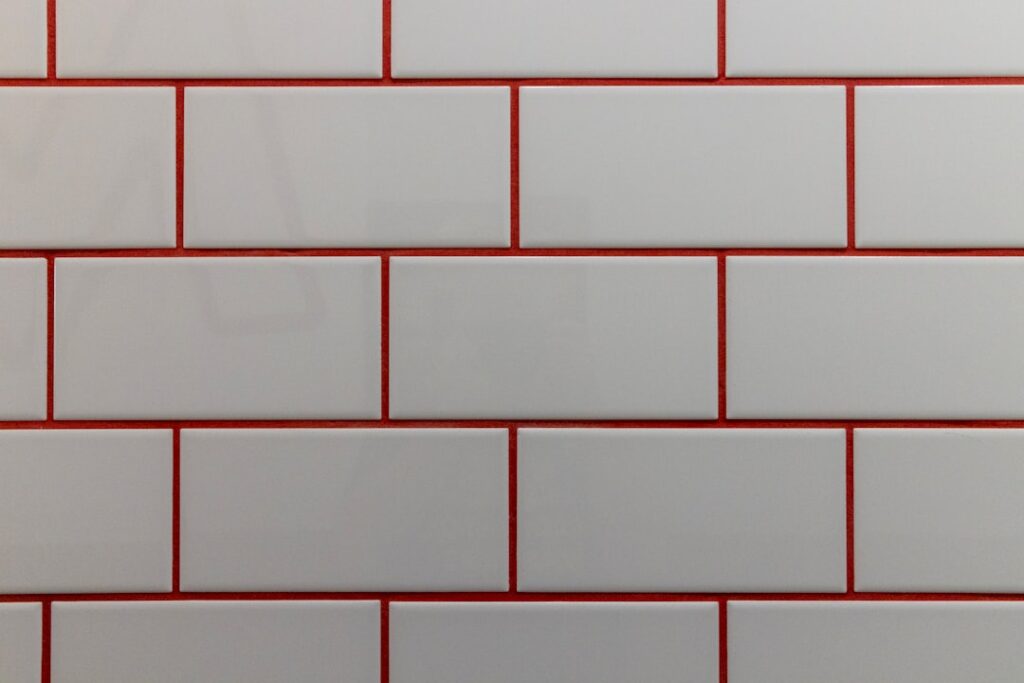
The 3×6 inch tile remains the definitive subway size and the yardstick against which all others are measured. Its 1-to-2 ratio is naturally pleasing, and its small footprint suits the traditional running-bond brick pattern with a 50 percent offset. This size works everywhere, from kitchen backsplashes to full shower surrounds, and it is the most widely available and affordable option, typically $2 to $5 per square foot in basic ceramic. Because it has been produced for over a century, you will find it in every material, finish, and color imaginable. If you want a timeless, safe, budget-friendly choice, the 3×6 is hard to beat.
Small Sizes: 2×4, 1×3, and 2×6
Smaller subway tiles create a more intricate, detailed look and are often sold in mosaic sheets mounted on mesh for easier installation. Common small sizes include:
- 2×4 inch: A miniature subway that adds fine texture and reads as more vintage or craftsman. Great for small backsplashes, niches, and accent bands.
- 1×3 inch: Very small, almost mosaic-scale, ideal for shower floors where the extra grout lines add slip resistance, and for curved or detailed areas.
- 2×6 inch: A slightly scaled-down classic proportion that suits smaller rooms where a full 3×6 might feel oversized.
Small tiles show more grout, which you can use to your advantage with a contrasting color for a graphic effect, or minimize with a matching grout. Because they involve more pieces and more grout lines, they take longer to install and clean.
Large and Elongated Sizes: 4×8, 4×12, and 4×16
Larger and longer subway tiles have surged in popularity for their modern, streamlined appearance. They cover more area with fewer grout lines, making walls look cleaner and rooms feel more open. Popular large formats include:
- 4×8 inch: A chunkier take on the classic ratio, substantial without being trendy, good for a contemporary backsplash.
- 4×12 inch: One of the hottest sizes today. The elongated shape emphasizes horizontal lines, feels upscale, and suits both modern and transitional kitchens and showers.
- 4×16 inch: A true plank subway that makes a bold, architectural statement and dramatically reduces grout joints. It reads almost like paneling and works beautifully stacked or in a 1/3 offset.
- 3×12 and 2×8: Other elongated variants that split the difference for those who want the stretched look at a smaller scale.
The catch with long tiles is that they are more prone to a slight lengthwise warp, so a 1/3 offset rather than a 50 percent offset is recommended to avoid lippage where tile centers sit proud of adjacent tile ends.
How Size Affects the Look of a Room
Tile size is a powerful design lever. Small tiles create visual texture and a busier, more detailed surface that suits vintage, cottage, and eclectic styles. They can make a large wall feel warmer and more handcrafted. Large and elongated tiles do the opposite: they minimize grout lines, calm the visual field, and make a space feel bigger, cleaner, and more contemporary. In a small bathroom, a large-format subway tile can actually make the room feel more spacious by reducing visual clutter, a counterintuitive but reliable trick.
Orientation matters too. Long tiles laid horizontally widen a wall and lower a tall room, while the same tiles stacked vertically draw the eye upward and heighten a space, useful in a standard-height shower.
Matching Layout to Size
Each size pairs best with certain patterns:
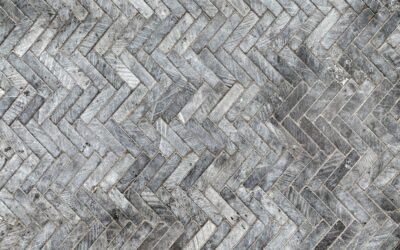
- 3×6 and smaller: Classic 50 percent running bond, or herringbone for a lively twist.
- 4×12 and 4×16: Stacked (grid) for maximum modern effect, or a 1/3 offset to control lippage. Avoid 50 percent offsets on long tiles.
- Vertical stack: Any elongated tile turned on end for height and drama.
- Herringbone: Works with most sizes but generates more waste and labor; stunning with 2×8 or 3×12.
Estimating Quantity and Cost
Regardless of size, tile is sold by the square foot, so a 30-square-foot backsplash needs 30 square feet of tile plus 10 to 15 percent extra for cuts, waste, and future repairs. Smaller tiles in mosaic sheets sometimes cost more per square foot than plain 3×6 because of the mesh backing and labor to produce them. Larger designer formats and specialty finishes also command a premium. Ceramic across sizes runs $2 to $8 per square foot, glass $8 to $20, and natural stone $10 to $25. Installation labor is fairly consistent at $8 to $15 per square foot, though intricate small-tile and herringbone work costs more due to the added time.
Choosing the Right Size for Your Space
Consider these factors when deciding:
- Room size: Large tiles open up small rooms; small tiles add coziness to large expanses.
- Style: Traditional and vintage lean small; modern and transitional lean large and elongated.
- Wall condition: Long tiles demand a flat substrate; on wavy walls, smaller tiles forgive imperfections better.
- Maintenance: More grout lines mean more cleaning, so large formats are easier to wipe down.
- Budget: Basic 3×6 ceramic is the most economical; specialty sizes and materials cost more.
Common Mistakes to Avoid
- Choosing a size before checking wall flatness: Long tiles reveal every bump.
- Using a 50 percent offset on long tiles: Causes lippage; use 1/3 instead.
- Forgetting waste allowance: Always order 10 to 15 percent extra, matched to your dye lot.
- Overwhelming a small room with tiny tiles: Too many grout lines can feel busy.
- Mismatching grout width to size: Small tiles want narrow joints; oversized joints look clumsy.
Frequently Asked Questions
What is the most common subway tile size? The classic 3×6 inch tile remains the definitive and most widely available size. Its pleasing 1-to-2 proportion suits the traditional running-bond brick pattern and works everywhere from backsplashes to full shower surrounds, and it is the most affordable option in nearly every material and color.
What size subway tile makes a small room look bigger? Counterintuitively, larger and elongated formats like 4×12 and 4×16 make small rooms feel more spacious because they reduce the number of grout lines and calm the visual field. Fewer joints read as cleaner and less cluttered, opening up the space.
Which subway tile size is trending right now? The elongated 4×12 is one of the hottest sizes, prized for its modern horizontal emphasis and upscale feel. Bold 4×16 planks and stacked vertical layouts are also popular for their architectural, statement-making look.
Do larger subway tiles cost more to install? Installation labor is fairly consistent at $8 to $15 per square foot across sizes, though intricate small-tile mosaics and herringbone patterns cost more due to the added time. Large tiles can save a little labor since there are fewer pieces and grout joints, but they demand a flatter substrate.
Subway tile sizes give you a remarkably flexible palette, from the timeless 3×6 to bold 4×16 planks and delicate mosaic scales. The right choice balances your room’s dimensions, your design style, and the practical realities of your walls and budget. Take time to visualize how grout lines and proportions will read in your specific space, order a few samples, and you will land on a size that makes your backsplash or shower feel exactly right, whether that is charmingly classic or crisply modern.
Prefer to explore on your own?
See how new flooring looks in your actual room in seconds — free, no signup.
Try the free Floor Studio →