A sliding barn door looks great right up until someone tries to use it on a bathroom and realizes it does not lock. That is where a barn door latch comes in, and it is the one piece of hardware most people forget when they buy the door and the track kit. Because a barn door slides flat against the wall instead of swinging on hinges, it cannot take an ordinary knob or deadbolt — the latch has to sit flush and work with the door’s motion.
- Why a Barn Door Needs a Special Latch
- The Main Types of Barn Door Latch
- Tools and Materials You’ll Need
- Measuring and Marking the Backset
- Installing a Flush Privacy Latch
- Installing a Surface-Mounted Latch
- Matching the Latch to the Pull and Track
- Common Problems and Fixes
- Cost, Privacy, and Final Tips
I have installed plenty of these, and the choice comes down to how much privacy you actually need and how the door meets the wall. Get that right and the latch is a 30-minute add-on with a chisel and a drill.
Why a Barn Door Needs a Special Latch
A standard door latch relies on a bolt that shoots sideways into a jamb. A barn door has no jamb — it overlaps the wall and slides parallel to it, so a protruding knob would smack the trim and a side-throwing bolt would have nothing to catch. Barn door latches solve this in one of two ways: they either mount flush into the door face and edge, or they hook the door to the wall or floor. Either way, the hardware sits within the thickness of the door so it can still slide clean to the wall.
Most interior barn doors are 1-3/8″ thick, which limits how deep a latch mechanism can be. Check your door thickness before buying — a heavy-duty flush latch needs at least that much to bury its housing.
The Main Types of Barn Door Latch
There are five common styles, and picking the right one depends on whether you need real privacy or just a way to keep the door shut:
- Flush privacy latch: A recessed cup with a thumb-turn on the room side and a small pin that drops into the wall or floor. This is the true “locking” option for bathrooms and bedrooms. $30 to $70.
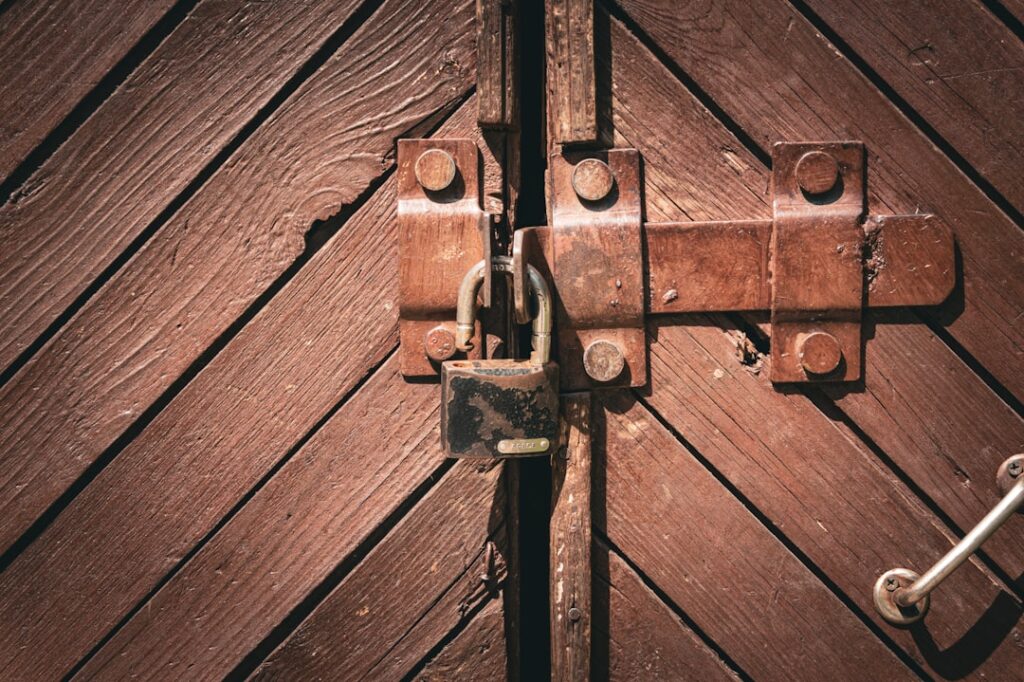
- Teardrop / hook-and-eye latch: A surface-mounted hook that catches an eye on the wall trim. Simple, cheap ($10 to $25), keeps the door from drifting but offers only light privacy.
- Flip-catch or gravity latch: A weighted arm that drops into a keeper — good for closets and pantries where you just want the door to stay put.
- Floor-mounted strike latch: A pin that shoots down into a floor guide, giving solid privacy without touching the wall trim.
- Ladder or bar latch: A rustic sliding bar across two brackets, mostly decorative but functional for a barn-style look.
If the door is on a bathroom, only the flush privacy latch or the floor-strike type truly qualifies as a lock. The rest are “keep it closed” hardware, not privacy hardware.
Tools and Materials You’ll Need
A flush privacy latch is the most involved install, so gather for that:
- Cordless drill and a set of spade or Forstner bits — commonly a 1″ and a 2-1/8″ to match the mortise cups
- Sharp 1″ wood chisel and a mallet
- Tape measure and a combination square
- Pencil and painter’s tape
- #2 Phillips bit and the screws in the kit (usually #6 or #8 wood screws)
- The manufacturer’s paper template if included
A surface-mounted teardrop or hook latch needs far less — just a drill, a bradawl, and a screwdriver, plus about 10 minutes.
Measuring and Marking the Backset
The backset is the distance from the door’s edge to the center of the latch bore, and on barn door privacy latches it is usually 2-3/8″, the same as many entry doors. Measure a comfortable height first — 36″ to 40″ from the floor is typical, matching where a normal door handle sits. Mark that center line, then set your backset and mark the face bore and the edge bore where they cross.
Use painter’s tape over your marks so you can see the layout and protect the finish while you drill. Measure twice here; a mortise cut in the wrong spot is not something you can un-cut.
Installing a Flush Privacy Latch
Work through it methodically and it goes smoothly:
- Bore the face hole for the thumb-turn cup with the larger bit, drilling only as deep as the housing requires — usually 3/4″ to 1″.
- Bore the edge hole for the latch pin with the 1″ bit, meeting the face bore inside the door.
- Chisel the mortise flat so the faceplate sits flush with the door edge and the cup sits flush with the face.
- Drop in the mechanism and secure both faceplates with the provided screws.
- Mark the strike position on the wall trim or floor by extending the pin against it, then mortise and mount the strike or floor keeper.
- Test the thumb-turn a dozen times so the pin engages the strike cleanly with the door fully closed.
If the pin misses the strike, the door is not sliding to a consistent stop — add a wall bumper or adjust the anti-jump discs on the track so it lands in the same spot every time.
Installing a Surface-Mounted Latch
The teardrop and hook styles are the quick win. Hold the latch body on the door face at handle height, level it, mark the two screw holes, and drive them into pilot holes so the wood does not split. Then mount the catch or eye on the wall trim so it lines up when the door is closed. That is the whole job — no boring, no chiseling, and it is easy to reverse if you change your mind, which makes it the go-to for renters.
Matching the Latch to the Pull and Track
A barn door latch rarely comes with a handle, so plan the pull at the same time. On the room side you want a flush recessed pull or a small bar handle that sits within the door thickness, so nothing catches as the door slides to the wall. Match every finish across the latch, the pull, the track, and the roller straps — matte black is the default barn look, but oil-rubbed bronze and brushed stainless are common. Buying the latch, pull, and track as a coordinated set from one maker saves you the headache of two slightly different blacks that never quite match.
Height matters for daily comfort. Set the latch and pull at the same 36″ to 40″ range you would find a standard door handle, and keep the pull and the latch aligned vertically so your hand naturally lands on both. On a bathroom door, put the thumb-turn on the inside where you actually need the privacy.
Common Problems and Fixes
Two issues account for most barn door latch complaints. The first is a pin that misses its strike because the door stops in a slightly different place each time — the cure is a floor guide plus a wall bumper so the door lands consistently, and anti-jump discs on the track to keep it from bouncing. The second is a latch that feels stiff or sticks; that usually means the mortise was cut a hair too shallow and the mechanism is binding against wood, so pull it and deepen the pocket a few millimeters with a chisel. If a surface-mounted hook keeps rattling loose, the screws are pulling out of thin panel material — switch to slightly longer screws or add a dab of wood glue in the pilot holes.
Cost, Privacy, and Final Tips
Budget $10 to $25 for a simple hook, $30 to $70 for a proper flush privacy latch, and add a matching pull if your door does not have one. Match the finish to your track hardware — matte black is the standard barn look, but oil-rubbed bronze and brushed steel are common too.
Two things save headaches. First, if privacy is the goal, buy the latch and the door at the same time so you know the thickness supports a flush mechanism. Second, install a floor guide on the door regardless of latch type — a barn door that sways at the bottom will never line up with any strike. Do that, pick the right barn door latch for the room, and the door finally works as well as it looks.