Swapping a swing door or those flimsy bi-fold panels for a barn door closet is one of the highest-impact upgrades you can make in a bedroom. It reclaims the floor space a hinged door steals, it kills the off-track bi-fold frustration everyone knows, and it turns a plain closet into the focal point of the room. I’ve converted dozens of reach-in and walk-in closets to sliding barn doors, and the results almost always outperform what people expect from a weekend project.
This guide covers single versus bypass layouts, the clearance math that makes or breaks the job, hardware, cost, and how to install it.
Why a Barn Door for a Closet
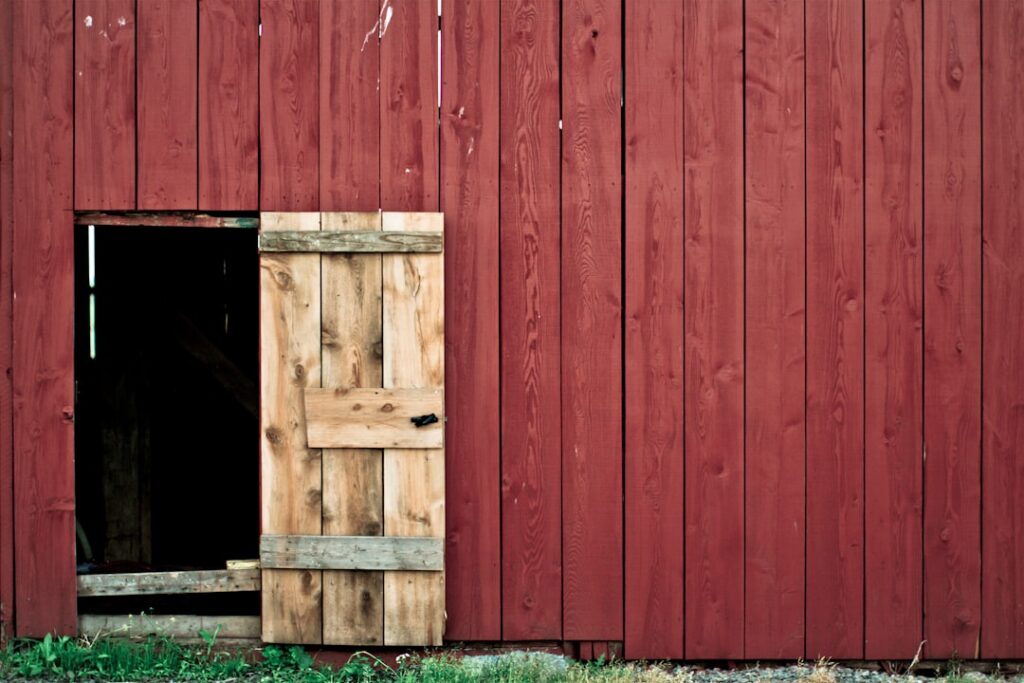
Three practical wins. First, floor space — a standard 30-inch swing door sweeps about 6 square feet of floor that you can’t put furniture on. A barn door slides flat against the wall and gives all of that back. Second, reliability — bi-fold closet doors jump their tracks constantly, and a single-panel or bypass barn door has far fewer failure points. Third, looks — a wood barn door reads as an intentional design feature, not a builder default.
The main trade-off is wall space. A single barn door needs a clear stretch of wall next to the closet to park on, equal to the door’s width. If there’s a corner, a window, or a light switch right beside the opening, a single door won’t work — and that’s where bypass doors come in.
Single Door vs. Bypass Doors
This is the first decision, and it’s driven by your wall.
- Single barn door: one slab that slides to one side. Best for reach-in closets up to about 48 inches wide, and only when you have open wall beside the opening for the door to rest on. Cleanest look, cheapest hardware.
- Bypass barn doors: two (or more) slabs on parallel tracks that slide past each other. Perfect when there’s no side wall to park on, and the only choice for wide openings of 5 to 8 feet. The catch: you can only ever open half the closet at once, since one door always covers half the opening.
For a typical 6-foot reach-in in the middle of a wall, bypass is usually the answer. For a 3-foot closet next to a blank wall, go single.
Measuring and Sizing the Door
The door should be wider and taller than the opening so it blocks light and hides the closet contents. For a single door, add about 2 inches to each side of the opening width and 1 to 2 inches at the top. So a 32-inch opening wants roughly a 36-inch door. For bypass, size the pair so they overlap in the middle by a couple inches and each overhangs its side.
Height matters too. Measure from the floor to where the track will sit — you need room above the opening for the track and rollers, usually 5 to 6 inches of clear wall between the top of the opening and the ceiling. Low ceilings or tight header space can force a low-profile roller kit.
The Clearance Details People Miss
Two clearances make or break a closet install. First, side clearance — for a single door, you need bare wall next to the opening at least as wide as the door, with no switches, thermostats, or return-air grilles in the way. Relocating a light switch adds cost and an electrician, so check this before you buy.
Second, depth clearance — the door rides an inch or so off the wall on its spacers, plus the roller thickness, so the door face ends up 1-1/2 to 2 inches proud of the trim. Make sure nothing (a dresser, a doorway, baseboard heat) sits in that 2-inch band, and that the door clears the closet’s own casing as it slides.
Hardware and What It Costs
A closet barn door needs the same core kit as any barn door — track, rollers, spacers, stops, and a floor guide — sized to the door. Bypass adds a bracket that offsets the two tracks so the doors clear each other. Budget:
- Single door slab (MDF or pine): $120 to $350
- Bypass pair: $250 to $600
- Single-door hardware kit: $80 to $220
- Bypass hardware kit: $150 to $350
- Header board lumber: $25 to $50
- Flush pulls (closet doors need flush pulls, not protruding handles): $15 to $40
Note the flush pulls — a bypass door with a standard handle will collide with its neighbor. Recessed flush pulls are essential on any bypass setup and smart on singles too.
Installation Overview
A single-door closet install is a solid weekend DIY; bypass is a bit fussier because of the offset tracks. General flow:
- Locate the studs above the opening and mount a lag-bolted header board, checked dead level.
- Bolt the track (or the two bypass tracks with their offset bracket) to the header board.
- Fit the flush pulls into the door slabs before hanging.
- Attach rollers to the door faces at the spacing the kit calls for.
- Hang the doors — a two-person job — and set the end stops.
- Install a floor guide for each door so they don’t sway into the opening.
For bypass, mind the sequence of hanging: the back door goes on first, the front door second, because the front track sits closer to the room.
Plan on three to five hours for a single door and a bit longer for bypass. The header board and getting it level eats most of the time; the actual hanging is quick with a helper. Have a second person on hand for lifting the slab onto the track — a heavy door balanced overhead alone is how people damage a wall or a slab.
Door Material Choices
The slab you hang changes both the weight rating you need and the room’s feel. MDF panel doors are the budget favorite — $120 to $200, light at 40 to 60 pounds, and they take paint beautifully for a clean modern look. Pine plank doors bring the rustic Z-brace or plank-and-batten look, run 60 to 100 pounds, and stain well. Solid hardwood or reclaimed slabs are the showpiece option but can top 150 pounds, which pushes you into heavy-duty hardware and makes the header board non-negotiable. Glass or mirrored barn doors bounce light into a dark bedroom and make a small room feel larger, though the frames are heavy and the glass adds cost.
For a closet specifically, I lean toward lighter MDF or pine unless the room is a design statement — the door gets slid multiple times a day, and lighter slabs are easier on the rollers and quieter over the years.
Sound and Light Considerations
Be realistic about what a barn door does and doesn’t do. Because it hangs off the wall rather than sealing into a jamb, there’s always a small gap around the edges. That’s fine for a closet — you don’t need a light or sound seal on a spot where you keep clothes. But if the “closet” is really a laundry area or the door borders a bedroom where someone sleeps, know that light will leak around the edges and the door won’t block much noise.
You can tighten it up. Sizing the slab a full 2 inches past the opening on each side minimizes light spill, and adhesive felt or a slim brush seal along the back edges cuts the gap further. A floor guide that keeps the door tight to the wall does more for the light gap than anything else.
Making the Most of It
A well-planned barn door closet gives you back floor space, ends the bi-fold headaches, and turns a dull closet into a design feature — all in a weekend and often under $500. The whole job hinges on two measurements: the wall clearance beside a single door, and the 2-inch depth the sliding slab needs to stand off the wall. Get those right, choose single or bypass to match your wall, add flush pulls and a floor guide, and you’ll wonder why the room ever had a swing door in the first place.