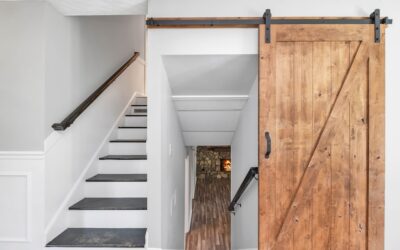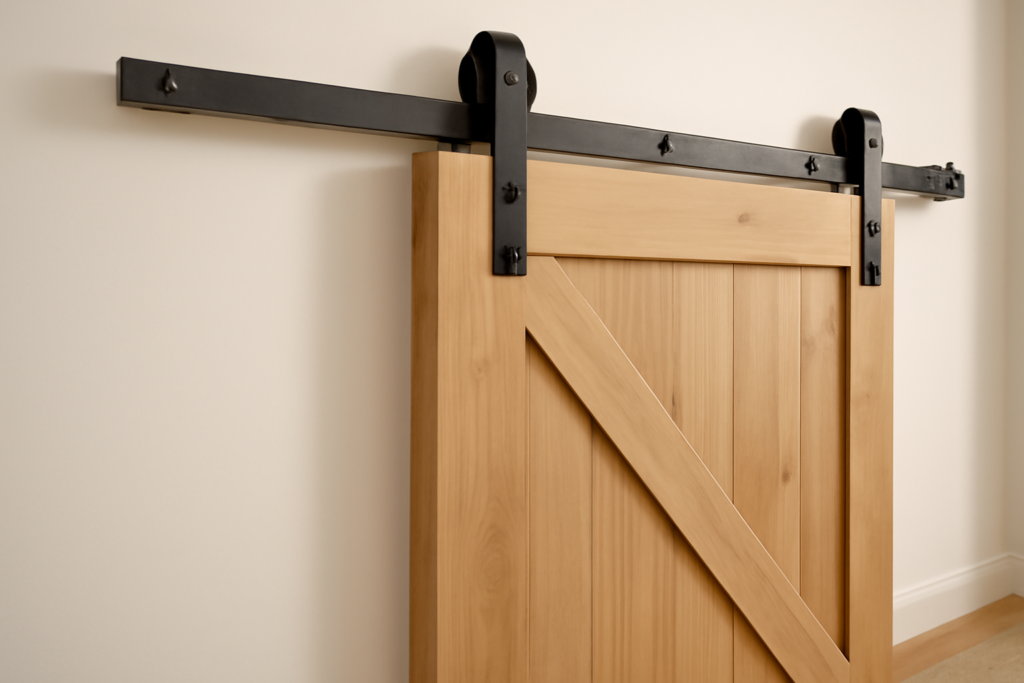
A barn door is only as good as the kit that hangs it. I’ve seen beautiful reclaimed slabs ruined by a $40 track that squealed and jumped the rail, and plain MDF doors glide like glass on a proper kit. The sliding barn door hardware — track, rollers, hangers, stops, and floor guide — is where your money and attention should go, because it’s the part you touch and hear every single day.
Part of our Windows & Doors guide — explore the full guide →
Here’s how to size a kit, read the weight ratings, and mount it so the door rolls silent and stays on the rail.
What’s in a Hardware Kit
A complete kit includes six things, and cheap kits skip the last two:
- Track (rail): the steel bar bolted to the wall that the door hangs from.
- Rollers/hangers: two wheeled brackets that bolt to the door face and ride the track.
- Wall mounts / spacers: standoffs that hold the track off the wall so the door clears the trim.
- End stops: bumpers that keep the door from rolling off either end of the track.
- Floor guide: a small anti-sway part at the bottom that keeps the door from swinging into the wall.
- Anti-jump discs: spacers that stop the rollers hopping the rail if the door is bumped.
If a kit doesn’t list a floor guide and anti-jump hardware, budget to buy them separately — they’re the difference between a door that behaves and one that clatters.
Sizing the Track
The rule is simple and non-negotiable: the track must be twice the width of the door opening. A 36-inch door needs a 72-inch (6-foot) track so the door can slide fully clear of the opening. If you cover a 36-inch opening with a slab that’s 38 to 40 inches wide (you want 2 inches of overlap on each side for privacy and light-blocking), you still size the track to twice the door width, so figure roughly 6-1/2 to 7 feet.
Common track lengths run 4, 5, 6-1/2, 8, 10, and 13 feet. If your span falls between sizes, buy the next length up and trim it, or buy a two-piece splice-joint track for wide openings and double doors.
Weight Ratings Matter
Every kit lists a weight capacity, usually 200 to 400 pounds. Weigh — or estimate — your door and don’t cut it close. A hollow-core or MDF barn door runs 40 to 80 pounds. A solid pine or reclaimed slab runs 80 to 150 pounds. A solid oak or double-thick door can top 200 pounds. Buy a kit rated at least 30 percent above your door’s weight so the rollers and bearings aren’t running maxed out — an over-rated kit rolls quieter and lasts longer.
Pay attention to the roller bearings too. Cheap kits use nylon bushings that get noisy; better kits use sealed steel ball bearings that stay quiet for years. It’s the single upgrade most worth paying for.
Roller and Hanger Styles
Hanger shape is mostly aesthetic, but it changes the look a lot:
- Classic strap (J-shape / top-mount): the traditional look, a strap that bends over the top of the door.
- Bent strap / spoke wheel: decorative wheels for a rustic or industrial vibe.
- Bypass: a two-track or offset system that lets two doors pass each other on parallel rails — used for closets and wide openings.
- Low-profile / hidden: the roller tucks behind the door for a minimalist, track-only look.
Finish options are the usual matte black, oil-rubbed bronze, raw steel, and stainless. Matte black is the default and hides fingerprints best.
The Header Board Question
Here’s the detail that trips up first-timers: you can’t just bolt a heavy track into drywall. The lag bolts need to hit solid framing. You have two options. Either locate the studs behind the wall and drive each lag into a stud (rarely spaced to match your track holes), or — the reliable method — mount a header board first. A 1×6 or 1×8 hardwood board, lag-bolted through the drywall into every stud it crosses, gives you a continuous solid surface to mount the track anywhere along its length.
A header board also drops the track down to the right height and adds a finished architectural band above the door. On any door over 80 pounds, I consider it mandatory, not optional.
Cost Breakdown
What to expect, hardware only:
- Budget kit (nylon rollers, 200 lb): $60 to $100
- Mid-grade kit (steel bearings, 250 lb, floor guide included): $120 to $220
- Premium kit (heavy-duty, soft-close, 400 lb): $250 to $500
- Header board lumber and lags: $25 to $60
- Soft-close add-on damper: $40 to $90
Soft-close dampers are worth it on a bedroom or bathroom door — they stop the door slamming into the end stop and catch it gently the last few inches.
Installation in Brief
Plan a half-day. The sequence:
- Find and mark every stud across the opening span.
- Mount the header board, lag-bolting into each stud, and check it dead level — the whole door’s alignment depends on this board being level.
- Bolt the track to the header board through the spacers.
- Attach the rollers to the door face at the spacing the kit specifies.
- Lift the door onto the track (two-person job), set the end stops, and check the swing.
- Install the floor guide last, positioning it so the door tracks in the same path every time.
Recheck the header board level with a 4-foot level, not a torpedo — a small error over 6 feet becomes a door that drifts open or shut on its own.
The Floor Guide — Don’t Skip It
The single most-ignored part in the kit is the floor guide, and it’s the reason so many barn doors swing and bang the wall. Because the slab hangs from a top track only, nothing controls the bottom edge unless you add a guide down there. There are three types. A wall-mounted L-guide screws to the baseboard and traps the bottom of the door in a slot — simple and invisible. A floor-mounted T-guide screws into the floor and rides in a groove routed into the door bottom, which requires cutting a channel in the slab. A bottom channel guide uses nylon rollers that hug both faces of the door.
Whichever you pick, set it so the door tracks in exactly the same path every pass. This also fixes the light gap on privacy doors, because the slab can’t drift away from the wall. Mount the guide only after the door is hanging and you’ve confirmed its resting position.
Double Doors and Wide Openings
For openings over about 5 feet, or where you want a symmetrical look, two doors meeting in the middle beat one huge slab. Each door slides to its own side, so the track has to span twice the width of a single door plus the opening — often 10 to 13 feet, which is where splice-joint tracks earn their keep. You’ll need two roller sets, a center stop or soft-close on each side, and a floor guide per door.
Weight is the thing to watch on doubles. Two heavy slabs on one long header board mean a lot of load in the lag bolts, so hit every stud across the span and consider a thicker 1×8 header. Bypass hardware is the alternative when the doors need to overlap rather than meet, common for closets and media walls.
Getting It Right the First Time
Good sliding barn door hardware is a buy-once decision. Size the track to twice the door width, over-rate the weight capacity by a third, insist on steel ball-bearing rollers, and mount everything to a lag-bolted header board rather than trusting drywall anchors. Add the floor guide and anti-jump discs even if you have to buy them separately. Do that and the door will glide silently for years — nail the hardware and the slab, however humble, will feel like a custom install.