Adding a full bath downstairs transforms a basement from storage zone into real living space, but building below grade comes with challenges no upstairs bathroom faces. Smart basement bathroom ideas with shower start with the unglamorous fundamentals, drainage, waterproofing, and ventilation, because a beautiful basement bath that floods or grows mold is a costly mistake. Get the technical foundation right first, then layer on the design. Here is how to plan a downstairs shower bath that stays dry, comfortable, and inviting.
Part of our Bathroom Remodeling & Flooring guide — explore the full guide →
- Start With the Plumbing Reality
- Drainage and the Shower Itself
- Waterproofing Is Non-Negotiable Below Grade
- Ventilation: The Make-or-Break Detail
- Layout Ideas That Work Below Grade
- Making a Basement Bath Feel Bright, Not Like a Cave
- Design Touches to Elevate the Space
- Permits, Codes, and Egress
- Controlling Cost Without Cutting Corners
- The Bottom Line
Start With the Plumbing Reality
The biggest question in any basement bathroom is how the waste water gets out. Because the fixtures often sit below the main sewer line, gravity may not carry waste away on its own. You have two scenarios:
- Below the sewer line: you will likely need a sewage ejector pump (or for a powder room, an upflush macerating system). The ejector pump collects waste in a sealed basin and pumps it up to the main line. This is common and reliable, but it must be sized and installed correctly.
- Above the sewer line, or with existing rough-in: many homes have a basement bathroom rough-in already stubbed into the slab, which lets waste drain by gravity, simpler and cheaper.
Check for an existing rough-in first (look for capped pipes in the floor). If there is none and you are below the sewer line, budget for an ejector pump and the work to tie it in. This single factor heavily influences cost and layout, so settle it before designing.
Drainage and the Shower Itself
The shower needs its own properly sloped drain feeding into the basement’s drainage system. If you are cutting into the concrete slab to run new lines, plan the drain location early. A linear drain along one wall simplifies the floor slope and pairs well with a curbless, walk-in shower, a great look for basements and easier for aging-in-place. Ensure the shower pan is sloped at least 1/4 inch per foot toward the drain so water never pools. Where an ejector system handles the bathroom, confirm the shower drains into it correctly.
Waterproofing Is Non-Negotiable Below Grade
Basements deal with moisture from two directions: water you generate (showering) and water from the surrounding ground (hydrostatic pressure, seepage, humidity). Both must be managed:
- Waterproof the shower fully with a proper membrane behind the tile, just as you would upstairs, sealing corners, the floor-to-wall joints, and the pan.
- Address the basement walls before finishing, fix any seepage, apply a masonry waterproofing coating or interior drainage if needed, and never trap moisture behind finished walls.
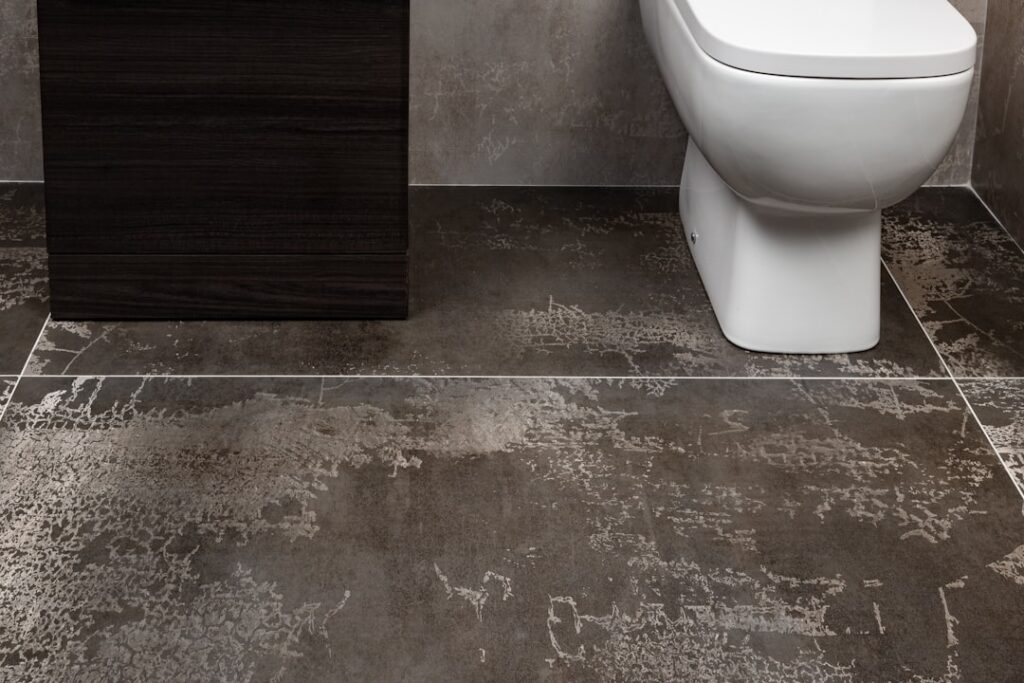
- Choose moisture-tolerant materials: porcelain tile, cement board (not standard drywall in wet zones), and mold-resistant products. Avoid solid wood flooring; go with tile or luxury vinyl that handles below-grade moisture.
Honestly, this is where corners get cut and regrets begin. Below-grade waterproofing failures are expensive to undo once walls are finished, so invest here.
Ventilation: The Make-or-Break Detail
Basements are naturally damp and have limited airflow, so a shower’s humidity has nowhere to go without help. An exhaust fan vented all the way to the outdoors (not into the basement ceiling or an unvented cavity) is essential to prevent mold, mildew, and that musty basement smell. Size the fan for the room (rated in CFM for the square footage) and put it on a humidity sensor or timer so it runs after every shower. If running a vent duct to the exterior is difficult, this is a problem to solve during planning, not an afterthought; without real ventilation, a basement shower bath will fight moisture forever.
Layout Ideas That Work Below Grade
Basement baths are often tucked into corners or odd spaces, so layout creativity pays off:
- Three-quarter bath (sink, toilet, shower): the most space-efficient full-function layout, perfect when square footage is tight.
- Corner or curbless walk-in shower: maximizes a small footprint and feels open; a glass panel keeps it bright.
- Wet-room style: a fully tiled, waterproofed room where the shower is open, great for compact basement baths and easy cleaning.
- Locate near existing plumbing (under an upstairs bathroom or near the main stack) to minimize the cost of running new lines through the slab.
Making a Basement Bath Feel Bright, Not Like a Cave
Basements lack natural light, so design has to compensate. Lean into light, bright finishes, white or light tile, pale walls, and a large mirror to bounce light around. Layer the lighting generously: recessed ceiling lights, sconces or a backlit mirror at the vanity, and warm LED bulbs (around 2700 to 3000K) so the space feels inviting rather than clinical. A glass shower enclosure instead of a solid wall keeps sightlines open. If you have any below-grade window wells, an egress or small window adds priceless daylight and helps with ventilation and code compliance.
Design Touches to Elevate the Space
Once the fundamentals are handled, have fun. A floating vanity makes a small basement bath feel larger and keeps the floor visible. Heated tile flooring is a luxury that pays off in a naturally cool basement. Niche shelving in the shower, a frameless glass door, and a bold tile accent wall give the room upstairs-quality polish. Just keep every material choice moisture-appropriate, style should never override the below-grade durability the space demands.
Permits, Codes, and Egress
A basement bathroom is not a project to do under the radar, permits and inspections protect you. Most jurisdictions require permits for new plumbing and electrical work, and inspectors will check the drainage, the ejector pump installation, GFCI-protected outlets (required in bathrooms), and proper venting. Electrical near water must be code-compliant for safety. If you are converting the basement into a bedroom or living suite with the bathroom, egress requirements may come into play for the overall space. Working with the building department upfront avoids costly do-overs and ensures the bathroom is legal and safe, which also matters at resale, an unpermitted bathroom can become a problem when you sell.
Controlling Cost Without Cutting Corners
Basement bathrooms can get expensive fast, mostly because of the plumbing and waterproofing, so spend strategically. The single biggest cost driver is whether you must cut the concrete slab to run new drain lines or install an ejector pit, so locating the bathroom near existing plumbing or an existing rough-in saves the most money. Save further by handling demolition, painting, and fixture installation yourself while leaving the drainage, ejector pump, and waterproofing to professionals, the areas where mistakes are catastrophic. Choose mid-range moisture-tolerant materials rather than premium finishes in a below-grade space. The honest rule is to never economize on waterproofing, drainage, or ventilation; those are the parts that, if done cheaply, lead to mold, leaks, and a bathroom you regret.
The Bottom Line
A basement bathroom with a shower is one of the best ways to add usable square footage and resale value, but its success is decided beneath the surface. Confirm your drainage strategy first, whether a gravity rough-in or a sewage ejector pump, waterproof both the shower and the basement environment thoroughly, and install real ventilation ducted to the outside. Nail those three, then design a bright, open layout with moisture-tolerant finishes, and your downstairs bath will feel like a natural extension of the home rather than a damp afterthought.