Rusted steel frames, single-pane glass sweating all winter, and that musty draft you can feel from the stairs — original basement windows are usually the worst-performing openings in the whole house, and basement window replacement inserts are the purpose-built fix. Unlike upstairs replacement work, basement window replacement inserts go into concrete, block, or steel bucks rather than wood framing, the openings are short and wide instead of tall, and half the houses on any street have sizes no catalog stocks. This is its own niche of the window trade (the site’s general window-insert article covers above-grade work), and after a few hundred basement swaps, here’s how I measure, choose, and set them.
Part of our Windows & Doors guide — explore the full guide →
- What Makes Basement Openings Different
- The Four Insert Styles and When Each Wins
- Egress: The Rule That Overrides Everything
- Measuring Masonry Openings Correctly
- What to Look For in the Unit Itself
- Installation Into Block or Concrete, Step by Step
- Window Wells: The Other Half of the Job
- Costs and the Payoff
What Makes Basement Openings Different
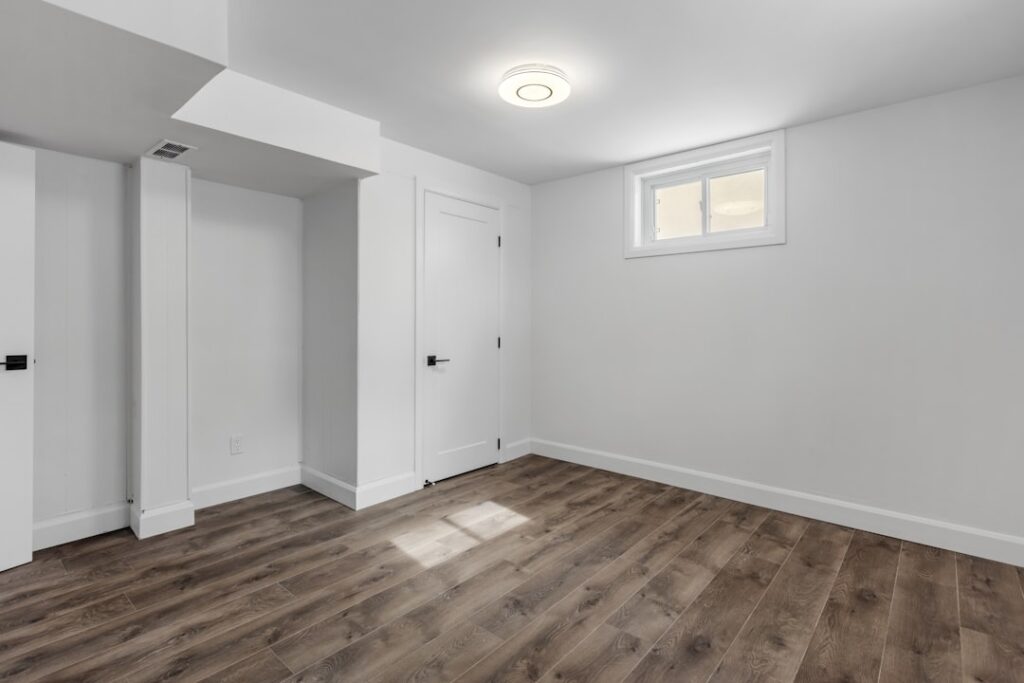
Three realities drive every decision. First, the surround: basement windows sit in poured concrete, mortared block, or a steel or wood “buck” cast into the foundation — there’s no stud pocket, no nailing flange territory, and fasteners mean masonry anchors or bucks. Second, geometry: typical basement openings run 30–32″ wide by 14–24″ tall, far wider than tall, which limits you to hopper, awning, slider, and fixed styles. Third, exposure: grade-level windows live behind wells, catch splash and snow, and see the highest humidity swings in the house — which is why vinyl and composite own this market and why the old steel units you’re removing rusted out in the first place.
The Four Insert Styles and When Each Wins
- Hopper: hinges at the bottom, tilts open into the room at the top. The classic basement style — the inward tilt clears window wells, deflects drafts upward, and seals on all four sides with compression. Best ventilation-per-dollar for laundry areas. $120–$300.
- Slider: one sash slides horizontally. Wins in wide, very short openings (under 15″ tall) where a hopper sash would be a mail slot, and where furniture or shelving sits close to the wall. Screens are simple; air-seal is slightly looser than a hopper’s compression seal. $140–$350.
- Awning: hinges at top, opens outward — only viable with generous well clearance, but it can stay open in rain. $180–$400.
- Fixed/glass block: no ventilation, maximum security and insulation. Fixed vinyl units run $100–$250; mortared glass block runs $150–$400 per opening installed and is the burglar-resistance champion for utility rooms that never need airflow.
My default prescription: hoppers everywhere you want air, a slider where the opening is too short, and one fixed or block unit behind the mechanicals.
Egress: The Rule That Overrides Everything
Before ordering anything, ask what the room is. A basement bedroom — or any finished sleeping room — requires an egress-capable opening: 5.7 square feet of clear openable area (5.0 sq ft at grade level), minimum 24″ clear height, minimum 20″ clear width, sill no more than 44″ above the floor, plus a compliant well with a ladder if it’s deeper than 44″. No standard basement insert satisfies that; egress conversions mean cutting the foundation, a $2,500–$5,500 project with engineered lintels and a code permit. Inserts are for storage, laundry, rec rooms, and mechanical spaces. Put a hopper in a basement “bedroom” and you’ve built a code violation with a nice draft seal — get the room’s use straight first.
Measuring Masonry Openings Correctly
- Identify what stays. Removing just the old sash and leaving a sound steel or wood buck? Measure the buck’s inside faces. Cutting out a rusted steel frame entirely (grinder with cutoff wheel, 30–45 minutes of sparks and patience)? Measure masonry to masonry.
- Take width at top, middle, bottom and height at left, center, right — concrete openings are routinely 3/8″ out of square. Record the smallest of each.
- Deduct 1/4″–1/2″ from both dimensions for shim and sealant space. Into raw masonry I want a fat 1/4″ all around; into a clean buck, 1/8″–1/4″.
- Measure depth of the opening (most vinyl basement units want 3–4″ of flat bearing) and note sill condition — crumbled mortar sills get patched with hydraulic cement before anything is set.
Common stock sizes — 32×14, 32×18 to 32×20, 32×24, and 36×24 nominal — cover maybe 60% of houses. The rest order custom, which most regional vinyl fabricators pour for a 20–40% premium with 2–4 week lead times. Never buy a stock unit and pack a 2″ gap with foam; oversized gaps are how inserts sag, leak, and get burgled.
What to Look For in the Unit Itself
- Welded vinyl frame (not mechanically joined) with fusion-welded sash corners.
- Double-pane insulated glass with low-E and argon — U-factor 0.30 or better. Below-grade rooms amplify condensation, and single-pane replacements re-create the problem you’re paying to kill.
- Compression bulb seals on hoppers; dual fin seals on sliders.
- Screens included and removable from inside — you will not be climbing into the well for maintenance.
- Security hardware: cam locks on both sides of a hopper sash, and add a keyed slider vent lock ($8) on any window hidden behind shrubs or a well. Basement windows are a favored entry point; laminated glass upgrades ($40–$80 per unit) are cheap deterrence.
Installation Into Block or Concrete, Step by Step
Per window: 1.5–3 hours including old-frame removal.
- Demo: unscrew or cut out the old unit, wire-brush the opening, and patch spalls and voids with hydraulic cement. Vacuum the sill dust — sealant won’t bond to powder.
- Dry-fit the insert, shimming to level on the sill and plumb in the opening; the sash must operate freely in the shimmed position before a single anchor goes in.
- Run heavy beads of polyurethane or hybrid sealant on the exterior perimeter bearing surfaces, set the window, and re-check operation.
- Anchor through the frame’s pre-drilled points with 1/4″ masonry screws (Tapcon-style) into 3/16″ pilot holes drilled 1-1/4″ into the concrete — two per side minimum, snug not crushing. Into wood bucks, #8 stainless screws.
- Fill the perimeter gap with low-expansion window foam; trim flush when cured.
- Seal the exterior joint with polyurethane sealant tooled into a proper cove — this joint, not the foam, is your water barrier. Inside, caulk or add PVC trim strips for a finished look.
Window Wells: The Other Half of the Job
A new insert behind a failing well is only half a fix, so audit the well while the opening is torn up. The gravel at the well’s base should drain — dump a bucket of water in; if it stands more than a few minutes, dig out the bottom 12″ and recharge with clean 3/4″ stone, and check whether the well ties to the footing drain (many just dead-end in clay). Rusted corrugated wells replace for $30–$80 in galvanized steel or $60–$150 in composite, anchored to the foundation with the same Tapcon-style screws you used on the window. Top it with a clear polycarbonate well cover ($40–$120): it keeps snow load and splash off your new unit, cuts heat loss measurably, and stops the annual toad-and-leaves excavation. Skip bubble covers on any egress well, though — those need covers that open from inside without tools.
Grade matters as much as hardware. Soil within 4–6″ of a window’s sill guarantees splash rot and eventual leakage no vinyl frame can outlast; re-establish fall away from the foundation at 6″ over the first 10 feet, and extend downspouts past the wells. I’ve replaced “failed” basement windows whose only real crime was catching a roof valley’s worth of unmanaged runoff every storm.
Costs and the Payoff
Materials per opening: $100–$350 stock, $200–$500 custom, plus roughly $20 in anchors, foam, and sealant. Professional supply-and-install runs $350–$800 per window, with glass block toward the lower middle of that band. A typical house has three to six basement openings, so the whole project lands between $500 DIY and $4,000 hired. Payback shows up three ways: the drafts stop immediately, winter condensation and its mold streaks disappear with the double-pane glass, and a locked, welded-frame vinyl unit is dramatically harder to kick in than 70-year-old rusted steel. Of all the window money you can spend on an older house, the basement openings return the most comfort per dollar — and nobody even sees them from the street.