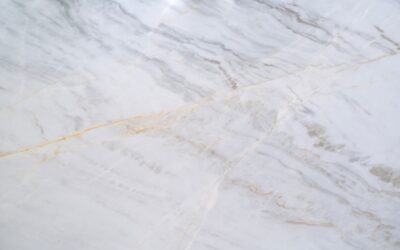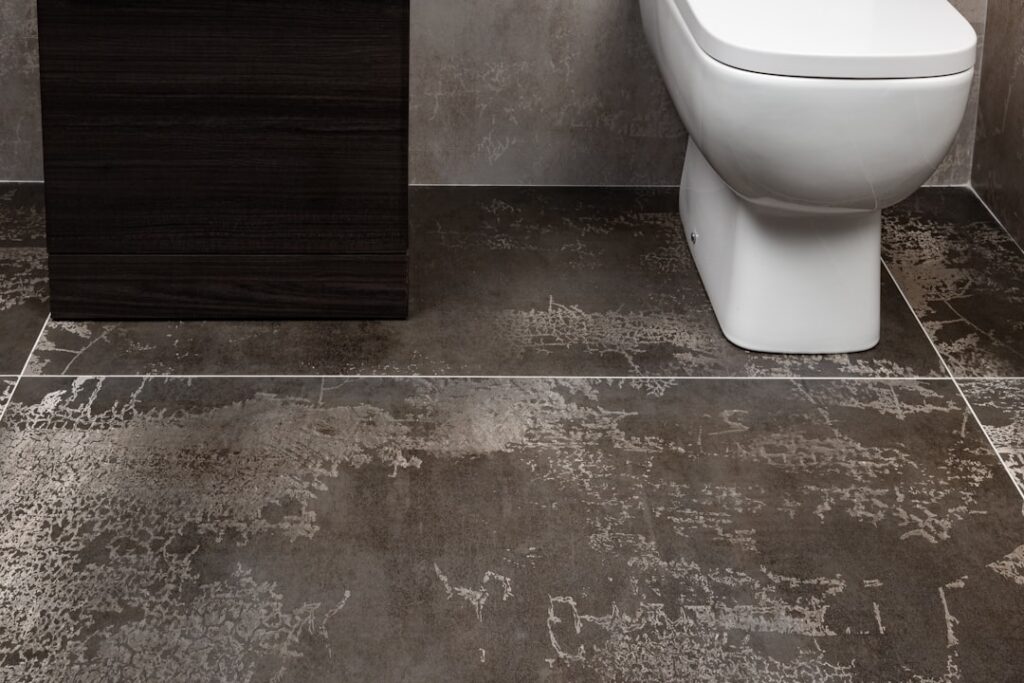
A bathroom threshold is the low strip that bridges the doorway between your bathroom and the adjoining floor, and it does more than tidy up a transition. It covers the seam where two flooring types meet, smooths the height difference between materials, and in a wet bath it helps keep water from creeping out onto the hallway floor.
Part of our Bathroom Remodeling & Flooring guide — explore the full guide →
It is a small detail that homeowners often overlook until a tile edge chips or water starts escaping under the door. This guide explains the materials, the common types, how thresholds are sized and installed, and what to expect on cost so you can choose the right one for your bathroom.
What a Threshold Actually Does
The threshold solves three problems at once. First, it covers and protects the exposed edges where tile meets wood, carpet, or vinyl, hiding the gap and preventing those edges from cracking or fraying. Second, it manages height: bathrooms tiled over a mortar bed often sit higher than the adjacent floor, and a threshold creates a safe, gradual transition instead of a trip hazard.
Third, in showers and full bathrooms it serves as a modest water dam. A solid stone or composite threshold at the door, or at the shower entry, slows water from migrating into the rest of the house, which protects flooring and subfloor from moisture damage over time.
Common Threshold Materials
Material choice affects looks, durability, and water resistance. The popular options each have strengths:
- Natural stone (marble, granite, travertine) — Classic and water-resistant; the go-to for tiled baths and shower curbs.
- Solid surface or quartz composite — Highly water-resistant, uniform color, and very low maintenance.
- Metal (aluminum, brass) — Durable transition strips ideal for matching tile to vinyl, laminate, or carpet.
- Wood — Warm and traditional for transitions to hardwood, but less suited to constant moisture.
- Tile or porcelain bullnose — Matches the floor for a seamless, monolithic look.
For the wettest spots, stone and quartz hold up best. Sealed marble and granite resist water well and clean easily, which is why they dominate shower curbs and bathroom doorways.
Types of Transitions
The right profile depends on what the bathroom floor meets on the other side of the door:
- Same-height transition — A flat strip or stone saddle where both floors are level.
- Reducer — A sloped strip that steps down from a higher tile floor to a lower vinyl or laminate floor.
- Tile-to-carpet — A strip with a lip or track that grips the carpet edge against the tile.
- Shower curb threshold — A slightly raised stone bar at the shower entry that contains water.
Choosing the correct type prevents both trip hazards and gaps that collect dirt and moisture. Measure the height difference precisely before buying, since a reducer for a half-inch step is different from one for a quarter inch.
Sizing and Measuring
Accurate measurement is the difference between a clean fit and a frustrating gap. Measure the doorway width at the threshold location, since door openings are not always perfectly square. Stone saddles commonly come in standard widths around 4 to 6 inches and lengths around 36 inches, which you cut or have cut to your opening.
Also account for the door swing and any door sweep, ensuring the door still clears the finished threshold height. For shower curbs, the threshold should sit high enough to contain water but low enough to step over comfortably, and its top should pitch slightly back toward the shower so water drains inward rather than out.
Installation Basics
Most thresholds set into a bed of thin-set mortar or construction adhesive over a clean, level subfloor or tile edge. The installer dry-fits the piece first, checks the height against both floors, and ensures it sits flat with no rocking. Stone and tile thresholds are bedded in thin-set, then the gaps along each side are sealed.
Sealing is critical in a bathroom. The joints where the threshold meets the tile and the door jamb should be caulked with a quality silicone to block water from seeping underneath, since trapped moisture is what rots subfloor and grows mold. Natural stone should also be sealed with a penetrating stone sealer and resealed periodically. Metal transition strips often screw into a track or fasten to the subfloor; follow the product instructions for the substrate you have. For shower curbs and waterproofed assemblies, the threshold ties into the shower’s waterproofing membrane, which is precise work best handled by an experienced tile professional.
Cost Expectations
Thresholds are an affordable upgrade in the scheme of a bathroom. As a rough estimate, a pre-cut stone saddle is relatively inexpensive per piece, metal transition strips are modest as well, and premium quartz or large custom stone pieces cost more. Because the threshold itself is small, material cost is rarely the budget driver.
Labor depends on the situation. Swapping a simple transition strip is quick, while setting a stone curb as part of a tiled shower is more involved and usually bundled into the tile labor. If you are doing a full bathroom remodel, the threshold is a minor line item; as a standalone repair, expect a modest service charge plus materials. Compare a couple of local quotes for anything beyond a basic strip.
Maintenance and When to Replace
A threshold lives in a wet, high-traffic spot, so it needs occasional attention. Check the caulk lines along its edges once or twice a year, since silicone eventually shrinks, cracks, or peels and opens a path for water. Re-caulking is a quick, inexpensive fix that prevents far costlier subfloor damage down the line.
Reseal natural stone thresholds periodically with a penetrating sealer to keep them stain- and water-resistant, especially marble and travertine. Watch for warning signs that a threshold needs replacing: persistent dampness around it, a soft or spongy floor at the doorway, a loose or rocking piece, or visible cracks in the stone. Catching those early, and addressing the moisture source, keeps a small repair from turning into a structural one.
Final Thoughts
The humble bathroom threshold protects flooring edges, smooths height changes, and helps keep water where it belongs, all for a small share of a project budget. Match the material and profile to the floors it joins, measure the opening and any height difference carefully, and never skip the sealing step that keeps moisture out. Choose well and the threshold finishes your doorway cleanly while quietly guarding the floors around it for years.