That small strip of stone in the doorway between two rooms does more work than it gets credit for. A marble threshold is a slim bar of natural marble installed in a doorway or at a flooring transition to bridge two surfaces, cover the gap where materials meet, and create a clean, finished edge. It is most common at bathroom and shower entries, but you will find thresholds anywhere two floors meet at different heights. This guide explains what a marble threshold is, the standard sizes and profiles, how to install and seal one, and what to expect to pay.
Part of our Countertops guide — explore the full guide →
What a Marble Threshold Does
A threshold serves several practical purposes. It covers the joint where two flooring materials meet, such as tile and hardwood, hiding the raw edges and any height difference. At a bathroom or shower door, it acts as a small barrier that helps contain water and provides a smooth, durable transition that resists moisture. It also adds a refined, finished look, since natural marble reads as an upgrade over a plain metal or plastic transition strip. The slight bevel on most thresholds eases the step between surfaces.
Standard Sizes and Profiles
Thresholds come in predictable dimensions that match common door openings. Typical lengths run around 24, 36, and 48 inches, with widths commonly 4, 5, or 6 inches and thickness usually about a half to three-quarters of an inch. The edge profile is a key choice:
- Single bevel: One angled edge, used where there is a height difference between two floors.
- Double bevel: Both edges angled, used where two floors meet at the same level.
- Hollywood and other shaped edges: Specialty profiles for specific transitions, such as the edge of a shower curb.
Measure your door opening and the height difference between the two floors before buying so you choose the right length and bevel.
Marble Colors and Finishes
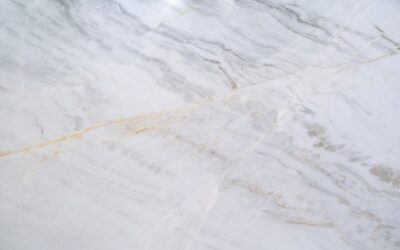
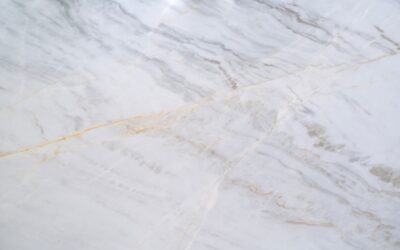
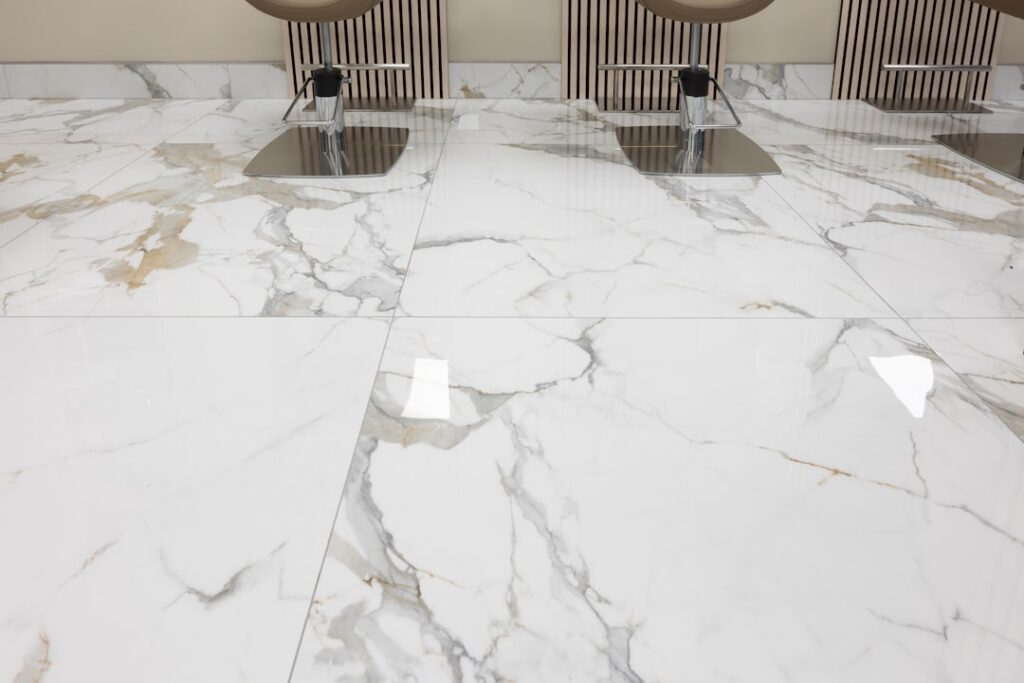
Marble thresholds come in a range of natural colors. Bright white styles complement white tile and modern baths, gray-veined options suit a wide range of palettes, and warmer beige and cream tones pair with travertine and earth-toned floors. Most thresholds have a honed or polished finish. Honed is matte and offers a touch more slip resistance, a sensible choice for a doorway you step on, while polished is glossier and shows the veining more dramatically. Because marble is a natural stone, expect some color and veining variation from piece to piece.
How to Install a Threshold
Installing a threshold is a manageable project for a careful DIYer.
- Measure and dry-fit. Cut the threshold to length with a wet saw and a diamond blade if needed, then test the fit.
- Prepare the opening. Clean the substrate so it is free of dust and debris.
- Set in thinset. Spread thinset mortar in the opening and press the threshold into place, leaving a small gap at each end for caulk.
- Level it. Use a small level and tap gently to set the threshold flat and even with the adjoining floors.
- Let it cure, then caulk the perimeter joints, using a flexible silicone caulk in wet areas like bathrooms.
Sealing and Care
Marble is a soft, porous stone that stains and etches more easily than granite or porcelain, so sealing is essential, especially in a bathroom. Apply a quality penetrating stone sealer after installation and reseal periodically, often once a year, depending on the product and traffic. Clean the threshold with a pH-neutral stone cleaner only. Avoid acidic cleaners like vinegar and lemon, along with harsh abrasives, because acids etch marble and dull the finish. Wipe up standing water in a shower entry promptly to limit water marks and mineral buildup.
Typical Costs
Marble thresholds are an affordable upgrade. A standard white marble threshold commonly runs about 15 to 40 dollars per piece depending on size, color, and finish, with larger or premium-color stones costing more. If you hire a tile installer, labor to set a single threshold is usually modest when bundled with a larger tile job. Because it is a small, high-impact detail, the cost is minor relative to the polished look it delivers.
Marble Versus Other Threshold Materials
Thresholds come in several materials, and marble has clear strengths and trade-offs. Compared with metal transition strips, marble looks far more upscale and ties stone and tile floors together seamlessly, though metal is cheaper and needs no sealing. Compared with wood thresholds, marble handles bathroom moisture far better, since wood can swell and rot at a wet shower entry. Granite and porcelain thresholds are harder and more stain-resistant than marble, but marble offers a softer, more classic look and a wider range of light, bright colors. Choose marble when you want elegance and a stone match; choose granite or porcelain where you want maximum durability with less maintenance.
Where Thresholds Are Most Useful
Thresholds earn their keep in a handful of common spots. The bathroom doorway is the classic location, where a marble threshold provides a clean transition and a small moisture barrier between the bath and the adjoining floor. Shower curbs use specially shaped thresholds to cap the curb and shed water back into the shower. Thresholds also bridge transitions between two different floors elsewhere in the home, such as where tile meets hardwood or carpet meets stone in a hallway. Anywhere two surfaces meet at a doorway or a height change, a threshold gives the junction a finished, deliberate look.
Common Mistakes to Avoid
A few errors come up again and again with threshold installs. The first is choosing the wrong bevel: a double-bevel piece looks odd and creates a trip lip when one floor sits higher than the other, so confirm the height difference before you order. Another is skipping the small expansion gap at each end; butting the stone tight against the door jambs leaves no room for the flexible caulk that keeps water out and absorbs minor movement. Setting the threshold in too little thinset, or in a bed that is not back-buttered, leaves voids underneath that can crack the stone when someone steps on it. Many DIYers also forget to seal the cut ends after trimming a piece to length, which leaves raw, thirsty marble exposed right where shower water pools. Finally, resist the urge to grab a polished threshold for a shower entry where bare feet land; a honed surface gives noticeably better grip when wet.
Measuring for the Right Threshold
Getting the dimensions right is the difference between a clean install and a frustrating return trip. Measure the full width of the door opening, including the door jambs if the threshold will tuck under them, since many installers run the stone wall to wall and undercut the casing. Standard lengths of 36 and 48 inches cover most interior doors, but oversized openings and double doors may need a custom cut from a 48-inch blank or two pieces with a tight seam. For width, match the threshold to the depth of the wall or the curb it caps, commonly 4 to 6 inches at a doorway and wider at a shower curb. Check the height difference between the two finished floors with a short level laid across the gap, then pick a single- or double-bevel profile to match. If you are capping a shower curb, measure the curb width and account for the inside slope so the threshold pitches water back into the pan rather than out onto the bathroom floor.
Is It the Right Choice
For bathroom and shower entries and transitions to tile floors, a marble threshold offers a durable, elegant finish that handles moisture far better than wood and looks more refined than metal strips. The main trade-off is care, since the soft stone needs sealing and gentle cleaning to stay looking its best. If you are willing to seal it and avoid acidic cleaners, a marble threshold is a classic, long-lasting way to finish a doorway and tie two floors together cleanly.