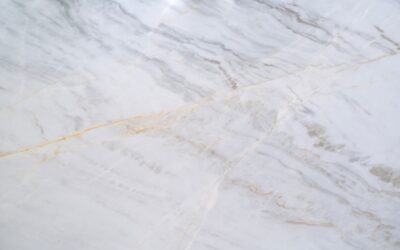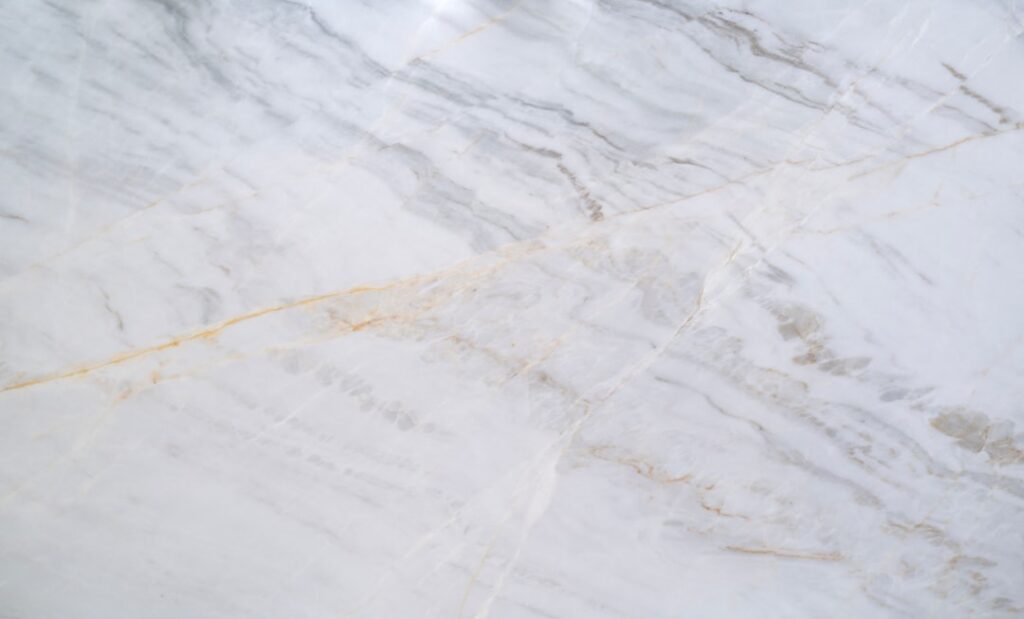
That polished stone strip at the entry of a tiled shower does more work than it gets credit for, and a well-chosen marble shower threshold is the difference between a clean, watertight curb and a leaky, grouted mess. The threshold, sometimes called a saddle or curb, caps the top of the shower dam, keeps water in, and gives the entry a finished look. I have set dozens of these, and the details, size, bevel, slope, and sealing, are what separate a professional result from a callback. Here is everything you need to know before you buy one.
Part of our Countertops guide — explore the full guide →
What a Shower Threshold Does
The threshold sits on top of the shower curb, the raised barrier between the shower floor and the bathroom floor. Its job is to shed water back into the shower, provide a durable wearing surface where people step over, and transition cleanly between the shower tile and the bathroom flooring. A solid slab of marble does this far better than small tiles with grout joints, because there are fewer seams for water to find and a single stone piece looks intentional and high-end.
Because it is one continuous piece, a stone threshold resists water infiltration in a way that a grouted tile curb never quite matches. That is why it remains the standard even in otherwise fully tiled showers.
Standard Sizes and Dimensions
Marble thresholds come in predictable stock sizes, which makes ordering easy. Length is the dimension that matches your shower opening.
- Lengths: common stock runs at 36, 48, and 60 inches, with 24 and 74 inches also available
- Widths: typically 4, 5, or 6 inches to match standard curb widths
- Thickness: usually 5/8 inch to 3/4 inch
Measure your rough curb width and shower opening before ordering. If your opening falls between stock lengths, buy the next size up and have it cut down, since marble is easy to trim with a wet saw and a diamond blade.
Bevel Profiles: Single, Double, and Hollywood
The edge profile is where thresholds differ most, and it affects both looks and function. Choosing the right one depends on whether the floors on each side of the curb are level.
Single Bevel
One side is flat and one side is angled down. Use this when the shower floor and bathroom floor are at different heights, with the bevel facing the lower side.
Double Bevel
Both long edges slope down toward the center high point. This is the most common profile, used when both sides need a gentle transition, and it looks symmetrical from either direction.
Hollywood Bevel
A single bevel on one end wraps around and returns, giving a finished bullnose look where one end of the threshold is exposed, such as at an open shower entry against a wall.
Marble Color Options
Marble thresholds come in the same stones you see in premium bathrooms, so you can match your tile and vanity. Popular choices include:
- Carrara White — soft white-gray with feathery veining, the classic and most affordable option
- Thassos White — a bright, nearly pure white Greek marble that pairs with modern white tile
- Crema Marfil — warm beige for cream and tan color schemes
- Nero Marquina — dramatic black with white veining for high-contrast designs
Carrara is the workhorse and the value pick. Thassos costs more but delivers a crisp, uniform white that many designers prefer.
Sealing Marble to Prevent Stains
Marble is a natural stone made largely of calcium carbonate, which means it is porous and reactive to acids. In a wet, soapy environment it will absorb water and can etch or stain if you skip sealing. Apply a quality penetrating stone sealer before the shower goes into service, and reapply every 6 to 12 months. Test whether resealing is due by dripping water on the surface, if it soaks in and darkens rather than beading, it is time to seal again.
Clean the threshold with a pH-neutral stone cleaner, never vinegar or acidic bathroom sprays, which will dull and etch the polish over time. With regular sealing, a marble threshold holds up for the life of the shower.
Installation and Sloping
Setting a threshold is straightforward but demands attention to slope. Water must drain back into the shower, not pool on the stone or run out onto the bathroom floor.
- Dry-fit the threshold on the curb and mark for length. Cut to fit with a wet saw if needed.
- Confirm the waterproofing membrane or pan liner laps up and over the curb underneath.
- Set the stone in a bed of thinset mortar, pitching it a slight 1/8 inch or so down toward the shower interior so water sheds inward.
- Check that the threshold sits level end to end even as it slopes across its width, then tap it into full contact with no voids.
- Let the thinset cure, then caulk the perimeter joints with a color-matched silicone rather than grout, since silicone flexes and stays watertight.
Give the mortar 24 hours to set before heavy use, and seal the stone before the first shower.
Marble Versus Other Threshold Materials
Marble is the classic choice, but it is not the only one, and knowing the alternatives helps you decide. Granite thresholds are harder, less porous, and more stain-resistant than marble, so they need less babysitting, though the color range is different and the look is busier. Engineered quartz and solid-surface saddles are nearly maintenance-free and never need sealing, but they lack the natural depth of real stone. Porcelain and ceramic thresholds are the budget route and coordinate with tile, yet they chip more easily at the edges.
Where marble wins is character and cost balance. A genuine stone saddle in Carrara or Thassos gives a bathroom a high-end, timeless feel for a modest price, and the veining ties into marble tile, hex floors, and stone vanities in a way manufactured materials cannot fully copy. If you are willing to seal it once or twice a year, marble delivers the most upscale look per dollar.
Measuring and Ordering Correctly
Order mistakes are the most common headache with thresholds, and they are easy to avoid. Measure the width of your finished curb from the outer edge of the shower tile to the outer edge of the bathroom-side tile, and pick a threshold width that covers it fully, usually 4 to 6 inches. Then measure the shower opening between the two side walls for length, and choose the next standard size up, 36, 48, or 60 inches, so you have material to trim.
Decide the bevel before you order based on the floor heights on each side. If the bathroom floor and shower floor are at different levels, order a single bevel; if both need a gentle slope, order a double bevel; if one end of the threshold is exposed at an open entry, spec a Hollywood return on that end. Confirm the thickness, typically 5/8 to 3/4 inch, matches the mortar bed your installer plans so the finished height sits right.
What a Marble Shower Threshold Costs
Pricing is friendly compared to most bathroom upgrades. A stock piece runs roughly $30 to $120 per piece depending on stone, length, and profile. A standard 36-inch Carrara single-bevel piece often lands around $30 to $50, while a longer 60-inch Thassos double-bevel piece can reach $90 to $120. Custom cuts, premium stones, and Hollywood bevels add to that. Professional installation typically adds $50 to $150 in labor if you are not setting it yourself.
For a modest material and labor total, a marble shower threshold delivers a durable, watertight, upscale finish that ties the whole shower together. Buy the right size and bevel for your layout, seal it before use, and it will look sharp and keep water where it belongs for decades.