A marble door threshold is the slim strip of stone you see spanning a doorway where two different floors meet, most often at the entrance to a bathroom. Also called a saddle or marble saddle, it bridges the height difference between tile and hardwood, hides the transition joint, and keeps water from wandering out of a wet room onto your wood floor.
Part of our Countertops guide — explore the full guide →
These small pieces punch above their weight. A cheap builder-grade transition can cheapen an otherwise nice bathroom, while a properly sized marble saddle reads as a deliberate, finished detail. Here’s everything you need to know to pick, size, and install one correctly.
What a Marble Threshold Actually Does
The threshold serves three jobs at once. First, it covers the ugly gap where two flooring materials butt together, since tile and wood are rarely the exact same height. Second, it creates a small dam that helps contain splashed water inside the bathroom. Third, it protects the fragile exposed edges of both floors from chipping as people walk across the doorway.
You’ll find them most often at bathroom doorways, but they also work at closet entries, laundry rooms, and any spot where tile meets a lower or higher adjacent floor.
Standard Sizes and Thickness
Marble saddles come in predictable dimensions so they fit typical door openings. Knowing the standard specs makes ordering easy.
- Length: 36 inches is the most common, sized for a standard 32- to 36-inch door opening. You’ll also find 24-inch, 48-inch, and longer pieces for wider or narrower openings.
- Width (depth): Typically 4, 5, or 6 inches. A 5-inch width covers most jamb depths; go wider for thicker walls or pocket-door frames.
- Thickness: Usually 5/8 inch or 3/4 inch. The thickness is chosen so the top of the threshold sits flush or slightly proud of the taller floor.
If your two floors have a notable height difference, you can buy a threshold with a built-in ramp or bevel on one side that steps down from the higher floor to the lower one.
Edge Profiles Explained
The edge profile is how the top edges of the threshold are shaped, and it determines both the look and how it handles a height change between floors.
Single Bevel (Hollywood)
A Hollywood bevel has one flat side and one long, gently sloped side. Use it when one floor is higher than the other; the slope ramps down smoothly to the lower surface, so there’s no trip edge.
Double Bevel
Both long edges are beveled symmetrically. This is the pick when both floors are roughly the same height, giving a clean, balanced look from both rooms.
Double Hollywood and Standard
A standard threshold has square or slightly eased edges. A double Hollywood has two long ramped sides for bridging height changes on both faces. Match the profile to your floor heights first, aesthetics second.
Marble Colors and Options
The stone color should tie into your tile or vanity, not fight it. The most common marble threshold colors are:
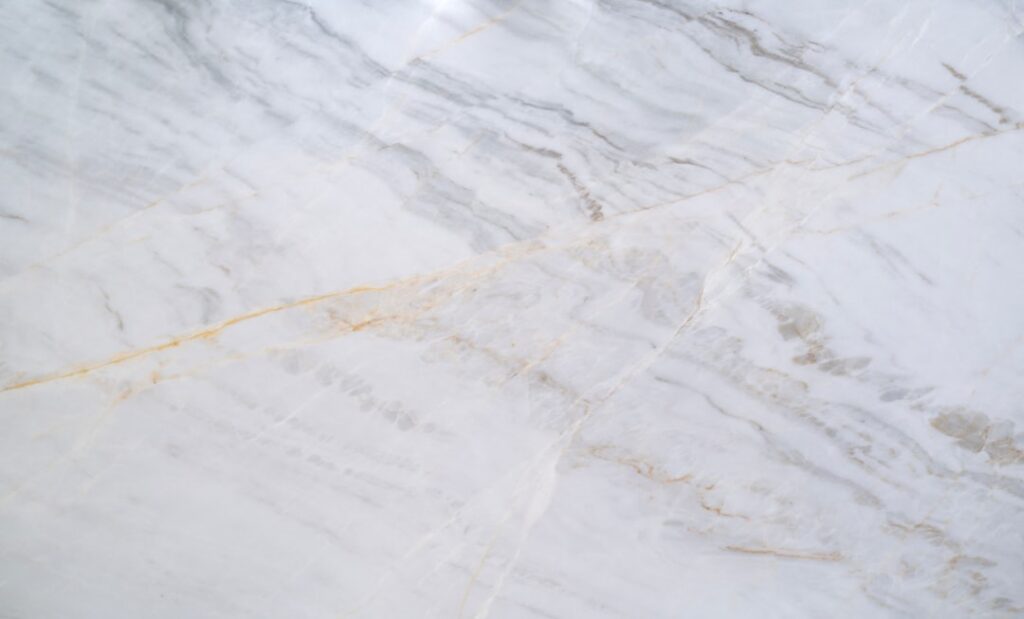
- Carrara (white/gray): Soft white with light gray veining; the default choice for white and gray bathrooms.
- Crema Marfil: Warm cream and beige tones that suit tan, travertine, and warm-toned tile.
- Nero (black) Marquina: Deep black for high-contrast, modern spaces.
- Emperador: Rich brown, good with wood floors and warm palettes.
Granite and engineered-stone saddles exist too, but marble remains the go-to for its price, availability, and clean look.
Cost of a Marble Threshold
These are one of the best values in a bathroom remodel. A standard 36-inch Carrara marble threshold runs about $15-$50 depending on width, thickness, edge profile, and stone grade. Premium colors like Nero Marquina or longer 48-inch pieces sit at the top of that range. Budget another $10-$20 for thinset, sealer, and shims. Even at the high end, it’s a small line item that meaningfully upgrades the finished look.
How to Install a Marble Threshold
Installation is a manageable DIY job if you’re comfortable with basic tile tools. Here’s the sequence I follow:
- Measure and cut: Measure the opening jamb to jamb. Cut the threshold to length with a wet saw fitted with a diamond blade; marble chips if you dry-cut it.
- Dry fit: Set it in place and check the fit against both jambs and both floors. It should sit level and span the full gap.
- Spread thinset: Trowel a layer of white thinset mortar onto the clean subfloor. White thinset prevents dark mortar from shadowing through light marble.
- Set and level: Press the threshold into the thinset, then use a level and light taps with a rubber mallet to seat it flat. Shim if needed.
- Caulk the edges: Once cured, run a bead of matching caulk along both long edges where the threshold meets the floors. This flexible joint absorbs movement and blocks water.
Sealing and Maintenance
Marble is porous and etches from acids, so sealing is essential, especially at a bathroom doorway that sees splashes and cleaning chemicals. Apply a quality penetrating stone sealer after installation, wipe off the excess, and reapply every one to two years. Clean with a pH-neutral stone cleaner only; avoid vinegar, bleach, and abrasive pads, which dull and etch the surface.
Marble vs. Other Threshold Materials
Marble is the most popular saddle material, but it isn’t the only choice, and the right pick depends on the room and your tolerance for upkeep.
- Granite: Harder and more stain-resistant than marble, and it doesn’t etch from acids. It’s a smart choice for kitchens or heavy-traffic doorways, though color and vein options are more limited.
- Travertine: Warm, earthy, and budget-friendly, but more porous, so it needs diligent sealing and can pit over time.
- Engineered quartz: Nonporous, no sealing required, and available in consistent colors, but it costs more and can’t be used where sustained heat is present.
- Metal or vinyl transition strips: Cheapest and easiest, but they look utilitarian and lack the substance of stone.
For a bathroom doorway where looks matter and traffic is moderate, marble remains the sweet spot on price and appearance.
Common Installation Mistakes to Avoid
A few errors show up again and again on DIY threshold jobs. Steer clear of these and your saddle will look factory-installed.
- Dry-cutting the marble: Always use a wet saw. A dry blade chips the edges and can crack the piece.
- Using gray thinset under white marble: Dark mortar telegraphs through translucent Carrara. Use white thinset every time.
- Skipping the sealer: An unsealed threshold at a bathroom door will absorb water and stain within weeks.
- Grouting instead of caulking the edges: Rigid grout cracks as the floors expand and contract. A flexible color-matched caulk moves with the house.
- Wrong bevel for the floor heights: Setting a square-edge threshold between two floors of different heights leaves a trip edge. Match the profile to the height change.
Pros and Cons
Weigh the trade-offs before you commit to marble over other materials.
- Pros: Elegant natural look, inexpensive for the impact, standard sizes make sourcing easy, durable underfoot, and it handles water transitions well.
- Cons: Requires periodic sealing, can etch from acidic cleaners, softer than granite so it can scratch, and white marbles show grime at a high-traffic doorway.
For most bathrooms, a Carrara marble door threshold hits the sweet spot of cost, looks, and durability. Pick the edge profile that matches your floor heights, seal it well, and it will serve as a crisp, lasting detail for the life of the room.