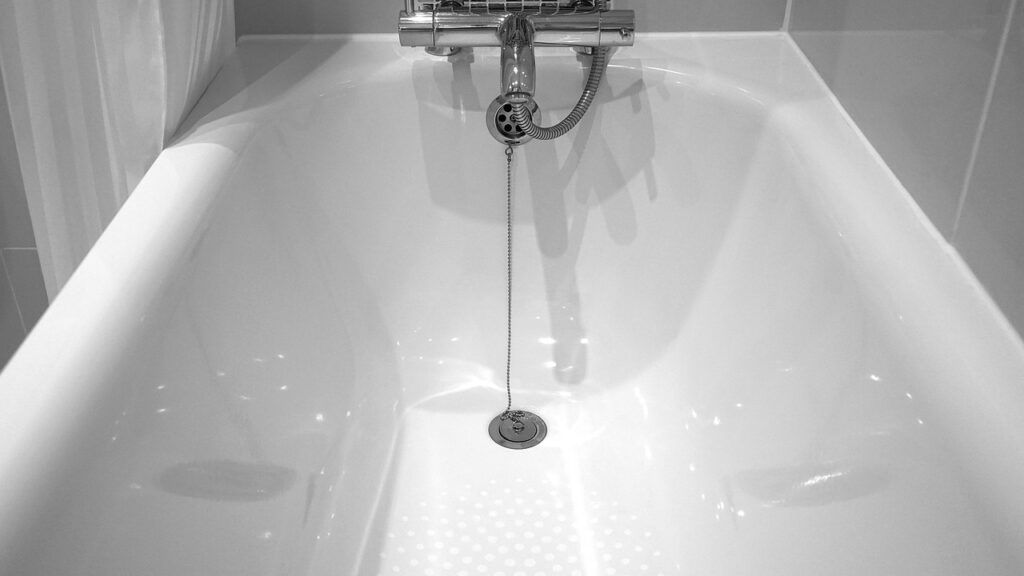
A dripping tub faucet wastes hundreds of gallons a month and signals worn internals that will only get worse. A bathtub faucet replacement kit bundles the parts you need, cartridge or stems, trim, and often a new spout and handles, to either rebuild the valve or refresh the entire look. The trick is knowing whether you need a simple rebuild kit or a full trim-and-valve replacement, because buying the wrong one means a return trip and a tub out of service overnight.
Part of our Bathroom Remodeling & Flooring guide — explore the full guide →
Before you buy anything, identify your existing valve brand and configuration. Ninety percent of a successful job is matching the kit to what is already in the wall, and that starts with reading the parts you have.
- Two Kinds of Kits, Two Very Different Jobs
- Identify Your Rough-In Valve First
- What You Get in a Typical Kit
- Replacing a Cartridge: The Common Repair
- Replacing the Tub Spout
- Understanding Valve Types Behind the Wall
- Anti-Scald Protection and Code
- When to Open the Wall or Call a Pro
- Tools and Small Parts Worth Having on Hand
Two Kinds of Kits, Two Very Different Jobs
The term covers two distinct products, and confusing them is the number one mistake.
Rebuild or Cartridge Kit
This restores a working valve that has started to drip. It contains the replacement cartridge or stem seals, O-rings, springs, and seats that match a specific brand and model, such as a Moen 1222 cartridge or a Delta RP kit. It is inexpensive, usually $15 to $50, and requires no wall opening. If your faucet works but drips, this is almost always all you need.
Full Trim and Valve Kit
This replaces the visible hardware, and sometimes the valve body itself, to change the style or fix a corroded valve. Trim-only kits ($60 to $200) swap the handle, escutcheon, and spout while reusing the in-wall valve, but only if the new trim matches that valve family. A complete valve-and-trim kit ($150 to $400) replaces everything and usually means opening the wall, since the valve body is soldered or threaded into the supply lines.
Identify Your Rough-In Valve First
The valve body buried in the wall dictates what trim will fit. Manufacturers design trim to mate with their own valves, so a Delta trim will not fit a Moen valve. To identify yours:
- Pull the handle and look for a brand stamp on the cartridge, escutcheon, or valve.
- Note the number of handles. Single-handle uses one cartridge; two-handle uses two stems; three-handle systems add a diverter.
- Check the cartridge shape and part number, often printed on the plastic body.
- If you cannot identify it, remove the cartridge and take it to a plumbing supply store for a match.
Common brands you will encounter are Moen, Delta, Kohler, Pfister, and American Standard. Each has a signature cartridge, and generic universal kits exist but fit less precisely, so match to brand when you can.
What You Get in a Typical Kit
A mid-range full trim kit usually includes:
- A handle or lever and its set screw
- The escutcheon plate that covers the wall opening, with a foam or rubber gasket
- A tub spout, often both a slip-fit and threaded style to cover either connection
- A new cartridge or the seals to rebuild the existing one
- Plumber’s tape, sometimes silicone, and an installation template
Check whether your kit includes a diverter if you have a shower head above the tub. A tub-and-shower valve needs the diverter, either in the spout, in the valve, or as a third handle, and a tub-only kit will leave you unable to send water up to the shower.
Replacing a Cartridge: The Common Repair
For a dripping single-handle faucet, a cartridge swap fixes it in under an hour. Here is the sequence:
- Shut off water. Use the tub’s stops if present, otherwise the main. Open the faucet to drain the line.
- Cover the drain with a rag so no small screws vanish down it.
- Pop the handle cap, remove the handle screw, and pull the handle off. Remove the escutcheon.
- Remove the retaining clip or nut holding the cartridge, then pull the cartridge straight out with pliers. A cartridge puller tool helps if it is stuck from mineral buildup.
- Grease the new cartridge O-rings with silicone plumber’s grease and slide it in the same orientation, hot and cold aligned correctly.
- Reinstall the clip, escutcheon, and handle. Restore water slowly and test hot, cold, and for drips.
Note the cartridge orientation before you remove the old one. Installing it flipped reverses hot and cold, a common and annoying mistake that means doing the job twice.
Replacing the Tub Spout
The spout is the easiest part and often the source of a leak where a shower diverter fails. Spouts connect two ways. A slip-fit spout slides over a 1/2-inch copper stub and locks with a set screw underneath. A threaded spout screws onto a nipple. Determine which you have by looking for a set screw on the underside near the wall. If there is one, it is slip-fit; if not, it threads on.
For threaded spouts, wrap the nipple threads with plumber’s tape and hand-tighten the new spout until it faces down and snug, without cranking it and cracking the fitting. For slip-fit, apply a bead of silicone where the spout meets the wall to keep water out, slide it on, and tighten the set screw.
Understanding Valve Types Behind the Wall
Knowing your valve style helps you buy the right kit and predict how the job will go. Older two-handle faucets often use compression valves, where a rubber washer presses against a seat, these are the ones that drip and need washer-and-seat kits. Cartridge valves, common in single-handle faucets, use a single insert that moves to control temperature and flow. Ball valves and ceramic-disc valves are more modern and durable, using rotating discs that rarely wear but can crack from grit.
Ceramic-disc and cartridge systems are the most reliable and the easiest to service with a kit, since the fix is a clean insert swap. Compression valves are the fussiest, because a worn seat may need to be re-ground or replaced along with the washer. When you identify your valve, you also learn whether you are looking at a two-minute washer change or a full cartridge replacement, which sets your parts list.
Anti-Scald Protection and Code
Modern shower and tub-shower valves are required by code to include anti-scald protection, either pressure-balancing or thermostatic. A pressure-balancing valve keeps the hot-cold mix steady when someone flushes a toilet elsewhere, preventing a sudden scalding blast. A thermostatic valve holds a set temperature precisely regardless of pressure or supply-temp swings, the premium option.
If you are replacing an old valve body, this is the moment to upgrade to a pressure-balancing or thermostatic valve, both for safety and to meet current code. A trim-only kit does not change the valve’s anti-scald behavior, so if your existing valve predates these requirements and you want the protection, budget for a full valve replacement rather than trim alone. This matters most in homes with children or older adults, where a scald guard is a genuine safety feature, not a luxury.
When to Open the Wall or Call a Pro
Reach for a plumber, or plan to open the wall, if the valve body itself leaks behind the tile, if the pipes are badly corroded, or if you have no shutoffs and are uncomfortable working near soldered copper. Replacing a valve body means cutting into the wall, sweating new connections or using push-fit couplings, and patching afterward. That is a bigger project than a homeowner faucet swap and worth the cost of a pro if you are unsure.
Tools and Small Parts Worth Having on Hand
A smooth job depends on having the right tools staged before you shut off the water. Beyond the basics, a few specialty items save real frustration. A cartridge puller, brand-specific for Moen or a universal model, extracts a cartridge welded in place by years of mineral scale without you levering against the valve body and cracking it. A deep socket set reaches recessed retaining nuts, and an internal pipe wrench or spud wrench handles a stuck tub spout nipple.
Stock a tube of silicone plumber’s grease, a roll of PTFE plumber’s tape, and a small tub of white vinegar for dissolving scale off reused parts. A basin wrench is essential if you are also touching supply connections in tight quarters. Having these on hand turns a job that could stall for a hardware-store run into one continuous hour of work, which matters when the water to a bathroom is off and the family is waiting.
For the vast majority of drips and cosmetic updates, though, a well-matched kit and an hour of careful work will do it. Identify your valve brand, choose between a rebuild kit and a full trim kit based on whether you want repair or a new look, and confirm the diverter situation. Do that homework up front and a bathtub faucet replacement kit turns a nagging drip into a quick, satisfying fix that saves water and updates the room.