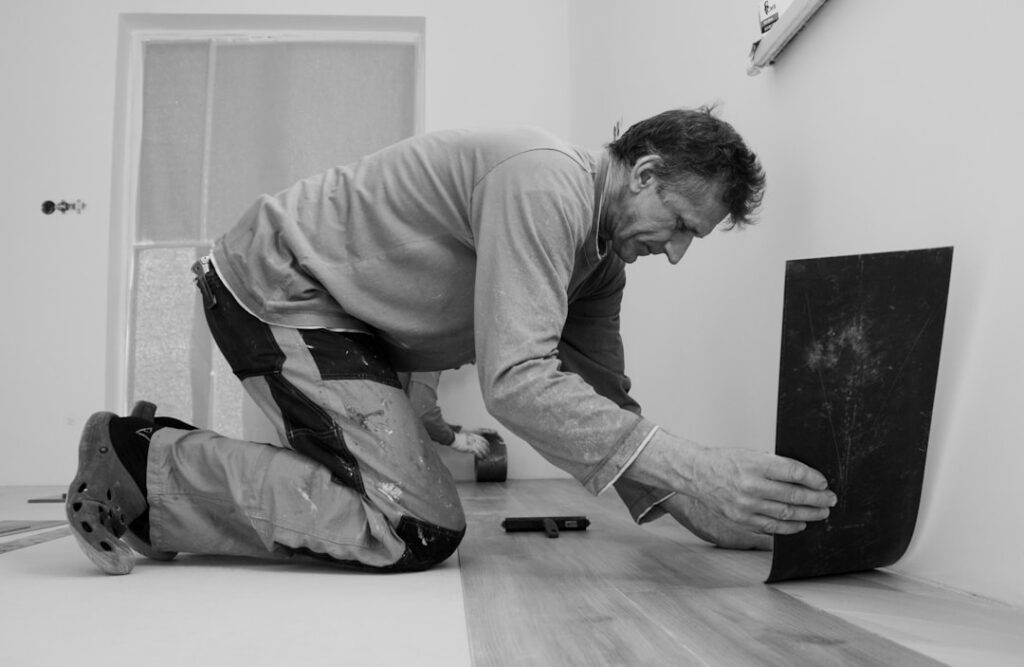
Tearing out an old tile floor is a filthy, back-breaking job that can add $2 to $4 per square foot in demolition and disposal costs before you lay a single new plank. The good news is you may not have to. Can you install laminate flooring over tile? In most cases, yes, and it is one of the smartest shortcuts in home renovation. Laminate is a floating floor, meaning it clicks together and rests on top of the existing surface without being nailed or glued down, so tile makes a perfectly acceptable base as long as it is flat, sound, and dry. Here is exactly how to judge whether your tile qualifies and how to do the job right.
The Short Answer and the Conditions
You can float laminate over ceramic, porcelain, or natural stone tile provided three things are true: the tile is well bonded with no loose pieces, the surface is flat within the manufacturer’s tolerance (usually 3/16 inch over 10 feet), and the room is not prone to standing moisture. Meet those conditions and the tile becomes a stable, rigid subfloor that laminate loves.
The reason it works is that laminate does not care what is beneath it as long as that base is hard and even. Unlike glue-down flooring, a floating floor spans small imperfections. What it cannot tolerate is movement, dips, or high spots that flex the click-lock joints until they fail.
Inspect the Tile First
Before you buy a single box of laminate, get on your hands and knees. Tap across the floor with a wooden dowel or your knuckle and listen for hollow sounds that signal a tile has debonded from the mortar. Any loose, cracked, or drummy tiles must be re-bonded or the void filled, because a rocking tile will telegraph movement up through the laminate.
Check the grout lines too. Deep or wide grout joints, common with rustic or handmade tile, can leave the laminate unsupported and lead to a spongy feel or cracked planks over time. If your grout lines are wider than about 1/4 inch or deeper than 1/8 inch, plan to fill them level before proceeding.
Flatness Is Non-Negotiable
Lay a 6- to 10-foot straightedge across the floor in several directions and slide a tape measure under any gaps. Most laminate manufacturers require the subfloor to be flat within 3/16 inch over a 10-foot span; some allow 1/8 inch over 6 feet. Old tile floors often have lippage, where one tile edge sits higher than its neighbor, and that unevenness is the number one cause of laminate joint failure.
Fix low spots with a cementitious self-leveling compound or a patching compound, feathering it into the surrounding tile. Grind down any high edges or tile lippage. This prep step is tedious, but skipping it is the single most common reason a tile-over-laminate job fails within a year.
Mind the Floor Height
Adding laminate on top of tile raises the floor by the thickness of the plank plus the underlayment, typically 3/8 to 5/8 inch total. That extra height has real consequences you need to plan for:
- Doors: interior and closet doors may drag and need to be trimmed from the bottom.
- Appliances: a dishwasher or fridge under a counter can get trapped if the floor rises around them.
- Transitions: adjoining rooms will need transition strips to bridge the new height difference.
- Cabinet toe kicks and stair nosing: both shrink slightly and may look off.
Measure your door clearances and appliance heights before committing. In a small bathroom or laundry room, that half-inch can matter more than you expect.
Underlayment: Do You Need It?
Almost always, yes. A foam underlayment cushions the laminate, smooths minor imperfections, and dampens the hollow, clicky sound that hard tile amplifies. Many laminate planks come with a pad already attached; if yours does not, add a 3mm foam underlayment.
Because tile over concrete or a slab can wick moisture, add a vapor barrier or use a combination underlayment with a built-in moisture film in any ground-floor or below-grade room. If your tile is on an upper floor over a heated space, a standard foam pad is usually enough. Never stack two separate underlayments; that creates too much cushion and stresses the locking joints.
Step-by-Step Installation
Once the tile passes inspection and prep, the install is straightforward:
- Clean the tile thoroughly and let the room and flooring acclimate for 48 hours at normal living temperature.
- Roll out the underlayment (if not pre-attached), seaming the edges with the recommended tape.
- Start along the longest, straightest wall, leaving a 3/8-inch expansion gap with spacers on all sides.
- Click the first row together, then stagger end joints in following rows by at least 8 to 12 inches.
- Cut planks around obstacles with a jigsaw or fine-tooth blade, always maintaining the perimeter gap.
- Remove the spacers, install transition strips at doorways, and finish with baseboard or quarter-round to hide the gap.
Run the planks perpendicular to the main window or the longest wall for the cleanest sightline. Do not fasten the baseboard to the floor; nail it to the wall only, so the floating floor can expand and contract freely underneath.
Waterproof Laminate for Kitchens and Baths
If the tile you are covering is in a kitchen, bathroom, or laundry room, spend a little more on a water-resistant or waterproof laminate line. Standard laminate uses a fiberboard core that swells if water reaches the seams, and tile floors are common exactly where spills happen. Newer waterproof products use tighter joints, sealed edges, and denser cores rated to withstand surface water for 24 to 72 hours.
Pair a waterproof plank with a compatible moisture-barrier underlayment for the best protection over tile on a slab. No laminate is truly submersible, so still wipe spills promptly and avoid steam mops. But choosing the right product for a wet-prone room means the floor you lay over tile will not become a swollen mess the first time a dishwasher leaks or a bath towel drips.
How to Reduce the Hollow Sound Over Tile
Hard tile amplifies the clicky, hollow footstep sound some floating floors make. A quality underlayment is your first defense; a 3mm foam pad absorbs sound and cushions the planks. For an even quieter result, look for premium acoustic underlayments rated with a low IIC or STC sound value, which noticeably deaden footfall noise.
A snug installation also helps. Make sure the tile below is flat so planks sit fully supported rather than bridging dips, since unsupported planks flex and knock. Keep the expansion gap consistent so the floor is not binding at the walls. These small steps turn a potentially noisy tile-over floor into one that sounds solid underfoot.
When You Should Not Go Over Tile
There are a few situations where floating over tile is a bad idea. If the tile is badly cracked, drummy across large areas, or heaving from a failing subfloor, you are hiding a structural problem that will get worse. Rooms with recurring moisture, like a shower-adjacent bathroom floor without a waterproof laminate, are also poor candidates because trapped water can rot the plank cores.
Very uneven or heavily sloped floors that cannot be leveled economically are another red flag. And if the added height traps essential appliances or creates a tripping hazard at doorways you cannot resolve, removal may be the better path despite the mess.
The Bottom Line
So, can you install laminate flooring over tile? Yes, and it saves time, money, and a mountain of demolition dust when the tile is stable and flat. Spend your effort on inspection and leveling, respect the floor-height changes, use the right underlayment, and the finished floor will perform exactly as if it were laid over a fresh subfloor. Cut corners on prep and no amount of quality laminate will save you. Take the extra day to get the base right, and you will enjoy a quiet, level, good-looking floor for 15 to 25 years.
Prefer to explore on your own?
See how new flooring looks in your actual room in seconds — free, no signup.
Try the free Floor Studio →