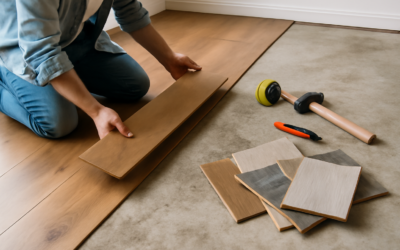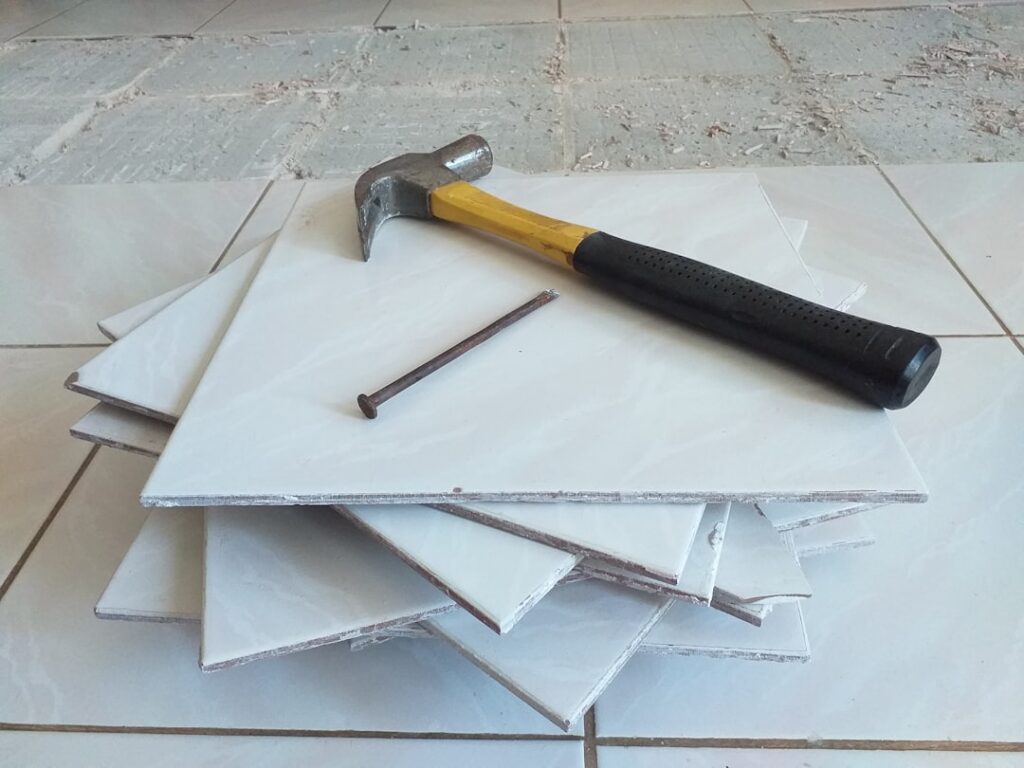
Tearing out an old tile floor is loud, dusty, and expensive — demolition alone runs $2 to $5 per square foot — so it is natural to ask whether you can skip it entirely. So, can you put laminate flooring over tile? Yes, and manufacturers explicitly allow it, because laminate floats on its underlayment rather than bonding to the surface below. But that yes comes with three non-negotiable conditions: the tile must be flat, solidly bonded, and dry. Skip the checks and you will hear your mistake within a month, as planks flex over grout lines and click joints start to fail. Here is exactly how to know if your tile qualifies and how to do the job right.
Part of our Tile & Grout guide — explore the full guide →
- Why Laminate Over Tile Works at All
- Condition 1: Flatness Within 3/16 Inch Over 10 Feet
- Condition 2: The Tile Must Be Solidly Bonded
- Condition 3: Dry, Especially on Concrete Slabs
- The Grout Line Problem
- The Height and Transition Problem
- Installation Steps in Brief
- Cost Comparison: Over Tile vs. Tear-Out
- When You Should Not Do It
Why Laminate Over Tile Works at All
Laminate is a floating floor. The planks click together into a single raft that rests on a foam or felt underlayment, never attached to the subfloor. That means the tile does not need to accept fasteners or adhesive — it just needs to be a stable, flat platform. Ceramic and porcelain are actually excellent platforms in that respect: they are harder and more dimensionally stable than plywood or OSB. This is why every major laminate manufacturer lists existing ceramic tile as an approved substrate in its installation instructions, with conditions attached.
Going over the tile saves real money and mess. On a 200 sq ft kitchen, skipping demolition avoids roughly $400 to $1,000 in tear-out labor, a dumpster or bagster fee, and a day of dust — plus the risk of discovering damaged subfloor underneath that adds more cost.
Condition 1: Flatness Within 3/16 Inch Over 10 Feet
The industry spec for laminate is a substrate flat to within 3/16 inch over 10 feet (some brands say 1/8 inch over 6 feet). Check yours with a straightedge or a 6 to 10 foot level laid across the floor in several directions. Anywhere you can slide a stack of two quarters under the straightedge, mark it.
Low spots get filled with a cement-based patching compound or self-leveling underlayment — use a leveler rated for going over tile, and prime the glazed surface first so it bonds. High spots in tile usually mean a lipped or tented tile, which you grind down or pop out and fill. Do not rely on thick foam underlayment to bridge dips; soft, thick padding lets planks flex and is the fastest way to break click joints.
Condition 2: The Tile Must Be Solidly Bonded
Tap across the floor with a golf ball or a screwdriver handle and listen. A sharp tick means well-bonded tile; a hollow drum sound means the tile has debonded from the mortar below. A few small hollow spots are fine under a floating floor. Large hollow areas, rocking tiles, or a floor with long structural cracks running through multiple tiles signal movement underneath — and a moving substrate will telegraph into your laminate as squeaks, gaps, and joint failure. Loose tiles should be removed and the void filled with patch compound. If a third of the floor sounds hollow, tear-out is honestly the better investment.
Condition 3: Dry, Especially on Concrete Slabs
Tile over a concrete slab can hide serious moisture vapor. Tape a 2 by 2 foot square of clear plastic sheeting to the tile, seal all four edges, and check it after 48 to 72 hours. Condensation or darkening means moisture is coming through. In that case — and as cheap insurance in any ground-floor or basement install — lay a 6-mil polyethylene vapor barrier over the tile before the underlayment, overlapping seams 8 inches and taping them. Many combination underlayments include the vapor film in one product. Skip this over a bathroom slab and swollen edges will show up within a year or two.
The Grout Line Problem
Grout joints are the sneaky failure point. Wide joints — the 3/8 to 1/2 inch recessed grout common with saltillo, quarry tile, and some older ceramic — create a washboard surface. A thin 2 mm foam underlayment will not bridge them; planks deflect into the voids every time you step, and the repeated flexing telegraphs through as soft spots and, eventually, cracked locking profiles. Standard 1/8 to 3/16 inch grout lines that sit close to flush are a non-issue.
Fixes, from cheapest up: skim-coat deep grout lines with patching compound (an hour of work with a wide knife), use a denser 3 mm high-density fiber or rubber underlayment rated to bridge minor texture, or skim the entire floor with self-leveler for a dead-flat surface. What you should not do is stack two foam underlayments — doubling soft padding voids most warranties.
The Height and Transition Problem
Laminate plus underlayment adds 5/16 to 1/2 inch on top of tile that may already sit higher than adjacent floors. Consequences to plan for:
- Doors: interior doors and closet doors often need 1/4 to 1/2 inch trimmed off the bottom.
- Appliances: a dishwasher installed under a countertop can become trapped — measure its clearance before you raise the floor in front of it. This is the classic over-tile regret.
- Transitions: you will need reducers or ramped transition strips at doorways to lower rooms, and toilet flanges in bathrooms may need extenders.
- Baseboards: either remove and reinstall them or add shoe molding to cover the expansion gap.
Installation Steps in Brief
- Deep-clean and degrease the tile; scrape any wax or sealer buildup.
- Check flatness, fix lippage and low spots, skim wide grout lines.
- Moisture-test; lay 6-mil poly on slabs.
- Roll out underlayment (or use pre-attached-pad planks with just the vapor film beneath).
- Acclimate cartons 48 hours in the room, then install floating with 3/8 inch expansion gaps at every wall and fixed object.
- Trim doors, install transitions and shoe molding.
Cost Comparison: Over Tile vs. Tear-Out
Numbers make the decision easier. For a 200 sq ft kitchen, going over the tile typically means $50 to $150 in patching and skim-coat materials, $60 to $120 for combination underlayment, and the laminate itself — call it $600 to $1,100 in materials plus your labor. The tear-out route adds $400 to $1,000 for demolition and disposal, possibly $200 to $500 in subfloor repairs once the tile is up, and a day or two of schedule. Unless the tile fails the bond or moisture tests, the over-tile approach saves roughly 25 to 40 percent of the project total and all of the dust. Spend a fraction of those savings on a better underlayment and quality transitions; both improve the finished floor more than any other upgrade at this price point.
When You Should Not Do It
Skip the over-tile route when tiles are widely debonded or cracked from slab movement, when height would trap appliances or create trip hazards you cannot transition away, when there is active moisture or a failing drain in a bathroom, or in rooms where you would rather solve the problem permanently before installing a floor you plan to keep 20 years. Asking “can you put laminate flooring over tile” is really asking whether your specific tile is a sound, flat, dry platform — most are, some are not, and an hour with a straightedge, a golf ball, and a plastic sheet tells you which one you have.
Prefer to explore on your own?
See how new flooring looks in your actual room in seconds — free, no signup.
Try the free Floor Studio →