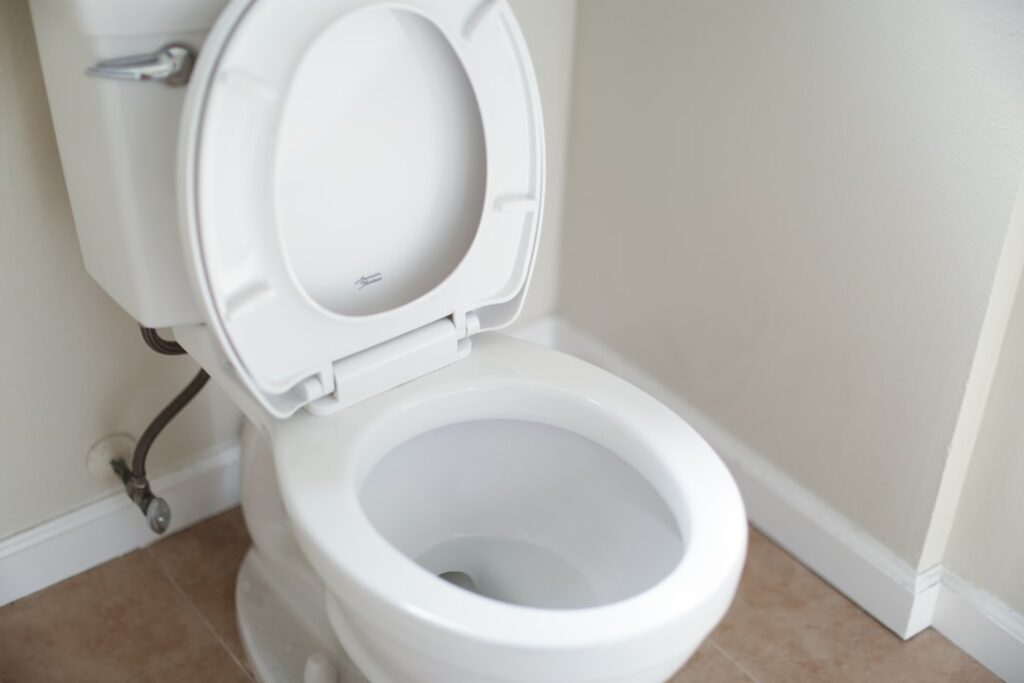
Few plumbing topics start more arguments than whether to caulk around toilet bases. One camp says sealing the base traps leaks where you can’t see them; the other says an unsealed base is a code violation and a hygiene problem. I’ve set and reset a lot of toilets, and I land firmly with the plumbing codes on this one: caulk the base — and if the leak-detection argument worries you, leave a small weep gap at the back. Below is the reasoning, what the code actually says, and the full technique for a bead that looks factory-clean.
Part of our Bathroom Remodeling & Flooring guide — explore the full guide →
What the Code Actually Says
This isn’t just an internet opinion war — it’s written down. The International Plumbing Code (IPC 405.5) and the Uniform Plumbing Code (UPC 407.2) both require that fixtures in contact with the floor be sealed to the floor with a water-tight joint. Most US states adopt one of these two model codes, which means in the majority of jurisdictions, a caulked toilet base is required for the install to pass inspection. Inspectors on my remodel jobs check for it routinely. So the starting position isn’t “should you,” it’s “code says you should, unless your local amendment says otherwise” — and I’ve yet to work in a jurisdiction that waives it.
Why Caulking the Base Is the Right Call Anyway
Even if no inspector ever saw your bathroom, I’d still seal the base:
- Hygiene. The gap under an unsealed toilet is a crevice you cannot clean. Mop water, urine (any house with boys, sorry), tub splash, and pet accidents wick under the bowl and sit there. That’s the source of the mystery bathroom smell in a lot of homes I’ve serviced.
- Stability. The closet flange bolts hold the toilet down, but a bead of caulk around the base meaningfully resists side-to-side rocking on slightly uneven floors. Less rocking means the wax ring lives longer.
- Keeps water out, not in. This is the part the anti-caulk camp gets backwards. The overwhelming majority of water at a toilet base comes from outside — mopping, shower splash, kids, condensation dripping off the tank in summer. Caulk keeps that water from getting under the bowl, where it feeds subfloor rot and mold you’ll never see.
The Weep Gap Debate, Honestly
The argument against caulking goes: if the wax ring fails, an unsealed base lets water seep out where you’ll spot it, while a sealed base traps the leak below, silently soaking the subfloor. It’s not a crazy concern — flange leaks are real. But two things blunt it. First, a fully caulked base doesn’t actually hide most flange leaks for long; failed seals typically announce themselves through ceiling stains below, a rocking bowl, or sewer gas smell well before or regardless of base seepage. Second, there’s a compromise that satisfies everyone: caulk the visible perimeter — front and sides — and leave a 1-to-2-inch gap at the back of the base, where nobody sees it. A flange leak still has an escape path to alert you; mop water still can’t wick under from the front. This is what I do on wood-framed floors where a hidden leak is most destructive. On slab-on-grade bathrooms I often seal all the way around, since there’s no subfloor to rot and a leak will show elsewhere. Both approaches are code-compliant in every jurisdiction I’ve worked; the code wants the joint sealed against the cleaning-water problem, and a small rear gap hasn’t drawn a red tag on any of my inspections.
What Caulk to Use
- 100% silicone, kitchen and bath grade, with mildewcide — my default. Flexible, waterproof, cleaner-proof. White on white toilets against most floors; clear or almond where the floor color argues with white. $7 to $12 a tube.
- Siliconized acrylic — easier to tool and to remove later (a real consideration, since every toilet eventually comes up for a wax ring). Shorter life, maybe 2 to 4 years in bathroom duty.
- Hybrid (MS polymer) sealants — flexible like silicone, easier cleanup, paintable. Good choice, slightly pricier.
Avoid plumber’s putty (it’s not for this, and it stains stone), and avoid bargain painter’s caulk, which yellows and cracks within a year at floor level.
How to Caulk a Toilet Base: Step by Step
Total time: about 30 minutes, plus cure.
- Confirm the toilet is set right before sealing. Caulk is not a fix for a rocking toilet. If the bowl rocks, pull the caulk plan, shim the base with plastic toilet shims until dead solid, snug the flange bolts (snug — porcelain cracks), and trim the shims flush with a utility knife. Caulk then hides the shims nicely.
- Clean the joint. Scrape off any old caulk with a plastic razor, then wipe the base perimeter and floor with isopropyl alcohol. Grime and old residue are why toilet-base beads peel. Let it dry fully.
- Tape if you want a crisp line. One run of painter’s tape on the floor about 1/4 inch out from the base, following its curves. On textured tile or grout lines this is the difference between clean and messy.
- Cut the nozzle small. 45 degrees, about 3/16-inch opening. The toilet-to-floor gap is usually small; a fat bead just makes cleanup.
- Run the bead. Work in sections — left side, front, right side — keeping steady pressure and speed. Push the nozzle so caulk fills the gap under the base edge rather than sitting on the surface. Stop at your rear weep gap if you’re leaving one.
- Tool it. One pass per section with a fingertip dipped in soapy water, pressing in and dragging smoothly along the curve. Wipe the finger after every pass. The bowl’s compound curves make a finishing tool awkward here; a finger genuinely works better.
- Pull the tape immediately, at a 45-degree angle away from the bead, while the caulk is wet.
- Cure. Keep mop water and shower splash off it for 24 hours.
Gap-Size Situations
| Gap Under Base | Approach |
|---|---|
| Under 1/4 inch | Straight caulk bead as above |
| 1/4 – 1/2 inch (uneven tile) | Shim solid first, then caulk; consider backer rod in the widest spots |
| Over 1/2 inch | Something’s wrong — check flange height and floor level; consider grouting the void on tile floors, then caulk the edge |
On natural stone floors, use a sealant labeled safe for stone (standard silicones can oil-stain marble edges), and on heavily textured porcelain, expect to rely on tape for the clean line.
Special Cases Worth Knowing
A few installs change the standard playbook. Wall-hung toilets carry their weight on an in-wall frame, so the floor question disappears — but the bowl-to-wall joint gets the same silicone treatment for the same hygiene reasons. Heated bathroom floors are fine to caulk against, but let a newly installed floor run through a few heat cycles before sealing so the first big expansion doesn’t stress a day-old bead. Vinyl plank and other floating floors deserve a lighter touch: the floor needs to move independently, so keep the bead modest and purely on flexible silicone — never a rigid filler — or the floor’s seasonal drift can either tear the bead or, worse, pin the plank. And in rentals or flips where a future toilet pull is likely, siliconized acrylic is a defensible choice precisely because it releases easily; I’d rather re-caulk a base every few years than fight a full-silicone bond when the wax ring inevitably needs service.
Maintenance and Removal Down the Road
A silicone base bead lasts 5 to 10 years. Refresh it when it yellows, peels, or shows mold that won’t scrub out. And when the toilet eventually needs to come up for a wax ring or a flooring job, score the bead top and bottom with a utility knife first — trying to lift a well-caulked toilet without cutting the seal is how bases (and backs) get cracked. The caulk cuts in two minutes; budget that into any future pull.
Bottom line from the field: seal the base — code requires it almost everywhere, hygiene demands it, and the leak-detection worry is solved by a discreet gap at the back on framed floors. Shim first so the bowl is rock solid, clean like the bond depends on it (it does), run a modest bead, tool it once with a soapy finger, and give it a day. It’s a $10, half-hour job that ends the un-moppable crevice under your toilet for the better part of a decade.