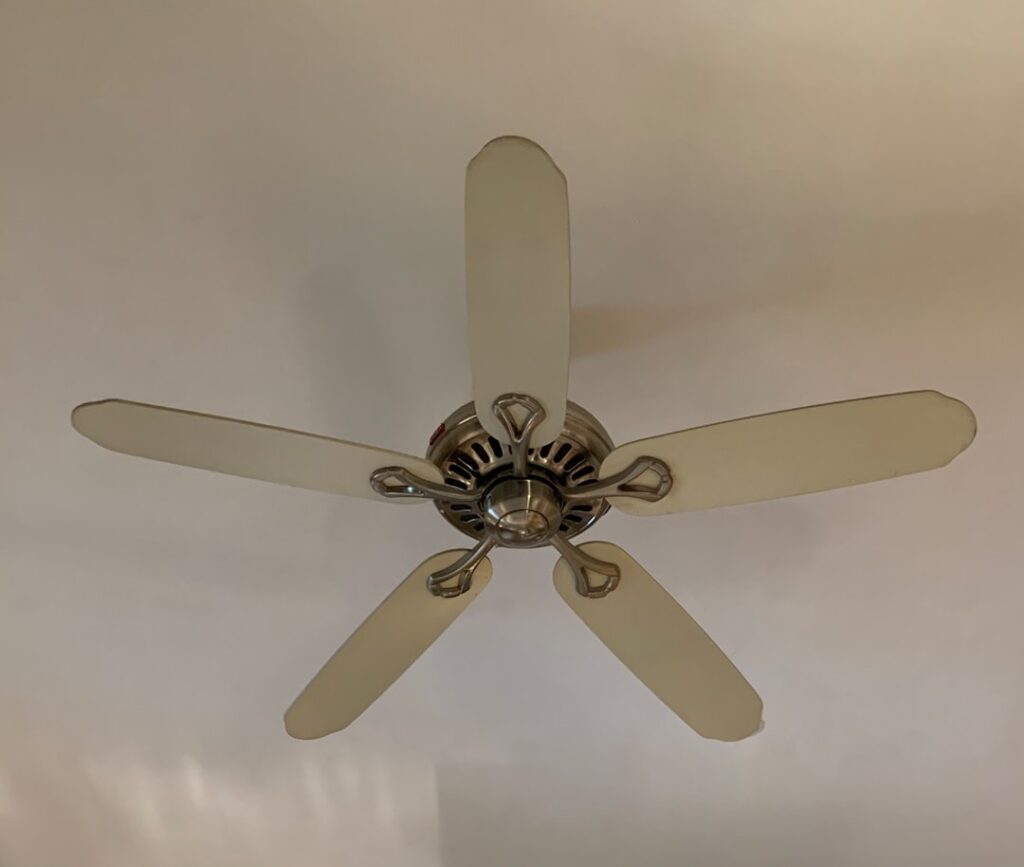
Wiring a ceiling fan is one of the most approachable electrical jobs in a house — four or five wires, a predictable color code, and connections that happen in one accessible box. What trips people up is not complexity but the variations: one wall switch or two, a light kit or not, a remote receiver in the mix. This guide decodes ceiling fan wiring completely: what each wire color does, how the common switch configurations work, and the step-by-step process with the safety checks that keep a routine job routine.
What Each Wire Color Means
On the fan side, colors are standardized across virtually every brand sold in the US:
- Black — fan motor hot. Powers the motor.
- Blue — light kit hot. Powers the light. Fans without lights don’t have it; some fans label it black-with-white-stripe.
- White — neutral. Return path for both motor and light.
- Green (or bare copper) — ground. Bonds the fan body and bracket to the house grounding system.
On the house side, inside the ceiling box you’ll typically find: a black hot (from the switch or panel), a white neutral, a bare copper ground, and — if the room was wired for separate fan/light control — a red wire, which is a second switched hot. That red wire is the single most important thing to identify before you plan anything, because it decides which setups are available without rewiring.
One classic gotcha: a white wire wrapped in black or red tape is not a neutral — it’s a hot that was re-tasked in a switch loop. Treat any taped-white as hot and test everything before touching.
The Three Common Configurations
One wall switch, fan with light (most common)
The ceiling box has one switched black hot. Connect house black to both the fan’s black and blue together, white to white, ground to ground. The wall switch now turns fan and light on together, and you use the pull chains to control them separately. It works, but everyone eventually hates the chains — which is why remote receivers exist (below).
Two wall switches (black + red in the box)
The luxury setup. House black connects to fan black (motor), house red connects to fan blue (light), white to white, grounds together. One switch runs the fan, the other the light, and you can later swap the fan switch for a wall-mounted speed control and the light switch for a dimmer rated for the light kit. If you’re installing in new construction or opening walls anyway, pulling 14/3 cable to get that red conductor is worth it every time.
No switch at all (fan-rated box fed with constant hot)
Common in bedrooms with a switched outlet instead of a ceiling light. Wire hot to black+blue and control everything by pull chain or, far better, a remote receiver.
Remote Receivers: The Rewiring Cheat Code
A remote receiver is a small module that tucks into the canopy between house power and the fan. Wiring is always the same pattern: house black and white feed the receiver’s “AC in” leads; the receiver’s output leads (typically black-to-black for motor, blue-to-blue for light, white-to-white) feed the fan. The receiver then provides independent fan speed and light dimming from the handheld or wall remote — full two-switch functionality over a one-switch circuit.
Three receiver rules: match dip switches between remote and receiver (or run the pairing procedure), leave any pull-chain switch on high and any light switch on so the receiver has full range, and never put the receiver on a dimmer-controlled circuit. If the receiver dies later — a frequent failure on budget fans — it can be bypassed by connecting house power directly to the fan leads; our Harbor Breeze parts guide covers sourcing replacement receivers for the most common house brand.
Step-by-Step: Wiring the Fan Safely
- Kill the breaker, not just the switch. Switch loops can leave hot conductors in the box with the switch off. Flip the breaker, then confirm with a non-contact voltage tester on every conductor in the ceiling box — including that suspicious taped-white. Test the tester on a known-live outlet first.
- Verify the box is fan-rated. It must be marked “Acceptable for Fan Support” (50 lb standard; 70 lb rated for heavy fans). A plastic light box held by two drywall screws will not hold a fan — replace it with a fan-rated brace box (an expandable brace bar, about $20, installs through the existing hole without opening the ceiling). This is not optional; it’s the difference between a fan and a falling fan. If the old box tore up the ceiling coming out, patch it before hanging — our drywall guide covers small-hole repairs.
- Hang the bracket and stage the fan. Most fans hang from the bracket by the downrod ball while you wire, leaving both hands free. Assemble per the manual; if your ceiling is over 9 feet, check the downrod length chart before you’re up the ladder.
- Make the connections. Strip to 1/2 to 5/8 inch of clean copper. Twist connections clockwise with wire nuts sized for the count (orange for 2 small conductors, yellow for 2–3): ground to ground first (and to the bracket’s green screw), white to white, then hots per your configuration above. Tug-test every nut — a connection that pulls out under a firm tug would have failed under vibration.
- Fold and close. Tuck grounds and neutrals to the back, hots to the front, seat the canopy without pinching any wire, and tighten the canopy screws.
- Restore power and test the matrix. Every speed, light on/off, dim range if applicable, and the reverse switch. Then let it run on high for ten minutes and check for wobble and any buzzing — buzz usually means a dimmer on the circuit or a loose wire nut.
Special Cases Worth Knowing
- No neutral in the box (old switch-loop wiring):
- Aluminum wiring (1965–1973 homes): stop. Copper fan leads to aluminum branch wiring requires AlumiConn or COPALUM connectors, not standard wire nuts. This is a licensed-electrician connection.
- Dimmers: a standard incandescent dimmer on a fan motor causes humming and burns out the motor’s speed control. Fan speed requires a fan-rated control; light dimming requires a dimmer matched to the LED kit.
- Outdoor fans: on a covered patio, use a damp-rated fan, weather-resistant wire nuts (the ones with silicone fill), and a wet-rated box with proper gasketing. Same colors, harsher environment.
- Two fans on one switch: fine on wiring (parallel connections), but both fans respond together; use remote receivers with different frequencies for independent control.
When to Call an Electrician
DIY fan wiring assumes an existing, correctly wired, fan-rated box. Call a pro when: there’s no ceiling box and one must be fished in from an attic or below ($150 to $350 typical), the wiring is aluminum or knob-and-tube, the box contains a tangle of multiple circuits, or your tester gives results that don’t match any diagram. An hour of electrician time ($100 to $200) is cheap against a wiring fault above your bed.
Ceiling Fan Wiring FAQs
What do I do with the red wire if my fan has no light? Cap it with a wire nut and fold it into the box. Never leave a hot conductor bare, and don’t connect it in parallel with the black — that back-feeds the second switch.
Black and blue to the same switch — is that safe? Yes. They’re both hot inputs to the same appliance; joining them under one nut with the supply hot is the standard one-switch hookup.
Does the fan need its own circuit? No. A fan draws 0.5 to 1 amp; light kits add a fraction more with LEDs. Fans share general lighting circuits everywhere.
Why does my fan hum after wiring? In order of likelihood: a dimmer on the circuit, a loose wire nut vibrating, or a failing capacitor. Fix the first two before blaming the fan.
Respect the breaker, verify the box rating, match the colors, and tug-test every connection. That’s the entire discipline — the wiring itself is 20 minutes of a two-hour install.
Hardwired vs. Plug-In: What a Wired Ceiling Fan Needs, and Why a New One Won’t Run
A wired ceiling fan, meaning one hardwired into the home’s electrical system at a ceiling box, is different from the plug-in or swag-style fans that hang from a hook and run on a cord to an outlet. Hardwired fans give you a clean look, wall switch or remote control, and a solid fan-rated mount. Plug-in versions exist for rentals or rooms with no ceiling box, but they still need proper ceiling support and a cord routed so it can’t be pulled or pinched. If your goal is a permanent installation, the wiring steps and fan-rated box rules above apply.
Troubleshooting a Newly Wired Ceiling Fan That Won’t Start
Most “dead” new fans have a simple cause. Work through these checks in order, and turn the breaker off and confirm the wires are dead with a non-contact voltage tester any time you open the canopy or switch housing. Never probe or test connections while the circuit is live.
- Breaker and wall switch: confirm the breaker is fully on and the wall switch is on. With two switches, make sure you’re flipping the one wired to the motor.
- Pull chains: a pull chain may be in the off position from the factory. Cycle through every position, pausing a few seconds at each.
- Remote receiver pairing: if the fan uses a receiver, repeat the pairing procedure or check that dip switches match between remote and receiver, and replace the remote battery.
- Harness plug: many fans have a plug connector between the mounting bracket and the motor housing. If it isn’t fully seated when the fan is hung, nothing runs. With power off, reseat it until it clicks.
- Reverse switch: a direction switch left between positions can stop the motor. Push it firmly to one side.
If the light works but the fan doesn’t, the problem is on the motor side: the black motor lead, a pull chain, or the receiver’s motor output. If neither works after these checks, stop there. Diagnosing whether power is reaching the box requires testing a live circuit, which is a job for a licensed electrician, not a trial-and-error exercise on a ladder. The same goes for any sign of heat, scorch marks, or a breaker that trips when the fan turns on.