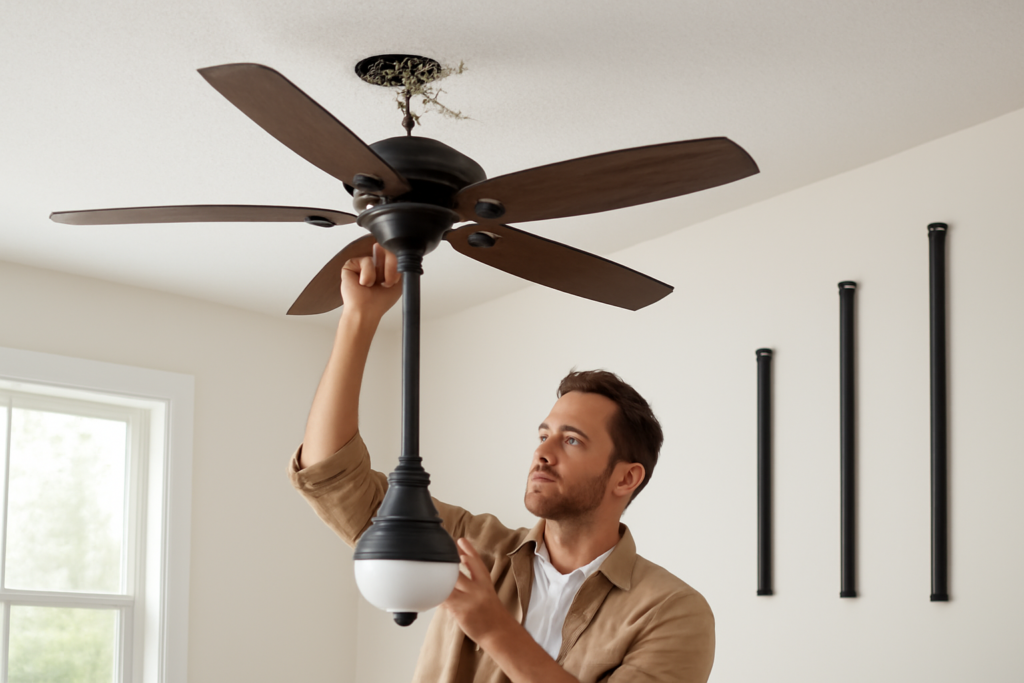
A ceiling fan hung at the wrong height moves dramatically less air than the same fan hung correctly — a fan tight to a 12-foot ceiling can lose a third of its effective airflow at head level. The ceiling fan downrod is the fix: a threaded metal pipe that drops the motor into the room’s air zone, carries the wiring inside it, and takes the fan’s full weight. Getting the length right is a five-minute calculation; getting the diameter and thread compatibility right is where people get burned. Here’s the whole picture.
The Target: Blades 8 to 9 Feet Off the Floor
Building code requires fan blades to sit at least 7 feet above the floor. But the performance sweet spot is 8 to 9 feet — high enough to clear tall people and raised arms, low enough that the column of moving air actually reaches the living zone. Fans also need at least 12 inches (ideally 18) between the blades and the ceiling to pull air efficiently from above; huggers sacrifice exactly this, which is why a downrod-mounted fan always outperforms a flush-mount of the same model.
Downrod Length Chart by Ceiling Height
These lengths assume a typical fan body, where the motor housing plus blades occupy roughly 12 inches below the bottom of the downrod. The goal in each row is blades landing near the 8 to 9 foot mark.
| Ceiling height | Recommended downrod | Resulting blade height (approx.) |
|---|---|---|
| 8 ft | None — use flush/hugger mount | 7 ft 2 in |
| 9 ft | 6 in (often included) | 7 ft 10 in |
| 10 ft | 12 in | 8 ft 4 in |
| 11 ft | 18 in | 8 ft 10 in |
| 12 ft | 24 in | 9 ft 4 in |
| 13 ft | 36 in | 9 ft 4 in |
| 14 ft | 48 in | 9 ft 4 in |
| 15 ft | 60 in | 9 ft 4 in |
| 16 ft | 72 in | 9 ft 4 in |
| 18 ft | 96 in | 9 ft 4 in |
| 20 ft | 120 in | 9 ft 4 in |
Notice the pattern above 12 feet: you’re no longer chasing clearance, you’re bringing the fan down to where people live. In great rooms and two-story foyers, err longer rather than shorter — a fan lost near a 18-foot ceiling is decorative, not functional. Quick formula if you’d rather calculate: ceiling height − desired blade height − fan body depth (usually about 12 inches) = downrod length.
Standard downrods come in 6, 12, 18, 24, 36, 48, 60, and 72 inch lengths, with 96 and 120 inch rods available from most major brands as special-order items. Rods 60 inches and longer should be paired with a fan that has good blade balance out of the box, because any wobble is amplified by the longer lever arm.
Diameter and Thread Compatibility by Brand
This is the part that ruins a Saturday. Downrods are not universal. There are two common outer diameters — 0.5 inch and 0.75 inch — plus brand-specific threading and pin arrangements:
- Hunter: 0.75-inch interior-threaded rods with a proprietary thread pitch. Buy Hunter-branded rods; generic 0.75-inch rods usually will not thread into a Hunter collar.
- Casablanca: Also 0.75-inch threaded, compatible with Hunter rods (same parent company).
- Harbor Breeze, Hampton Bay, most import brands: 0.5-inch rods secured with a through-pin and set screw rather than threads doing the structural work. Generic 0.5-inch rods usually fit, but confirm the ball fitting matches — see our Harbor Breeze parts guide for sourcing brand-specific hardware.
- Minka-Aire, Fanimation, Modern Forms: 0.75-inch, brand-specific couplers on many models; many also use proprietary finishes you’ll want to match.
- Big Ass Fans (Haiku): Fully proprietary extrusions — brand rods only.
The safe move: buy the downrod from the same brand as the fan, in the same finish, and match the diameter printed in the manual. A mismatched rod that “sort of threads” is a fan on the floor waiting to happen. The ball at the top of the rod must also match the mounting bracket’s socket — Hunter balls don’t seat in some generic brackets.
Sloped and Vaulted Ceilings
Most included mounting brackets handle slopes up to about 15 degrees (roughly a 3:12 pitch). Beyond that, the downrod hits the canopy edge or the ceiling itself, and you need two things:
- A sloped-ceiling adapter (angle mount kit), $15 to $40, which lets the ball pivot to steeper angles — most handle up to 45 degrees (12:12 pitch).
- A longer downrod than the flat-ceiling chart suggests, because the blades must clear the rising slope on the uphill side. Rule of thumb: for each additional 15 degrees of slope, add 6 to 12 inches of rod for a 52-inch fan. On a steep cathedral ceiling, a 52-inch fan often needs a 24-inch minimum rod just for blade-to-ceiling clearance, regardless of ceiling height.
Mount at or near the ridge when possible — it centers the fan visually and gives symmetrical clearance.
How to Install or Swap a Downrod, Step by Step
Swapping a rod on an existing fan takes 45 to 90 minutes with basic tools. You will remove the fan body, so a second person makes it far easier for anything over 20 pounds.
- Kill the power at the breaker, not just the wall switch. Verify with a non-contact tester at the fan’s canopy wires. If any wiring looks unclear once you’re in the canopy, our ceiling fan wiring guide maps every wire color.
- Drop the canopy. Remove the canopy screws and slide it down the rod to expose the mounting bracket and wiring.
- Disconnect the wires — note which house wire pairs with the fan’s black (motor) and blue (light) leads. Photograph it.
- Lift the ball out of the bracket. Tilt the fan slightly, lift, and unhook the downrod ball from its socket. Set the fan on a padded surface — blades removed first if it’s heavy or awkward.
- Remove the old rod. Pull the cotter pin, drive out the cross pin, loosen the set screws at the motor collar, and unthread the rod. Feed the wiring out of the rod.
- Thread the wires through the new rod before attaching it. If wire leads are too short for a long rod, buy a fan wiring extension kit rated for the load — never splice inside the rod itself; splices belong in the canopy or motor housing.
- Install the new rod: thread it into the collar until the pin holes align, drive the cross pin through, secure the cotter pin (this pin carries the fan — never skip it), then tighten both set screws firmly. Transfer the ball to the top of the new rod, seating its own pin correctly.
- Rehang, rewire, and close up. Seat the ball in the bracket with its slot on the bracket’s tab, reconnect wires with fresh wire nuts, tuck them, and mount the canopy.
- Test and balance. Run all speeds. Longer rods reveal balance issues a short rod hid — use the clip-and-weight balancing kit that came with the fan if there’s any wobble. A properly hung fan on a 72-inch rod should be visibly still at high speed.
Weight, Boxes, and Long-Rod Cautions
The downrod is only as good as the box above it. Any fan needs a UL-listed fan-rated box (marked “Acceptable for Fan Support,” typically rated 50 pounds; fans over 35 pounds need a box rated and labeled for 70). Long rods add leverage — a 60-pound-moment wobble at the end of a 6-foot rod works fasteners loose over time, so on rods 48 inches and up, check the bracket screws annually. For outdoor installations on a covered patio or under a patio roof, use a damp-rated fan and a stainless or powder-coated rod so the finish doesn’t corrode and streak.
Downrod FAQs
Can I couple two downrods together? No. Couplers are not rated for the bending loads, and most manufacturers void the warranty. Buy a single rod of the correct length — they exist up to 120 inches.
Do longer downrods make fans wobble? They amplify existing imbalance rather than cause it. Balance the blades and a long rod runs steady.
Are downrods paintable? Yes — scuff with 220 grit, prime with a bonding primer, and spray. But matching brand finishes (oil-rubbed bronze especially) is hard; buying the right finish is easier.
What length comes in the box? Almost all downrod-mount fans include a 3 to 6 inch rod — sized for 9-foot ceilings and nothing taller.
Measure your ceiling, use the chart, buy the brand-matched rod, and take the 90 minutes to hang the fan where the air actually is. It’s the cheapest airflow upgrade a tall room can get — usually under $30.