Interior designers have a trick for making 8-foot ceilings feel taller: hang the curtains from the ceiling itself. A ceiling mount curtain rod attaches to the overhead plane instead of the wall, letting drapery run floor-to-ceiling in one unbroken line — and beyond the visual height boost, ceiling mounting solves real problems that wall brackets cannot. It works where there is no usable wall space above a window, it turns any stretch of open ceiling into a room divider, and it handles bay windows, sloped alcoves, and closet doorways gracefully. This guide walks through the hardware styles, where each shines, and how to anchor one so it never sags.
Why Mount Curtains From the Ceiling
The aesthetic case is strong on its own. Floor-to-ceiling fabric draws the eye upward and makes a standard 96-inch ceiling read closer to nine feet, which is why hotels and staging companies do it almost by default. But the practical cases are just as compelling. Transom windows and windows set tight to the ceiling leave no room for wall brackets. Concrete or brick walls with wood-framed ceilings are far easier to drill overhead. Renters dividing a studio apartment, parents creating a nursery corner, and anyone hiding a laundry nook or open closet needs hardware in the middle of a room where no wall exists at all.
There is a thermal argument too. Curtains that seal from ceiling to floor trap an insulating air layer against the window far better than a rod floating 6 inches above the frame. With heavy thermal drapes, that gap closure measurably cuts drafts in winter — a cheap comfort upgrade in older homes with single-pane glass.
Rod vs. Track: The Two Hardware Families
Ceiling-Bracket Rods
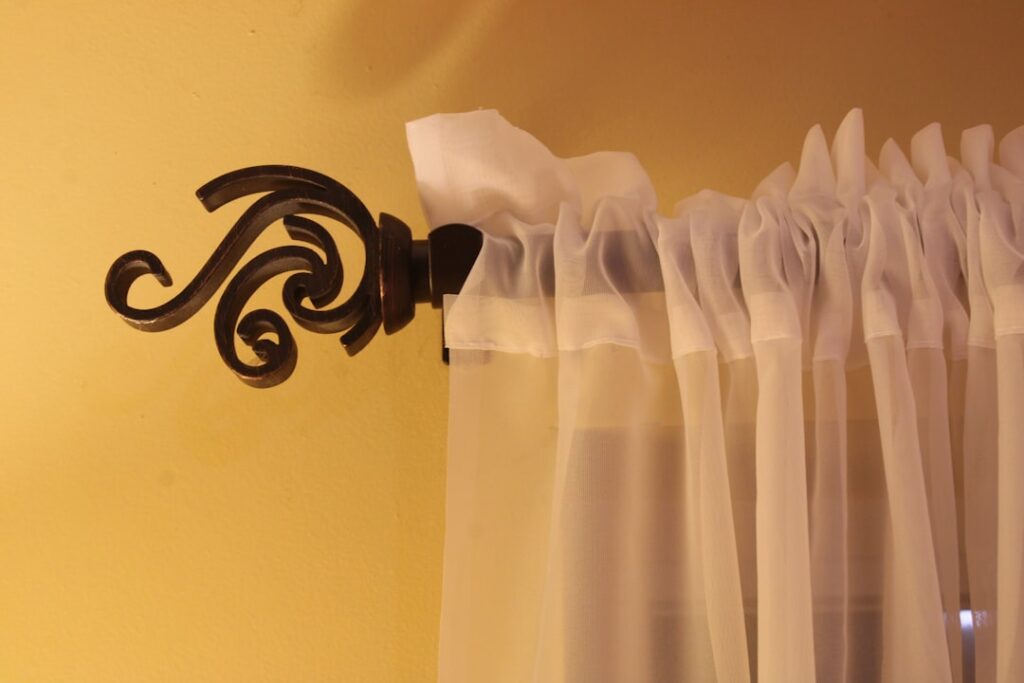
The familiar decorative rod — 1 inch to 1.5 inches in diameter with finials — can ceiling-mount using L-shaped or wraparound ceiling brackets. You keep the traditional look: visible rod, ring clips or grommet panels, decorative finish. Brands like Umbra, Kenney, and Rod Desyne sell ceiling-bracket kits from $25 to $80 for spans to 120 inches. The limitation is bracket interference: rings must hop past each bracket, so panels do not glide the full span freely, and spans over 6 feet need a center bracket that splits the traverse.
Ceiling Tracks
Track systems are what hospitals, hotels, and pro drapery workrooms use. An aluminum channel screws flat to the ceiling; carriers with small wheels glide inside it, and the curtain hangs from the carriers by hooks or clips. Nothing interrupts the glide, tracks bend around corners and curves (bendable models like the IKEA VIDGA, $20 to $50 per section, curve to your bay window’s angles), and the hardware nearly disappears behind the fabric header. Heavy-duty commercial tracks such as Kirsch 94001 architrac or RecPro RV track handle 40 to 60 pounds of fabric. Expect $30 to $150 depending on span and duty rating. If you want wall-to-wall room dividing or silent smooth operation, track wins without much argument.
Tension and No-Drill Options
For renters who cannot drill, spring-tension rods only work wall-to-wall in alcoves — there is no true no-drill ceiling mount that holds real weight. Adhesive hooks rated 5 pounds can carry a lightweight voile on a slim rod in a pinch, but manage expectations: one humid summer usually defeats adhesive on textured ceilings.
Sizing, Spacing, and Fabric Weight
Plan the span first. For a window treatment, extend the rod 6 to 12 inches past each side of the frame so open curtains stack against wall instead of glass. For room dividers, measure the full run and add 5 percent to the fabric width per foot of desired ripple — flat panels need roughly 1.5x the span in total fabric width to look full, 2x for luxurious pleating.
Weight determines bracket spacing. Light sheers (1 to 3 pounds per panel) can span 4 feet between supports. Midweight cotton or linen panels want brackets every 3 feet. Heavy blackout or velvet drapes — a 96-inch blackout panel weighs 4 to 7 pounds — need support every 24 to 32 inches and hardware rated accordingly. Sagging mid-span is the number one complaint with long ceiling rods, and it is almost always a spacing problem, not a rod problem. When in doubt, add a bracket; a $6 extra bracket beats a permanent bow in a $60 rod.
Anchoring: The Part That Makes or Breaks the Job
Ceilings are mostly hollow drywall, and drywall alone holds far less in shear-plus-tension overhead than on a wall. The hierarchy of anchoring, best to worst:
- Ceiling joists: the gold standard. Find them with a stud finder — they run every 16 or 24 inches in one direction — and drive #8 or #10 wood screws at least 1.5 inches into the framing. A screw in a joist holds over 100 pounds.
- Toggle bolts: for bracket positions that miss joists, snap toggles like the TOGGLER SnapSkru or classic wing toggles hold 40 to 70 pounds in half-inch ceiling drywall. This is the correct hollow-ceiling anchor.
- Self-drilling plastic anchors: rated maybe 10 to 15 pounds overhead in practice — sheers only.
- Concrete ceilings: drill with a masonry bit and use Tapcon screws or drop-in anchors; a hammer drill turns a miserable job into a 2-minute one.
The smart layout trick: run your track or rod perpendicular to the joists so every bracket can land in solid wood at 16-inch intervals. Running parallel to joists usually means an entire run of toggles.
Step-by-Step Installation
- Mark the line. Snap a chalk line or use a laser level along the intended run, typically 4 to 6 inches from the wall for window treatments so fabric clears trim and hardware below.
- Locate joists and mark each one crossing your line. Confirm with a finish nail probe if the stud finder reads inconsistently on textured ceilings.
- Mark bracket positions at the spacing your fabric weight requires, adjusting an inch or two to catch joists where possible.
- Drill pilot holes — 7/64 inch for #8 screws into joists, or the toggle’s specified size (usually 1/2 inch) in hollow spots.
- Mount brackets or track. For track, have a helper support the far end; start screws in the middle of a long track and work outward to keep it dead straight.
- Load carriers or rings first, then hang the rod or snap in end stops. Count carriers before closing the track ends — adding one later on some systems means unloading the whole run.
- Hang fabric and check glide. A dry silicone spray in the track cures any squeak; never use oil, which collects dust.
Budget 60 to 90 minutes for a straight 8-foot run, longer for bay windows with bendable track. The whole materials bill for a typical room divider — 10-foot track, carriers, toggles, and two IKEA-grade panels — lands under $100.
Style Notes That Elevate the Result
A few finishing decisions separate a polished installation from a dorm-room look. Hang panels that just kiss the floor or break half an inch onto it; fabric floating 3 inches above the floor undercuts the entire height effect. Choose pinch-pleat or ripple-fold headers on track systems — grommet panels are made for visible rods and look wrong on ceiling carriers. Match rod finish to other metals in the room, and on dividers, use double-sided or lined fabric since both faces show. Blackout dividers in a shared bedroom benefit from wraparound side returns, which bendable track handles with a simple 90-degree curve at each end.
Sloped and vaulted ceilings deserve a note: standard brackets and tracks want a flat plane, so on a cathedral ceiling either mount to a level soffit line, use adjustable-angle brackets rated for pitched mounting, or step the treatment down to a wall mount at a consistent height across the slope. And in bathrooms, ceiling-mounted shower rods and tracks must be rust-proof — aluminum or stainless track with polymer carriers, never plated steel, which streaks orange within months of daily steam.
Done right, a ceiling mount curtain rod is one of the highest-impact, lowest-cost upgrades in the drapery world — an afternoon of work, well under $150 in parts, and it changes how tall every room feels.