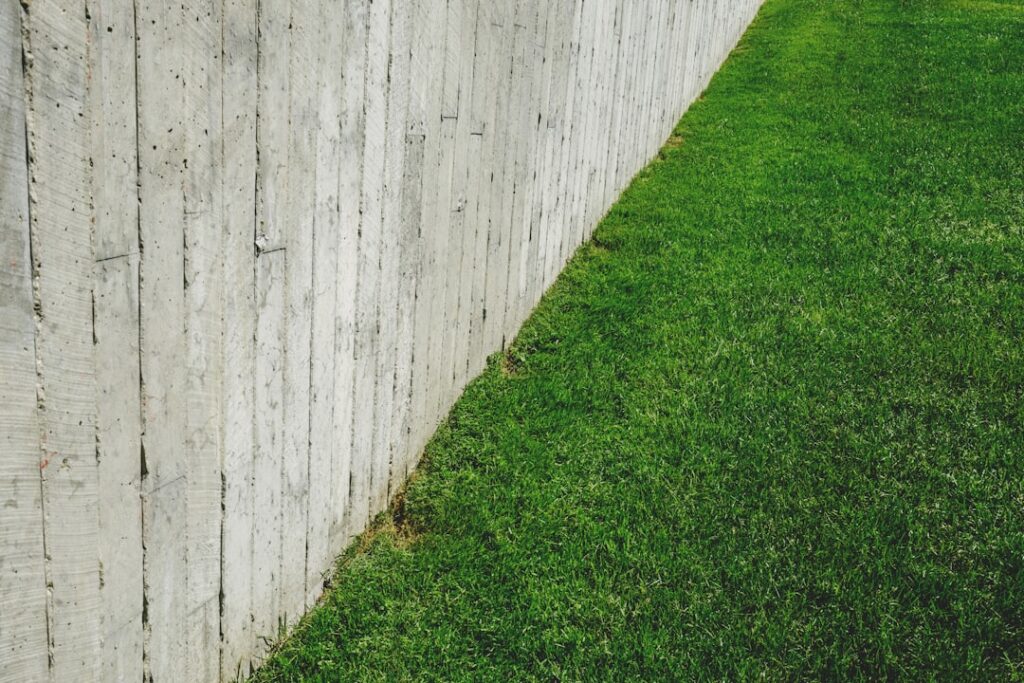
String trimming the same fence line and flower bed edge every single week is a self-inflicted chore. A concrete mow strip — a narrow flat band of concrete set flush with the lawn — lets one mower wheel ride the strip and cut clean to the edge, eliminating trimming entirely along that run. It is one of the highest-payoff small concrete projects a homeowner can pour: modest material cost, basic finishing skills, and a permanent result that plastic and steel edging never match. Here is how to design and pour one that actually works.
What a Mow Strip Is (and Is Not)
A mow strip is a maintenance band, not a decorative curb. The defining feature is that it sits flush with the soil grade so a mower wheel rolls on top of it. That distinguishes it from raised landscape curbing (the extruded, stamped border product), which looks tidy but still forces you to trim against its vertical face. Mow strips typically run along fence lines, foundation and siding edges, around tree rings and planting beds, under gates, and along gravel or mulch borders where you want a hard line between materials. Under a fence, the strip does double duty: it stops grass from growing through the bottom rail and blocks digging dogs.
Design Specs That Work
- Width: 6 to 12 inches. Six inches is the functional minimum for one mower wheel; 8 inches gives comfortable tracking; 12 inches suits wide-deck mowers and doubles as a narrow walkway or bed border. Along fences, center an 8-12 inch strip under the fence line so both sides mow clean.
- Depth: 4 inches. A 3.5-4 inch thickness handles mower and foot traffic indefinitely. Going thinner than 3 inches invites cracking; going thicker wastes concrete unless a riding mower or vehicle will cross it.
- Flush with grade — slightly proud at most. Set the finished surface level with, or no more than 1/4 to 1/2 inch above, the surrounding soil. Any higher and the mower scalps or bumps; lower and soil washes over the strip.
- Slope for drainage. Pitch the surface about 1/8 to 1/4 inch across its width away from structures so water sheds instead of ponding.
- Control joints every 4-6 feet. Tool joints to one-quarter of the slab depth (1 inch deep on a 4-inch strip). Long unjointed strips will crack randomly — guaranteed.
Reinforcement is optional on a 6-8 inch strip; on 10-12 inch widths or clay soils, a single run of #3 rebar or adding fiber to the mix cheaply insures against separation at cracks.
Materials and Tools
Concrete demand is modest: an 8-inch wide by 4-inch deep strip uses about 0.022 cubic yards per linear foot — roughly one 80-lb bag of Quikrete or Sakrete high-strength mix (4,000 psi) per 2.5 linear feet. A 50-foot run needs around 20 bags ($5.50-$7.50 each) or a partial ready-mix delivery. Beyond that: 1×4 form lumber (or benderboard/hardboard for curves), wood stakes or steel form pins every 3-4 feet, deck screws, a hand float or magnesium float, an edger, a grooving tool, and a margin trowel. Total DIY materials for 50 feet typically land at $150-$300.
Forming Curves
Curves are where mow strips earn their keep around beds and tree rings, and forming them is straightforward with the right stock. Options, from tightest radius to gentlest:
- 1/4-inch hardboard or Masonite strips — bends to tight tree-ring radii; stake every 12-18 inches.
- Composite benderboard — flexible landscape edging stock, reusable, holds smooth arcs.
- Kerfed 1×4 — saw cuts every inch, two-thirds through the board, let dimensional lumber bend to moderate curves.
Keep both form faces parallel by cutting a spacer block at your strip width and checking it as you stake. Sight down the form line before pouring — the eye catches wobbles that a tape measure misses, and every wobble is permanent.
Pour and Finish, Step by Step
- Excavate a trench 1-2 inches wider than the strip and 4-5 inches deep, removing all sod and roots. In frost-prone or soft soils, add 1-2 inches of compacted paver base; in stable soils you can pour on compacted subgrade.
- Set forms to finished grade, checking with a level and a string line, pitching slightly for drainage. Stake outside the forms, screw stakes to forms, and cut stakes below the top edge so your screed can ride the forms.
- Mix and place concrete stiff enough to hold an edge — soupy mix shrinks and weakens. Fill slightly proud, then screed off with a short 2×4 riding both form rails.
- Float once bleed water disappears. A magnesium float pushed in overlapping arcs closes the surface. Do not overwork it.
- Edge and joint. Run the edger along both form lines for a rounded, chip-resistant edge, and cut control joints every 4-6 feet with a groover against a straightedge.
- Texture. A light broom finish perpendicular to the run gives traction; a smooth float finish looks cleaner along beds. Either is fine on a mow strip.
- Cure. Mist and cover with plastic, or apply cure-and-seal, and keep it damp for 3-7 days. Strip forms after 24-48 hours and backfill soil snug to the edges. Wait a week before running the mower over it.
Cost: DIY vs Pro
DIY bagged-concrete cost runs $2 to $5 per linear foot for a typical 6-8 inch strip including forms and base. Hiring it out changes the math: contractors price small flatwork by the trip as much as by the foot, so expect $8 to $15 per linear foot with minimum job charges of $800-$1,500. Extruded curb companies (the Curb Appeal / concrete border franchises) run $6-$12 per foot but typically install raised decorative curb — confirm they will do a flush mow strip profile before hiring, because a raised curb defeats the purpose. For runs over 100 feet, a short-load ready-mix delivery ($200-$300 delivery fee plus $150-$180 per yard) beats mixing 40+ bags by hand.
Mow Strip vs Paver, Steel, and Plastic Edging
- Pavers on a sand base ($3-$8/ln ft DIY) look richer and are repairable, but joints grow weeds without polymeric sand, and individual pavers heave and tip under mower wheels within a few seasons.
- Steel edging ($2-$5/ln ft) makes a crisp bed line but is vertical — it separates materials without eliminating trimming, and exposed edges dull mower blades and bare feet find them.
- Plastic edging ($1-$2/ln ft) frost-heaves, warps in sun, and usually looks tired inside three years.
Concrete costs more up front than plastic and steel but is the only option that both defines the edge and carries the mower wheel — and it is the only one you will never reset.
Upgrades Worth Considering
A mow strip does not have to look like plain gray sidewalk. Integral color — a bottle of liquid cement color ($8-$12, one per two bags in a consistent ratio) mixed into every batch — turns the strip buff, terracotta, or charcoal to match the house hardscape; keep the dosing identical batch to batch or the strip stripes. A seeded aggregate finish (broadcast pea gravel floated into the surface, then lightly exposed with a hose and brush at initial set) dresses up bed borders for a couple dollars more per run. Along fences, cast the strip 2 inches wider than the fence line and set the fence posts first, pouring around them, so the concrete locks out grass on both sides of every picket. And if you run low-voltage landscape lighting or drip irrigation, lay a 1-inch PVC sleeve through the strip every 20 feet before the pour — a $3 sleeve now saves core-drilling later.
Maintenance
Almost none, which is the point. Blow or sweep it, and once a year check that turf has not crept over the edge — a flat spade run along the lawn side keeps the line crisp. Reseal every 3-5 years with an acrylic sealer if you want to limit staining and surface wear, though many homeowners never bother. Hairline cracks at control joints are normal and harmless. If a section settles below grade, mud-jack foam or a simple demo-and-repour of the 4-6 foot jointed section fixes it without touching the rest of the run — one more reason those control joints matter.