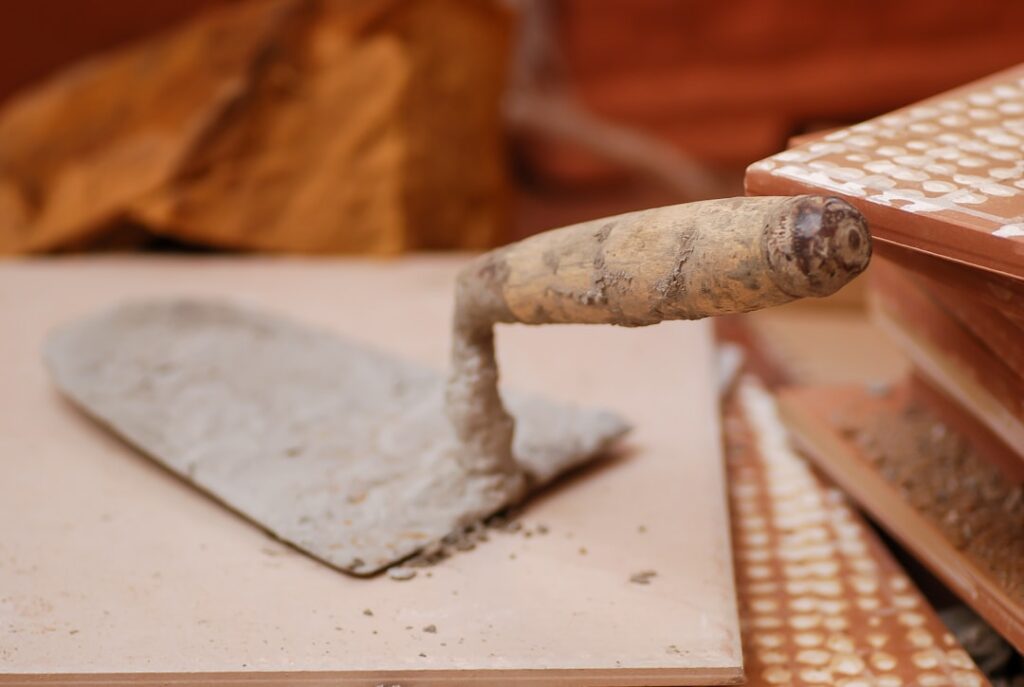
Troweling is the step that turns a flat slab into a hard, dense, sealed surface — and it’s also the step where most DIY slabs go wrong, because troweling is about timing more than tools. A concrete trowel is a flat steel blade that compresses the paste at the slab surface, closing pores and aligning fine particles into a smooth, wear-resistant skin. Trowel too early and you trap bleed water, creating a weak, dusty, scaling surface; too late and the blade just skates over concrete that’s already set. This guide covers the trowel types worth owning, the readiness tests pros use, pass-by-pass technique, power trowel basics, and burnishing.
Trowel vs Float: Know the Difference First
A trowel is steel and comes after floating. Floats — magnesium or wood — open the surface, embed aggregate, and level; steel trowels close and densify it. Run a steel trowel while bleed water is still rising and you seal that water just under the skin, which is the recipe for delamination and scaling. The float stage has its own tools and timing, covered in our concrete float guide; everything below assumes floating is done.
Types of Concrete Trowels
| Tool | Size | Price | Use |
|---|---|---|---|
| Finishing trowel (hand) | 14–20 in × 4–5 in | $25–$70 | The core tool; final smoothing within arm’s reach |
| Pool trowel | 14–18 in, rounded ends | $30–$60 | Curved surfaces; leaves no line marks — good beginner pick |
| Fresno | 24–48 in on a pole | $80–$200 | Trowel finish from the slab edge — no kneeling |
| Margin trowel | 5–8 in | $10–$20 | Edges, corners, patching; the always-in-pocket tool |
| Walk-behind power trowel | 36–48 in rotor | $90–$150/day rental | Slabs over ~500 sq ft |
| Ride-on power trowel | Twin rotors | Commercial | Warehouse-scale floors |
Blade steel matters on hand trowels: blue/high-carbon steel breaks in stiff and flattens paste aggressively; golden stainless flexes more and won’t rust-stain white or colored concrete. A broken-in trowel with slightly worn corners works noticeably better than a brand-new one, which is why finishers guard old trowels like heirlooms. For a first slab, an 16-inch finishing trowel plus a margin trowel covers a patio; add a fresno for anything you can’t reach from the edges.
Timing: When Is the Slab Ready?
Every finishing failure traces back to this decision. After screeding and bull floating, concrete rests and bleeds — water rises as solids settle. You wait until:
- All bleed water has evaporated. No sheen anywhere on the surface. Never trowel through visible water, and never sprinkle dry cement to blot it (that makes a weak, crazed skin).
- The footprint test passes: step on the slab — a boot print of about 1/4 inch depth that doesn’t pump water means first-trowel time. A 1/2-inch squishy print: too early. No print: you’re late — get moving.
- The thumb test at edges: pressing hard leaves a slight dent with no paste sticking.
Wait time runs anywhere from 30 minutes (hot, windy, low-slump mix) to 4+ hours (cold, humid, air-entrained mix). Watch the slab, not the clock — and know that air-entrained exterior concrete bleeds very little, which shortens the window and is one more reason exterior slabs usually get a broom finish instead of a hard-trowel (more below).
Hand Troweling Technique, Pass by Pass
- First pass — blade flat. Hold the trowel nearly flat with just the leading edge raised 1/8 inch or so, and sweep in wide overlapping arcs, each stroke overlapping the last by half. Pressure is moderate; the goal is to close the float texture, not polish. If the blade pulls up paste or leaves washboard, stop — five more minutes of set fixes both.
- Wait between passes. Let the surface stiffen 15–45 minutes until it takes real hand pressure to dent.
- Second pass — more angle, more pressure. Raise the leading edge slightly and bear down. The surface should ring slightly under the blade and take on a uniform matte-smooth look. For most interior slabs, two passes is a finished trowel job.
- Third pass / burnishing — optional. For a hard, dark, near-polished garage or shop floor, come back when the slab is hard enough to barely mark, tilt the blade higher, and trowel with maximum pressure. The blade will “sing” and the surface burnishes to a dense sheen. Burnished floors are beautiful and glass-slick when wet — reserve them for interiors.
Body mechanics: work from knee boards (two boards, leapfrogging backward so you never kneel on finished work), trowel your knee-board marks out as you retreat, and finish toward your exit. With a fresno, the same passes happen from the slab edge — angle the blade into the direction of travel and pull steady, overlapping runs. A fresno can’t apply the pressure of a hand trowel, so it delivers a good-not-burnished finish; that’s the right target for most patios and walks anyway.
Power Trowel Basics
Above roughly 500 square feet, hand finishing can’t keep pace with the set. A walk-behind power trowel finishes in two stages:
- Panning/float pass: with float blades (or a clip-on pan) run flat, when the slab supports the machine leaving only ~1/8-inch tracks. This replaces late hand-floating on big pours.
- Finish passes: swap to combination or finish blades, increase pitch a click or two each pass, and make each pass perpendicular to the last. Two to four passes takes the floor from matte to burnished.
Rental runs $90–$150/day. Practice steering before the pour — a power trowel walks sideways with slight handle pressure, and over-steering gouges. Edges still get hand-troweled; the machine leaves a 4–6 inch untouched ring at forms.
Where NOT to Steel-Trowel
Two big exceptions to all of the above:
- Exterior flatwork in freeze climates. Air-entrained concrete’s protective air bubbles get sheared and sealed off by hard troweling, inviting scaling — and a slick trowel finish is dangerously slippery when wet or icy. Exterior slabs get one light trowel pass at most, then a broom texture; the full method is in our broom finish concrete guide.
- Anywhere you’ll bond a coating. Burnished surfaces are so dense that epoxies and overlays struggle to grip without grinding.
Common Troweling Mistakes
- Troweling bleed water in. The #1 cause of scaling, dusting, and delaminations that pop the following winter.
- Overworking the surface. Every extra pass draws more fines and water up; know when done is done.
- Blade too steep too early. High blade angle on soft concrete leaves “chatter” ripples that are hard to erase.
- Sprinkling water on a drying surface to buy time. Adds crazing and a weak skin; use an evaporation retarder or plan the pour for cooler hours instead.
- Ignoring the mix. Finishing fights start at the truck — the right slump and mix design for finishing conditions is covered in our concrete mix guide.
- Forgetting cure. The best trowel job still needs 7 days of moist curing or a cure compound to reach its strength.
Care and Break-In
Clean blades before paste hardens (a bucket and rag at the pour), dry carbon-steel trowels and wipe with oil, and never grind a blade edge — wear it in. Break in a new trowel on a few sand-mix patches or use it as your second-pass tool behind an older blade until the corners round naturally.
FAQ
How long after pouring concrete can you trowel it?
When bleed water is gone and a footprint dents about 1/4 inch — typically 1 to 4 hours after placement depending on temperature, humidity, wind, and mix. The slab tells you; the clock doesn’t.
Can I get a smooth finish with just a hand trowel?
Yes, on anything you can reach across from knee boards — patios, pads, walks. Two well-timed passes with a 16-inch trowel produce a professional surface. Beyond arm’s reach, add a fresno.
Why did my troweled slab flake the first winter?
Almost certainly bleed water troweled under the surface, or a hard trowel finish on air-entrained exterior concrete — both create a weak skin that freeze-thaw pops off. Exterior slabs want a broom finish and a breathable sealer.
What’s the difference between a fresno and a bull float?
They look similar on a pole, but the bull float is magnesium or wood and runs early (right after screeding) to level and open the surface; the fresno is steel and runs late to smooth and close it. Using a fresno at bull-float time seals bleed water in — the classic rookie swap.