If you have ever seen a plank-tile floor where one tile edge sits proud of the next — a raised lip you can feel with a bare foot — you have seen the price of the wrong offset. The correct 1/3 offset tile pattern is the specific brick-style layout that the tile industry now recommends for long plank and rectangular tiles, and it exists precisely to solve that problem. The old habit of offsetting planks by half their length looks fine on paper but causes real trouble with modern large-format tile. Understanding why the one-third rule matters — and how to lay it out — is the difference between a flat floor and a lumpy one.
Part of our Tile & Grout guide — explore the full guide →
What “1/3 Offset” Means
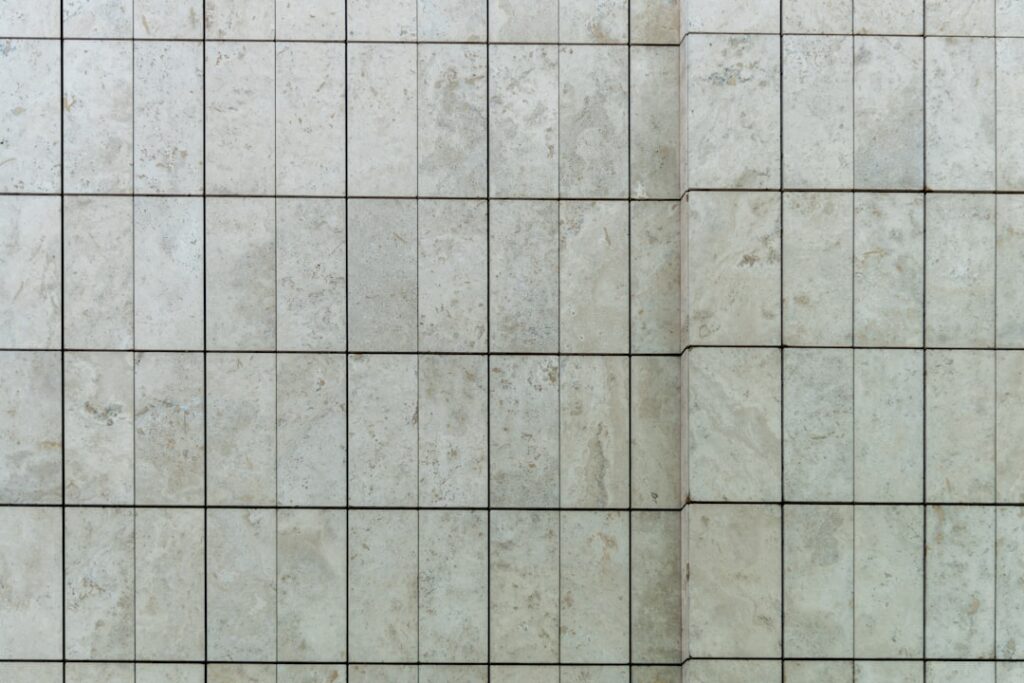
In an offset (or running bond) pattern, each row of tile is shifted sideways relative to the row before it, so the grout joints do not line up. A 1/3 offset means each new row starts one-third of the tile’s length farther along than the row below. On a 12-inch by 24-inch plank tile, that is a 8-inch stagger per row, and the pattern repeats every three rows. The result is a staggered, brick-like look with no continuous seam running across the floor.
Why 50% Offset Fails on Plank Tile
For generations, tile was set with a 50 percent offset — each plank centered on the joint below, like a classic brick wall. That works fine for small tiles, but it fails on long modern planks for one reason: crowning. Large-format tiles are not perfectly flat. Most have a slight lengthwise bow, or crown, in the center. When you offset by 50 percent, the highest point of one tile — its center — lands right next to the lowest points of its neighbors, the ends. That height difference shows up as lippage, a raised edge you can see and trip on.
The longer the tile, the worse the effect. This is why the Tile Council of North America now recommends a maximum offset of 33 percent (one-third) for tiles longer than 15 inches, unless the manufacturer says otherwise.
The Industry Rule in Plain Terms
Here is the guidance every installer should know:
- For tiles with any side longer than 15 inches, the running bond offset should not exceed one-third (33%) of the tile length.
- Always check the tile box or manufacturer’s instructions first — some specify their own maximum offset, and following it protects your warranty.
- A one-third offset keeps the crowned centers from butting against low ends, dramatically reducing lippage.
Ignore this and you not only get a rougher floor — you may void the tile warranty, since many manufacturers explicitly state the 1/3 maximum.
Laying Out the Pattern
Getting the one-third offset right starts with careful layout before any thinset goes down:
- Find the center of the room and snap perpendicular chalk lines to establish a square starting grid.
- Dry-lay a few rows to confirm you will not end with tiny slivers at the walls — adjust the starting point if needed.
- Mark your one-third stagger. For a 24-inch tile, each row shifts 8 inches; cut your starter tiles for rows two and three accordingly (a full tile, then a two-thirds, then a one-third).
- Work in the repeating three-row sequence so the pattern stays consistent across the floor.
A chalk line for every few rows keeps the offset from drifting as you go.
Flattening the Substrate First
The one-third offset reduces lippage, but it cannot fix a bad floor. Large-format tile demands a flat substrate — the TCNA calls for no more than 1/8 inch of variation over 10 feet. Check your slab or subfloor with a long straightedge and grind down high spots or fill low spots with self-leveling compound before you tile. On a wavy floor, even a perfect one-third offset will telegraph the dips.
Use the Right Thinset and Tools
Plank tile also needs full mortar support behind it, so use a large-and-heavy-tile (LHT/medium-bed) mortar rather than standard thinset, and a large notched trowel — typically 1/2 inch. Comb the mortar in straight lines and back-butter each tile to eliminate voids. Lippage-control clips and wedges are worth their small cost: they hold adjacent tile edges level while the mortar cures, forcing the surfaces flush even where tiles vary slightly in flatness.
Grout Joint Width
Wider grout joints hide minor size and flatness variation between tiles, which is why rectified large-format tiles are often set with at least a 1/8- to 3/16-inch joint. Very tight joints look sleek but leave no room to absorb the small differences between planks, making any lippage more obvious. Follow the tile maker’s minimum joint recommendation rather than pushing for the thinnest possible line.
The Bottom Line
The correct 1/3 offset tile pattern is not a style preference — it is a technical fix for the crowning that plagues long plank and large-format tile. Cap your stagger at one-third for any tile over 15 inches, flatten the substrate first, use medium-bed mortar with lippage clips, and follow the manufacturer’s joint width. Get those steps right and you end up with a staggered plank floor that looks intentional and, more importantly, feels flat underfoot for the life of the installation.
Other Layouts to Consider for Plank Tile
The one-third offset is the safe default, but it is not the only option — and knowing the alternatives helps you pick the right one. A straight-stack layout, where every tile lines up in a grid with no offset at all, sidesteps the crowning problem entirely because no tile center meets a neighbor’s end. It gives a clean, contemporary look and is a valid choice for very flat, rectified tile. A herringbone or chevron pattern breaks the planks into short diagonal runs, which also avoids long continuous seams, though it wastes more tile and demands precise cuts.
What you should avoid on long plank tile is the traditional 50 percent brick offset, for exactly the reasons covered above. If you love the staggered brick look, the one-third offset delivers it without the lippage. Match the layout to the tile: the longer and less perfectly flat the plank, the more you benefit from a straight stack or a one-third offset over a half offset.
Frequently Asked Questions
Why is a 1/3 offset better than 50% for plank tile?
Long plank tiles have a slight lengthwise crown in the center. A 50 percent offset lands each tile’s high center next to its neighbors’ low ends, creating lippage. A one-third offset keeps those points from butting together, dramatically reducing the raised edges you feel underfoot.
What size tile requires a 1/3 offset?
The Tile Council of North America recommends a maximum 33 percent offset for any tile with a side longer than 15 inches, unless the manufacturer specifies otherwise. Always check the tile box first, as following its guidance protects your warranty.
How do I prevent lippage on large-format tile?
Use a one-third or smaller offset, flatten the substrate to within 1/8 inch over 10 feet, use medium-bed (large-and-heavy-tile) mortar with a large notched trowel, back-butter each tile, and set lippage-control clips to hold adjacent edges level while the mortar cures.
Prefer to explore on your own?
See how new flooring looks in your actual room in seconds — free, no signup.
Try the free Floor Studio →