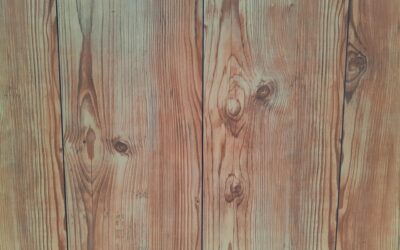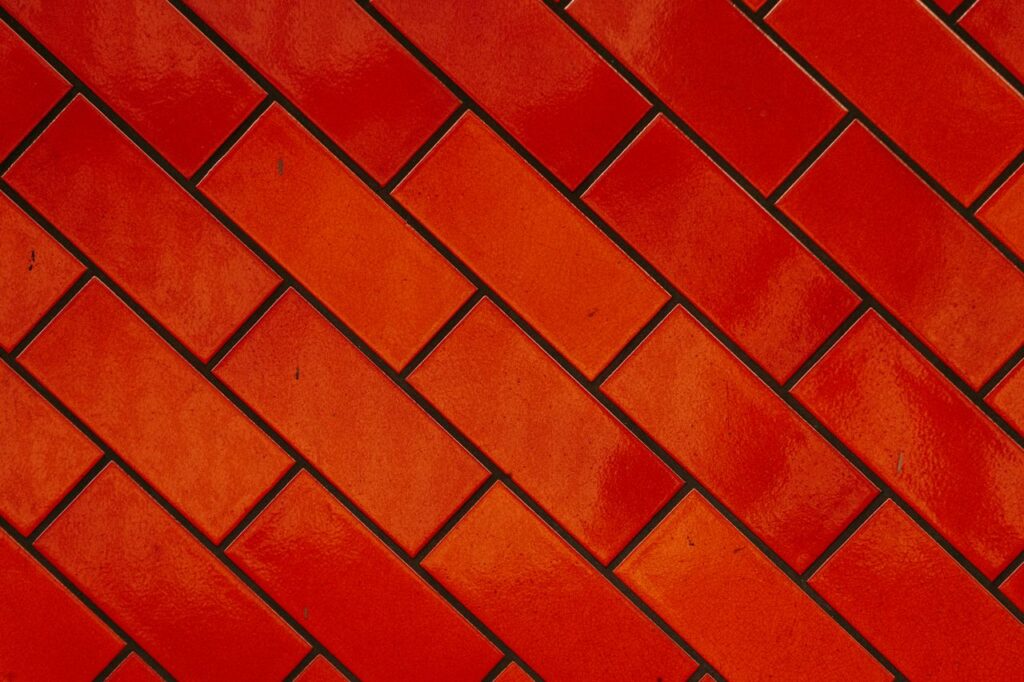
If you have ever admired a wood-look tile floor that felt calm and expensive rather than busy, there is a good chance you were looking at a staggered 1/3 offset tile pattern. Once the go-to layout for every rectangular tile was the classic 50 percent brick bond, but longer plank-format tiles changed the math. Offsetting large tiles by half their length creates lippage, the uneven edges you feel underfoot, and it exaggerates any bow in the tile body. The one-third offset solves that problem elegantly, and it has quietly become the layout most tile manufacturers now recommend for planks 12 inches and longer.
Part of our Tile & Grout guide — explore the full guide →
- What a 1/3 Offset Actually Means
- Why the 1/3 Offset Beats a 50 Percent Brick Pattern
- Where This Pattern Works Best
- Planning Your Layout Before the First Tile
- Grout Joint Width and Tile Bowing
- Step-by-Step Installation Overview
- Common Mistakes to Avoid
- Choosing Tile Direction and Room Orientation
- Estimating Materials and Waste
- Final Thoughts
- Frequently Asked Questions
What a 1/3 Offset Actually Means
The concept is simple once you picture it. Instead of starting each new row of tile shifted by half the length of the tile below it, you shift by only one-third. On a 24-inch plank tile, that means each row steps over 8 inches from the row beneath. The result is a staircase-like rhythm that repeats every three rows, so the grout joints form a gentle diagonal cascade across the floor rather than the tight zippers of a running bond.
You can also run the offset in the other direction, a two-thirds shift, which looks nearly identical but climbs the opposite way. Some installers alternate directions for a random, natural appearance. Either way, no two adjacent rows share a joint, and no joint ever lands near the center bulge of the tile below it.
Why the 1/3 Offset Beats a 50 Percent Brick Pattern
The reason comes down to how large-format tiles are made. Every rectified porcelain plank has a slight crown, a rise of a millimeter or two along its center. When you set the joint of the next row directly over that high point, the corner of the upper tile sits proud of its neighbor, and you get lippage that catches toes and light. A one-third offset keeps every joint over a lower, flatter section of the tile below, dramatically reducing that step.
- Less lippage: Joints avoid the tile’s high center point.
- More forgiving: Small variations in tile flatness disappear into the pattern.
- Warranty compliance: Many manufacturers void warranties on planks over 15 inches if you exceed a 33 percent offset.
- Cleaner sightlines: The gentler stagger reads as refined rather than dizzy.
Where This Pattern Works Best
The one-third offset shines with wood-look and stone-look plank tile, the formats that have taken over kitchens, entryways, and open living areas. It suits both porcelain and natural stone, and it works equally well on floors and on feature walls where you want the look of shiplap or wide-plank paneling. In a bathroom, running the planks lengthwise with a one-third stagger visually stretches the room. In a long hallway, orienting the planks along the direction of travel makes the space feel even longer and more deliberate.
Planning Your Layout Before the First Tile
A great tile job is won on the floor with a chalk line before any thinset comes out of the bucket. Dry-lay a full run of tiles across your longest dimension to see where the cuts fall at each wall. You want to avoid a sliver, any cut piece under about a third of a tile, at a prominent edge. If a dry run leaves you with a two-inch strip at the doorway, shift your starting line to balance the cuts on both ends.
Snap two perpendicular chalk lines to establish a true 90-degree working corner, and measure off those lines rather than off the walls, which are rarely square. Mark your one-third increments on a story stick, a scrap of trim with the offset penciled on it, so every row starts in exactly the right place without re-measuring.
Grout Joint Width and Tile Bowing
Plank tiles are not perfectly straight, and the longer they are, the more they bow. That reality drives grout joint width. For a 1/3 offset with planks over 12 inches, avoid tight joints. A minimum of 3/16 inch, and often 1/4 inch, gives you room to average out the bow between adjacent tiles so the pattern stays visually straight. Trying to run a 1/16-inch joint on long planks is a recipe for wandering grout lines and lippage complaints.
Rectified tiles, which are mechanically ground to a precise size, allow the tighter end of that range. Pressed or cushion-edge tiles need the wider joint to hide their size variation. When in doubt, buy a tile leveling clip system; the plastic clips and wedges pull adjacent corners flush while the thinset cures and are worth every penny on a plank floor.
Step-by-Step Installation Overview
- Prep the substrate: Confirm the floor is flat to within 1/8 inch over 10 feet. Grind high spots and fill lows with self-leveler; large-format tile is unforgiving of dips.
- Snap your lines: Establish the square working corner and mark your one-third increments.
- Back-butter and comb: Use a 1/2-inch notched trowel for large planks and back-butter each tile for full coverage, aim for 95 percent under wet areas.
- Set with clips: Place leveling clips at each joint as you go and beat the tile in with a rubber float to collapse the thinset ridges.
- Check as you climb: Verify your offset against the story stick every few rows and confirm joints stay aligned across the field.
- Grout and seal: After the thinset cures 24 to 48 hours, grout with an unsanded or fine-sanded grout suited to your joint width, then seal natural stone.
Common Mistakes to Avoid
The single biggest error is exceeding the offset and returning to a 50 percent stagger out of habit; it looks fine on paper and creates lippage you cannot fix later. Running joints too tight is a close second. Installers also underestimate substrate prep, a floor that is not flat guarantees lippage no matter how good the pattern. Finally, do not skip the dry layout to save an hour; a sliver cut at the front door will annoy you every time you walk in.
Choosing Tile Direction and Room Orientation
Which way you run the planks changes how the room feels, and it interacts with the offset. Running planks parallel to the longest wall stretches a room lengthwise, which flatters hallways and narrow bathrooms. Running them perpendicular to the entry, so you step across the planks as you walk in, can make a short room feel wider. In an open-concept space, most installers align the planks with the primary sightline, usually the direction you look when you enter, so the cascading one-third offset draws the eye naturally into the room.
Light matters too. Planks run parallel to the main window let raking light glide along the boards and hide minor lippage, while planks run perpendicular to a strong side light can exaggerate any height difference between tiles. If your floor gets dramatic low-angle sun through a patio door, orient the planks with that light and lean on your leveling system to keep the surface flat.
Estimating Materials and Waste
The diagonal cascade of a one-third offset generates more cut waste than a straight stack because the staggered ends rarely land neatly at the walls. Order 12 to 15 percent extra over your square footage for a standard rectangular room, and bump that to 18 or 20 percent for a room with lots of jogs, closets, or angled walls. Buy it all at once from the same production lot so shade and caliber stay consistent, and keep a full box of leftovers after the job. Tile lines get discontinued constantly, and a matching plank for a future repair is nearly impossible to find years later. That extra box is cheap insurance against a mismatched patch down the road.
Final Thoughts
The staggered 1/3 offset tile pattern earned its reputation the practical way, by solving the lippage and warranty headaches that come with today’s long plank tiles while looking genuinely handsome. Plan your cuts, keep your grout joints generous, invest in a leveling system, and honor the one-third rule from the first row to the last. Do that, and you will end up with a floor that feels flat underfoot, reads as understated and high-end, and holds up to years of everyday traffic.
Frequently Asked Questions
How far do you offset a 12×24 tile in a 1/3 pattern?
Each row shifts 8 inches, which is one-third of the 24-inch length. The same rule scales to any plank: a 36-inch tile steps over 12 inches and a 48-inch tile steps over 16 inches. Width does not change the math, so a 6×24 and a 12×24 tile both use an 8-inch shift. Mark that number on the story stick before setting the first row.
How do you lay out a 1/3 offset so the pattern stays even?
Add one grout joint to the tile length, divide by three, and use that figure as the step for every row. With a 24-inch tile and a 1/4-inch joint, that works out to about 8 1/12 inches, which keeps the three-row repeat from drifting across a wide room. Snap a line at each step on the starting row, or cut a spacer block to that length, and check the cascade every few rows.
Can you use a 1/3 offset on subway tile or a shower wall?
Yes, the 1/3 offset works on walls, backsplashes, and shower surrounds as well as floors. On short tiles like 3×12 subway, bowing is minor, so the choice between a 1/3 and a 50 percent offset is mostly about looks, with the 1/3 stagger giving a more modern, cascading line. On long wall planks, the same lippage reasoning as floors applies, so stay at a one-third shift or less.
Is a 1/3 offset the same as a random stagger?
No. A 1/3 offset repeats in a fixed three-row cycle, so the joints form a regular diagonal, while a random stagger varies the shift each row to mimic a wood floor. Random layouts still need every end joint kept away from the center of the tile below and at least several inches from the joints in neighboring rows. On long plank tile, a consistent 1/3 offset is easier to keep flat and within warranty rules.
Prefer to explore on your own?
See how new flooring looks in your actual room in seconds — free, no signup.
Try the free Floor Studio →