The running bond tile pattern is one of the most enduring and versatile ways to lay tile, borrowing its logic from classic brickwork. Each row of tile is offset from the one above and below, so the joints stagger rather than line up in a grid. The result is a relaxed, timeless look that hides imperfections, uses tile efficiently, and suits everything from subway backsplashes to large-format floors.
Part of our Tile & Grout guide — explore the full guide →
This guide explains how the pattern works, the offset options you can choose, which tile shapes and sizes suit it best, where to use it, and what installation and cost look like so you can decide if a running bond layout is right for your project.
- What Is a Running Bond Pattern?
- Offset Options: Half, Third, and More
- Best Tile Shapes and Sizes
- Where to Use a Running Bond Layout
- Advantages of the Pattern
- Installation Basics
- Cost Considerations
- Understanding and Avoiding Lippage
- Grout Color and Joint Width
- Design Variations to Consider
- Is Running Bond Right for You?
What Is a Running Bond Pattern?
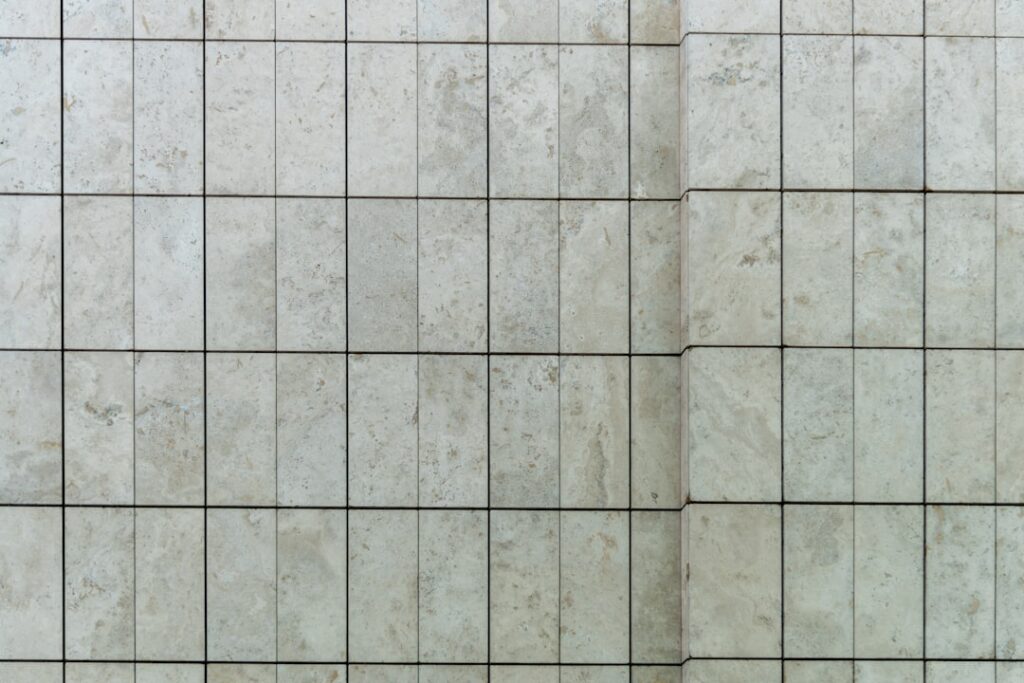
In a running bond layout, each tile is shifted horizontally relative to the row above it, so the vertical grout lines never align continuously across the surface. The most familiar example is the traditional white subway backsplash, where each brick-shaped tile is offset by half its length. This staggering breaks up the rigidity of a straight grid and creates a gentle, repeating rhythm. The pattern comes directly from masonry, where offsetting bricks adds structural strength, and it carries that same sense of solidity and craftsmanship into tile work.
Offset Options: Half, Third, and More
How far you shift each row changes the look significantly, and the offset amount is the main design decision:
- 50 percent (half) offset — the classic brick look; each tile centers over the joint below it. Simple and balanced.
- 33 percent (one-third) offset — a subtler stagger that reduces the “lippage” problem common with large tiles.
- 25 percent offset — an even gentler step, popular for long plank tiles.
An important note for large-format and wood-look plank tiles: many manufacturers and tile councils recommend keeping the offset at one-third or less rather than a full half. Because these tiles often have a slight bow, a 50 percent offset can leave the center of one tile sitting proud of its neighbor’s edge, creating an uneven surface. A smaller offset keeps the floor flatter and safer.
Best Tile Shapes and Sizes
Running bond works with a wide range of tiles, but rectangular shapes show it off best. Popular choices include:
- 3×6 subway tile — the quintessential running bond tile for backsplashes and shower walls.
- 4×12 and 4×16 — larger rectangles for a more contemporary wall or floor.
- 6×24 and 8×40 plank tiles — wood-look porcelain that mimics floorboards; use a small offset here.
- 12×24 large-format — a modern floor look with staggered joints; again favor a one-third offset.
Square tiles can also be run in a bond pattern, though the offset effect is subtler. The longer and narrower the tile, the more pronounced the brick-like rhythm becomes.
Where to Use a Running Bond Layout
This pattern is at home almost anywhere tile goes, which is part of its appeal:
- Kitchen backsplashes — the offset subway look is a timeless classic.
- Bathroom and shower walls — staggered joints add subtle texture and hide minor wall waviness.
- Floors — large-format or plank tiles in a gentle offset read like natural flooring.
- Fireplace surrounds and accent walls — the brick reference feels warm and architectural.
- Entryways and hallways — a running bond floor guides the eye down the space.
Because it is so widely used, the pattern reads as familiar and comfortable rather than trendy, which helps it age well.
Advantages of the Pattern
Homeowners and installers favor running bond for several practical reasons. The staggered joints disguise small variations in tile size and minor wall or floor imperfections better than a grid, where every misalignment is obvious. It is one of the easier patterns to install, making it friendly for DIYers. It also tends to waste less tile than diagonal or herringbone layouts, since cuts are mostly simple straight ends. And visually, the offset adds just enough interest to keep a large expanse of tile from looking flat and monotonous.
Installation Basics
Laying a running bond pattern is straightforward, but a few steps ensure a clean result. The general process is:
- Prepare a flat, sound surface — a level substrate is especially important for large tiles where lippage shows.
- Find your starting line — snap a level reference line and plan the offset so edge cuts are balanced.
- Spread thin-set and set the first row — use spacers to keep grout lines uniform.
- Offset each new row — start the next course with a cut tile so the joints stagger by your chosen amount.
- Use a leveling system for big tiles — clips and wedges keep adjacent edges flush and prevent lippage.
- Grout and seal — after the mortar cures, grout the joints, clean the surface, and seal natural stone or cement grout as needed.
Cutting the starter tiles for each row is the main repetitive task, so a wet saw or a good snap cutter speeds the job.
Cost Considerations
Because it is efficient and simple, a running bond layout costs less to install than complex patterns. Tile material follows normal pricing, roughly $2 to $15 per square foot for ceramic and porcelain and more for stone or glass. Installation labor for a standard running bond typically runs $5 to $12 per square foot, less than the $9 to $20 range common for herringbone or intricate mosaics. Buy about 10 percent extra tile to cover cuts and future repairs; the low waste of this pattern means you rarely need more.
Understanding and Avoiding Lippage
Lippage is the term for one tile’s edge sitting higher than its neighbor’s, and it is the main technical pitfall of a running bond floor, especially with large or plank tiles. It happens because many big tiles have a slight lengthwise bow, so when you offset them by a full half, the crowned center of one tile lands next to the low end of the next, creating a noticeable ridge. To keep the surface flat and safe underfoot, take these precautions:
- Limit the offset to one-third or less on tiles longer than about 15 inches.
- Start with a dead-flat substrate, since the floor cannot be flatter than what is beneath it.
- Use a tile leveling system of clips and wedges to hold adjacent edges flush while the mortar cures.
- Back-butter large tiles and use the right-notch trowel for full mortar coverage.
A little planning here is the difference between a smooth, professional floor and one that catches toes and collects dirt along raised edges.
Grout Color and Joint Width
Grout has a big effect on how a running bond surface reads. A matching grout softens the pattern and lets the tile color dominate for a seamless look, while a contrasting grout, such as dark grout against white subway tile, emphasizes the brick-like offset and turns it into a graphic feature. Joint width matters too: a tight 1/16-inch joint gives a clean, modern feel, while a wider joint reads more rustic and traditional. In wet areas, choose a stain-resistant epoxy grout or a quality sealed cement grout, and keep the joints consistent so the staggered lines stay crisp. Because the pattern draws the eye along horizontal lines, a well-chosen grout color reinforces whatever mood you are after.
Design Variations to Consider
While the standard horizontal running bond is the most common, the pattern offers room to play. Running the tiles vertically instead of horizontally draws the eye upward, which can make a low backsplash or a short wall feel taller. Turning the whole pattern on a diagonal adds energy and a custom feel, though it increases cutting and waste. You can also combine a running bond field with a contrasting border or a small accent band of a different tile to frame the installation. These variations let you keep the pattern’s easy, forgiving nature while adding a personal touch that suits your room.
Is Running Bond Right for You?
The running bond tile pattern is a dependable, budget-friendly choice that flatters nearly any tile and room. It hides imperfections, installs easily, and delivers a warm, familiar look that never goes out of style. Just remember to use a modest one-third offset with large-format and plank tiles to keep the surface flat. Whether you are tackling a first-time backsplash or a whole-floor project, this classic layout offers a forgiving, attractive result that will look great for years.
Prefer to explore on your own?
See how new flooring looks in your actual room in seconds — free, no signup.
Try the free Floor Studio →