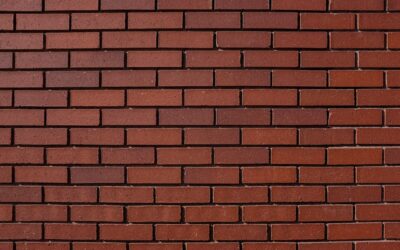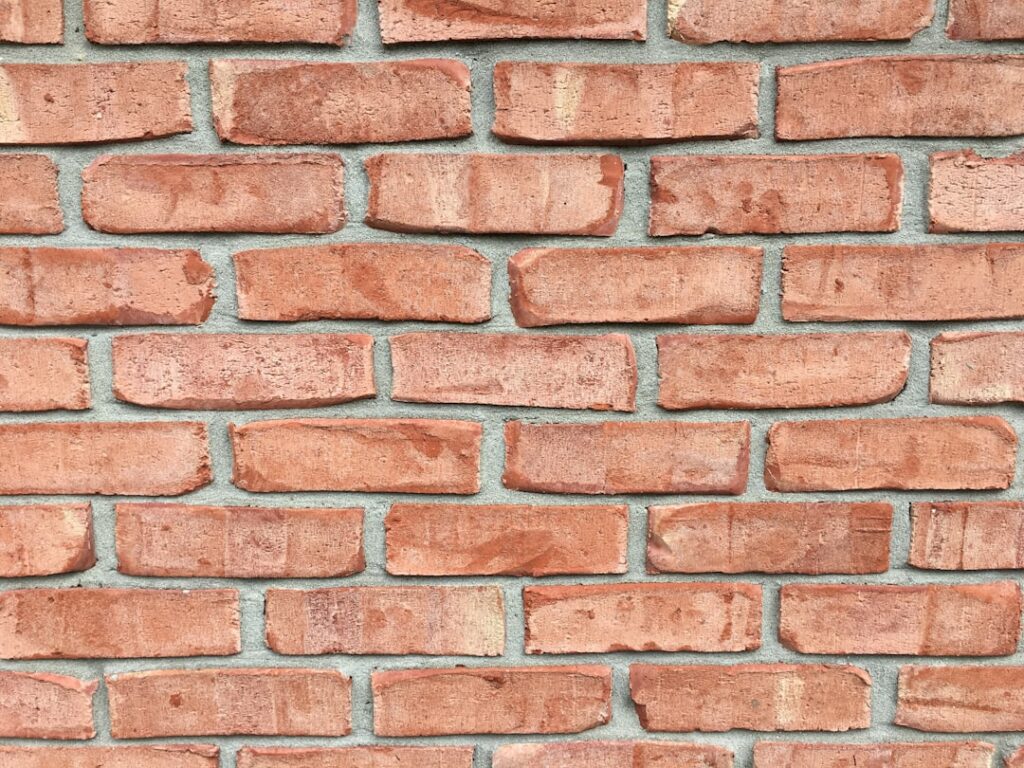
The staggered, offset arrangement that gives a wall or floor that classic, handcrafted rhythm has become one of the most requested looks in modern design. Brick pattern tile, also called a running bond or offset layout, takes rectangular tiles and shifts each row so the joints land at the middle of the tiles above and below, creating the same staggered effect you see in a brick wall. It works on subway tile backsplashes, large-format floors, and everything in between.
Part of our Tile & Grout guide — explore the full guide →
This guide covers the layout options, the technical pitfalls, the best materials, and what you can expect to pay so your brick pattern install looks intentional rather than accidental.
What the Brick Pattern Is
At its core, a brick pattern stacks rows of rectangular tile with a horizontal offset. The traditional version is a 50 percent offset, where each tile’s end aligns with the center of the tile below it. The pattern hides slight size variations between tiles and draws the eye along the room, which is why it has anchored kitchens and bathrooms for over a century.
While brick pattern tile started with the 3-by-6-inch subway tile, it now spans porcelain planks, marble, glass, and large-format slabs. The same offset logic applies whether you are tiling a shower wall or a 1,000-square-foot floor.
Popular Brick Pattern Layouts
The offset percentage changes the entire feel of a space. Pick the one that fits your tile and your room.
- 50 percent offset (running bond): The classic. Joints center perfectly, giving a balanced, traditional look that suits subway tile and small rooms.
- Third offset (one-third bond): Each tile shifts a third of its length. This is the go-to for long planks and large-format tile because it reduces lippage problems.
- Quarter offset: A subtle stagger that reads almost like a stacked pattern but softens the grid lines.
- Vertical brick: Run the same offset on its side for a taller, more contemporary feel that makes low ceilings look higher.
The Lippage Problem With Long Tiles
Here is the mistake that ruins more brick pattern floors than any other. Long rectangular tiles, especially wood-look planks, are not perfectly flat. They have a slight crown or bow in the middle. When you set a 50 percent offset, the high center of one tile meets the low end of its neighbor, and you get lippage, which is an uneven edge you can feel and trip over.
The fix is the offset percentage. For any tile longer than about 15 inches, drop to a one-third or quarter offset rather than 50 percent. Use a leveling clip system during installation to hold adjacent tiles flush while the thinset cures, and check your substrate is flat within 1/8 inch over 10 feet before you start. Most tile manufacturers now explicitly recommend a maximum 33 percent offset on planks for this reason.
Best Materials for Brick Pattern Tile
Almost any rectangular tile works, but some shine in this layout.
- Ceramic and porcelain subway tile: Affordable, durable, and the original choice. Porcelain handles floors and wet areas better than ceramic.
- Porcelain wood-look planks: A brick pattern with a one-third offset mimics real hardwood plank flooring while resisting water.
- Marble and natural stone: Adds luxury, but seal it and expect more variation in thickness.
- Glass tile: Beautiful for backsplashes, though it shows adhesive through the tile, so use white thinset.
Grout and Finishing Choices
Grout color defines a brick pattern as much as the tile itself. A contrasting grout, like charcoal against white subway tile, emphasizes the offset rhythm and gives a bold, industrial look. A matching grout makes the surface read as one continuous field, which feels calmer and more spacious.
Keep grout joints consistent, typically 1/16 to 1/8 inch for subway tile and 1/8 to 3/16 inch for floor planks. Use unsanded grout for joints under 1/8 inch and sanded grout for wider ones. Seal cement-based grout after curing, and reseal every year or two in wet areas to fight staining and mildew.
Cost and Installation Considerations
Material costs vary widely by tile. Basic ceramic subway tile starts around $1 to $3 per square foot, mid-grade porcelain planks run $3 to $8, and natural stone or designer glass can exceed $15 to $25 per square foot. Professional installation typically adds $7 to $15 per square foot depending on your area and the complexity of the layout.
A brick pattern itself does not add much labor over a straight grid, but it generates slightly more waste from the staggered cuts, so order 10 to 15 percent extra. Patterned walls and floors with lots of edges, niches, or transitions push labor higher. If you are tiling a large floor with long planks, the leveling-clip work and substrate prep are where an experienced installer earns the money.
Planning Your Layout and Starting Point
Where you begin the first row determines how the whole pattern lands, and rushing this step is how installations end up with a sliver-thin cut tile in the most visible corner. Find the center of the wall or floor, snap reference lines, and dry-lay a run of tile in each direction to see where the cuts fall at the edges.
The goal is to avoid cuts smaller than about half a tile at any prominent edge, since tiny slivers look awkward and crack easily. Shift your starting line as needed to balance the cuts on opposite sides. On a backsplash, decide whether the pattern centers on the range, the sink, or the hood, since that focal point draws the eye. Mark your offset spacing too, and use spacers or a story pole so every row staggers by the same amount rather than drifting as you go.
Where Brick Pattern Tile Works Best
The look is genuinely versatile. It dresses up a kitchen backsplash, gives a bathroom that timeless feel, and turns an entryway into a statement. On floors, a wood-look brick pattern brings warmth to living spaces and mudrooms without the maintenance of real wood. Vertical brick layouts open up small powder rooms, while large-format brick floors suit open-concept main levels.
Plan your layout on paper or with a dry run before mixing thinset, confirm your offset suits the tile length, and follow the manufacturer’s setting instructions. Get those fundamentals right and brick pattern tile delivers a finish that looks deliberate, durable, and timeless.
Prefer to explore on your own?
See how new flooring looks in your actual room in seconds — free, no signup.
Try the free Floor Studio →