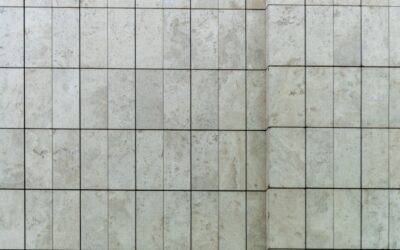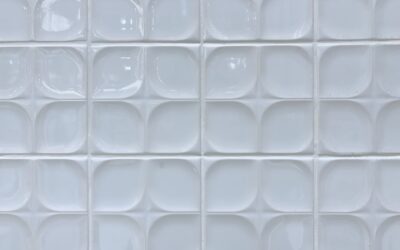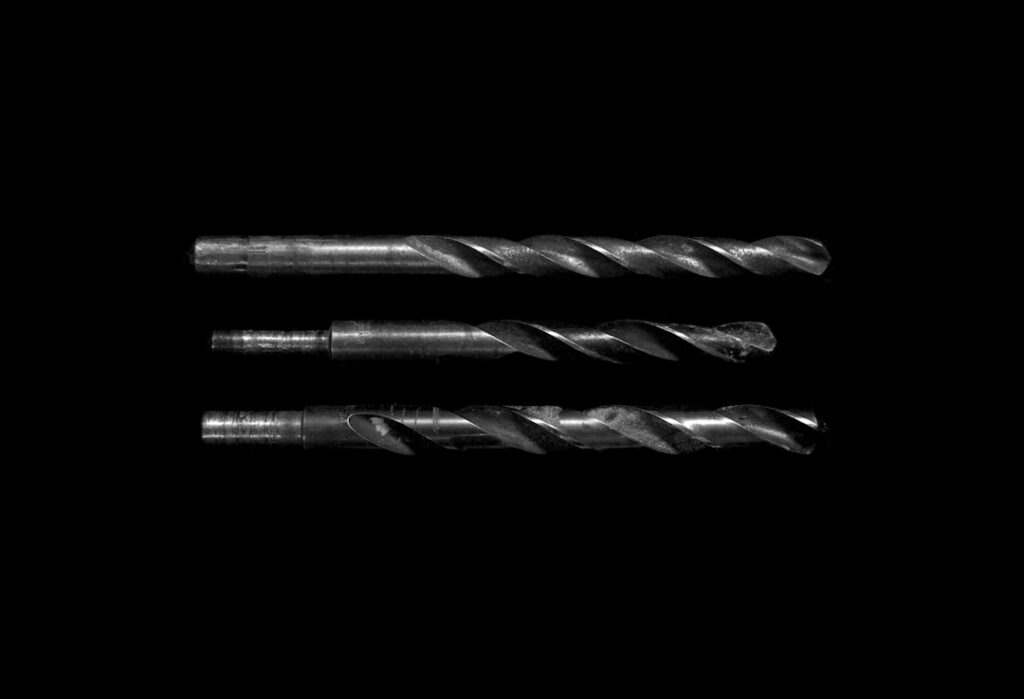
Porcelain tile is fired so hard — often harder than the steel trying to cut it — that ordinary masonry bits spin, squeal, and burn without ever breaking the glaze. A diamond drill bit for tile solves the problem by grinding instead of cutting: industrial diamonds bonded to a hollow core abrade their way through materials no fluted bit can touch. If you are mounting a shower door, running a pipe through porcelain, or drilling glass mosaic or granite, diamond is not one option among several — it is the only tool that reliably works. This guide covers the bit types, wet-drilling technique, speeds, and the jigs that keep a spinning core from skating across your $8-per-square-foot tile.
Part of our Tile & Grout guide — explore the full guide →
Diamond Core Bits vs. Carbide Spear Points
Tile bits come in two fundamentally different families, and matching the bit to the tile is the whole game. Carbide spear-point bits — the arrowhead-shaped tips sold in most tile-bit sets — cut by chipping. They work acceptably on soft-bodied glazed ceramic wall tile, the kind rated around 3 to 4 on the Mohs scale. Push a spear point into dense porcelain, quartzite, or glass, though, and it dulls in seconds, then generates heat that cracks the tile.
Diamond bits grind. Most are hollow core bits — thin-walled tubes with diamond grit on the rim — that remove a ring of material and leave a clean plug. Because nothing is harder than diamond, they bore porcelain (Mohs 7-8), glass, granite, quartzite, and marble with clean edges and no impact stress. The rule of thumb: if a steel nail cannot scratch the tile surface, put the carbide bits away and reach for diamond.
Types of Diamond Bits and When Each Wins
- Sintered core bits: Diamond grit mixed through a thick metal rim. Slowest cutting but longest lived — the rim exposes fresh diamond as it wears. Best for repeated use in stone and heavy porcelain. Typically $15-$40 per bit.
- Vacuum-brazed core bits: A single aggressive layer of exposed diamond. Fast starting, good dry-drilling tolerance, moderate life. The most DIY-friendly type, usually $10-$25.
- Electroplated bits: Thin diamond coating, cheap ($5-$15) and fast on glass and soft stone, but short-lived on porcelain — think 5 to 15 holes.
- Small solid-tip diamond bits (1/8 to 1/4 inch): For pilot-size holes in glass tile and mosaics where a core bit is too large.
Common sizes for household jobs: 1/4 and 5/16 inch for anchors and shower hardware, 1-3/8 inch for standard valve and pipe penetrations, and 4 inches and up (usually on an angle grinder, not a drill) for drain and mixing-valve openings.
Water Is Not Optional
Diamond drilling generates intense friction heat, and heat is the enemy twice over: it glazes the diamond bond so the bit stops cutting, and it thermally shocks the tile into cracking. Wet drilling solves both while suppressing crystalline silica dust — a genuine respiratory hazard when grinding porcelain and stone dry.
You do not need a rig with a water feed. Practical methods, best to worst: a helper trickling water from a squeeze bottle onto the cut as you drill; a plumber’s-putty or modeling-clay dam around the hole location filled with a small pool of water; or a wet sponge held against the bit’s entry point. Vacuum-brazed bits marketed as dry-rated still last dramatically longer with water, so use it anyway. If the water at the cut turns to steam or the slurry goes dry and white, stop and cool everything before continuing.
Speed and Pressure: Where Most People Fail
Instinct says push harder and spin faster when progress is slow. With diamond, both instincts are wrong. Run the drill at low RPM — roughly 600 to 900 RPM for bits under 1/2 inch, 300 to 600 RPM for larger cores, on the slow setting of a variable-speed drill. Never use hammer mode; percussion shatters porcelain and strips diamond from the bit.
Pressure should be light — the weight of the drill plus a pound or two. Let the diamond abrade at its own pace, easing off every 15 to 20 seconds to let water flush the slurry out of the kerf. A 1/4-inch hole through porcelain takes one to three minutes; a 1-3/8-inch core can take five to ten. If you are leaning on the drill, you are shortening the bit’s life and heating the tile.
Starting the Hole: Jigs and Guides
A round core bit on a glassy surface wanders — that is how scratched tiles and oval holes happen. Three fixes, in order of reliability:
- A drilling guide jig: A plastic or metal plate with sized holes, held or suction-cupped to the tile. Many diamond bit kits include one, and it is the single best accessory for clean starts.
- The 45-degree start: Tilt the bit so one edge of the rim contacts the tile, grind a small crescent notch, then gradually stand the drill up to vertical once the notch captures the bit.
- A masking-tape X: Two layers of tape over the mark give the bit texture to bite. Helpful on its own, better combined with either method above.
Whenever possible, drill before the tile goes on the wall, supported flat on a scrap of plywood — and ease pressure as the bit exits to avoid blowing out the back face.
Drilling Installed Tile Without Cracking It
On a finished shower wall, add three precautions. Check for pipes and wires behind the location first. Stay at least an inch away from tile edges and grout lines, where cracks start most easily. And control the exit: once through the tile body, swap to a regular masonry bit for the cement board or masonry behind it — diamond cores clog quickly in soft backer, and the tile itself is the only layer that needs diamond.
Troubleshooting Common Problems
Three failure modes account for nearly every frustrating session. A bit that suddenly stops cutting has usually glazed over — the metal bond has smeared across the diamonds from heat or pressure. Dress it by drilling a few seconds into a scrap of concrete paver, brick, or a dressing stone to expose fresh grit. A hole that starts squealing and smoking means the slurry has dried out; stop, flood the cut, and resume at lower pressure. And a crack radiating from a finished hole almost always traces back to hammer mode left on, drilling too close to a tile edge, or a core allowed to bind at breakthrough — all preventable, none repairable. When in doubt, slow down; diamond tooling rewards patience over force every single time.
Costs and What to Buy
A sensible homeowner kit is inexpensive: a five-piece vacuum-brazed set covering 1/4 through 1/2 inch runs $20 to $40 from brands like Bosch, Drilax, SHDIATOOL, or Milwaukee, and a single 1-3/8-inch core for valve work adds $15 to $30. Expect 15 to 40 holes per quality bit in porcelain when drilled wet and slow — enough for several bathrooms. Against the cost of one cracked replacement tile plus regrouting, a proper diamond drill bit for tile is some of the cheapest insurance in the trade. Buy the guide jig, keep a water bottle in reach, and let the diamonds do the work at their own unhurried pace.
Prefer to explore on your own?
See how new flooring looks in your actual room in seconds — free, no signup.
Try the free Floor Studio →