
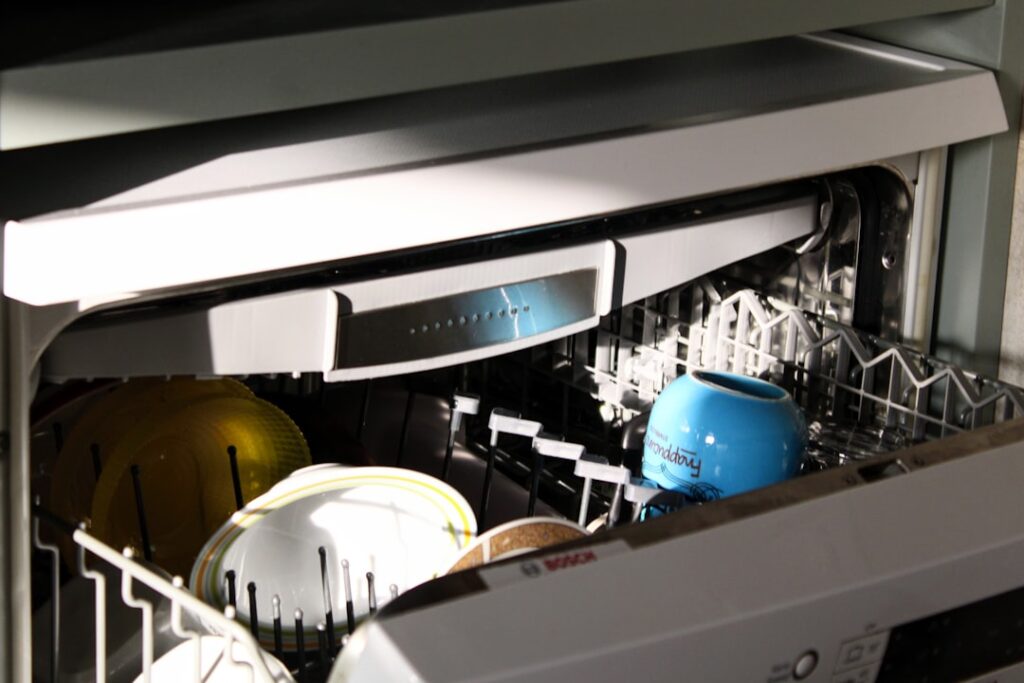
When the tines on your bottom rack rust through and start leaving orange spots on your clean dishes, a dishwasher rack repair kit is the $15 fix that saves you from a $60 to $150 replacement rack. These kits patch the exposed metal, replace broken wheels, and get years more life out of a rack that looks done. Here’s exactly how to pick the right one and install it.
- What’s Actually in a Rack Repair Kit
- Match the Kit to Your Rack
- Tools You’ll Need
- Step-by-Step: Repairing Rusted Tines
- Replacing Rack Wheels and Rollers
- The Adjustable Rack Height Fix
- Choosing Cap Color and Getting a Tight Fit
- Silverware Basket and Cup-Shelf Repairs
- Common Mistakes to Avoid
- When a Repair Kit Isn’t Enough
- Why Racks Rust in the First Place
- Making the Fix Last
The problem is almost always the same: the factory vinyl coating cracks, water reaches the bare steel underneath, and rust spreads from there. Catch it early and the repair is simple.
What’s Actually in a Rack Repair Kit
Most kits are one of two types, and many combine both:
- Tine tip / cap kits: a bag of small vinyl caps in colors like gray, blue, or beige that push onto the ends of broken or rusted tines. Basic kits include 12 to 52 caps for $6 to $15.
- Vinyl repair paint: a bottle of brush-on liquid vinyl that seals cracked coating and stops rust from spreading, usually $8 to $12.
- Wheel / roller kits: replacement rack wheels and clips for racks that won’t roll smoothly, often $10 to $20.
A combo kit with caps plus repair paint runs about $15 to $20 and handles the two most common failures at once.
Match the Kit to Your Rack
Two things matter when buying: color and tine diameter. Measure the diameter of a tine with calipers or against the kit’s listed size, since caps come sized for common tine gauges and a loose cap falls off in the first cycle. For color, gray and light blue are the most universal, but pull your rack out and compare before ordering so the repair blends in.
Universal kits from brands like ReRACK, Whirlpool, and generic sellers fit most GE, Whirlpool, Kenmore, Maytag, Bosch, and Frigidaire racks. Wheel kits are the exception: those must match your specific model number, because axle spacing and clip design vary between manufacturers.
Tools You’ll Need
Almost nothing. Gather these before you start:
- Fine-grit sandpaper (150 to 220) or a wire brush
- Wire cutters or a small hacksaw for trimming damaged tine ends
- A rag and rubbing alcohol for cleaning
- The kit itself and a few minutes to let paint cure
Step-by-Step: Repairing Rusted Tines
Work on a dry rack, pulled fully out of the machine and set on a towel:
- Cut back the rust. Snip off any tine tip that’s rusted through with wire cutters. Bare, jagged metal will only spread rust and rip the new cap.
- Sand the metal smooth. Knock off loose rust and old flaking vinyl with sandpaper until you reach solid metal. Don’t leave crumbling coating behind.
- Clean the surface. Wipe each tine with alcohol so the paint and caps bond to a grease-free surface.
- Seal with vinyl paint. Brush a coat of liquid vinyl over any exposed or cracked metal. This is the step that actually stops rust; the caps are cosmetic and protective. Let it cure per the label, usually 24 hours.
- Cap the tips. Push a vinyl cap firmly onto each repaired or broken tine end. A dab of the vinyl paint inside the cap acts as glue for a permanent hold.
Give everything a full day to cure before running a cycle, or hot water will lift fresh paint.
Replacing Rack Wheels and Rollers
If your rack drags, tilts, or won’t slide, the wheels are worn or missing. Look at the rear or side rollers riding on the rack rails.
- Find the clip or stem holding each wheel. Most snap on or twist a quarter-turn to release.
- Pop off the old wheel and clip. Brittle plastic often crumbles, so clear any debris from the axle.
- Snap the new wheel on until it clicks and spins freely.
- Reinstall the rack and roll it in and out to confirm smooth travel.
Order wheels by your model number. A wheel that’s even slightly off-size wobbles and wears out fast.
The Adjustable Rack Height Fix
While you’re in there, if your upper rack sits crooked or has dropped on one side, check the height-adjuster clips or the rail wheels on each side. A single popped clip is what makes an upper rack hang at an angle, and it’s usually included in a wheel-style kit or sold as a cheap separate part.
Choosing Cap Color and Getting a Tight Fit
The two things that make or break a tine-cap repair are diameter and grip. Tines come in a few common gauges, and a cap sized even slightly large will slide off in the first hot cycle. Measure a tine tip with calipers, or take one to compare, and match the kit’s stated tine size. If a cap fits loose, don’t force a wrong size; instead put a drop of the vinyl repair paint inside the cap before pushing it on, which cures into a permanent bond.
For color, hold a sample against your rack in daylight. Manufacturers use slightly different grays and blues, and a mismatched cap stands out. When in doubt, gray is the most forgiving and blends with the widest range of racks. Some kits include a mix of colors so you can match older, faded tines versus newer ones.
Silverware Basket and Cup-Shelf Repairs
Racks aren’t the only parts that fail. If your silverware basket has a cracked or missing lid or a broken corner, replacement baskets run $15 to $40 and simply lift out. The small folding cup shelves and stemware clips on the upper rack also snap and are sold in inexpensive replacement packs. While you’re repairing tines, check these hardware pieces, since a basket that won’t hold utensils or a shelf that flops down is as annoying as a rusty tine and just as cheap to fix.
Common Mistakes to Avoid
A few errors turn a good repair into a short-lived one:
- Skipping the sanding and sealing step. Caps alone don’t stop rust; the vinyl paint over bare metal is what actually halts corrosion. Cap over unsealed rust and it keeps spreading underneath.
- Running the machine too soon. Fresh vinyl paint needs a full cure, usually 24 hours. Hot water lifts uncured paint right off.
- Buying the wrong wheel. Rack wheels are model-specific; a universal cap kit is fine, but wheels must match your model number.
- Ignoring the root cause. If knives keep piercing the coating, change how you load them or the same tines will rust again.
When a Repair Kit Isn’t Enough
A rack repair kit is the right call when the damage is limited to tine tips, a few cracked spots, and worn wheels. Step up to a full replacement rack when:
- The main rack frame wires are rusted through and flexing, not just the tips.
- Half the tines are gone, making patch work tedious and ugly.
- The rack no longer holds its shape and dishes tip over.
A replacement lower rack runs $50 to $150 depending on brand, so if you’re capping 30 tines and replacing four wheels, do the math. Sometimes a new rack is the smarter buy, especially on a newer machine you plan to keep.
Why Racks Rust in the First Place
Understanding the cause helps you make the repair last. The vinyl coating cracks from years of heat cycling and from sharp objects like knives poking through. Once bare steel meets hot, mineral-heavy water, rust starts within weeks. Chipped coating also sheds flecks that can jam the drain, so sealing it protects more than looks.
Making the Fix Last
Protect your repair and the rest of the rack:
- Load knives point-down or lay them flat so tips don’t pierce the coating.
- Inspect the rack every few months and touch up new cracks with vinyl paint before rust starts.
- Wipe up standing rust spots quickly; they stain dishes and spread.
- Use a rinse aid and avoid overloading, which bends tines and cracks coating.
A quality dishwasher rack repair kit turns a rusty, sagging rack into a serviceable one for the price of lunch, and the whole job takes under an hour of hands-on time plus a day to cure. For most tine and wheel damage, it’s the clear winner over buying a whole new rack.


