
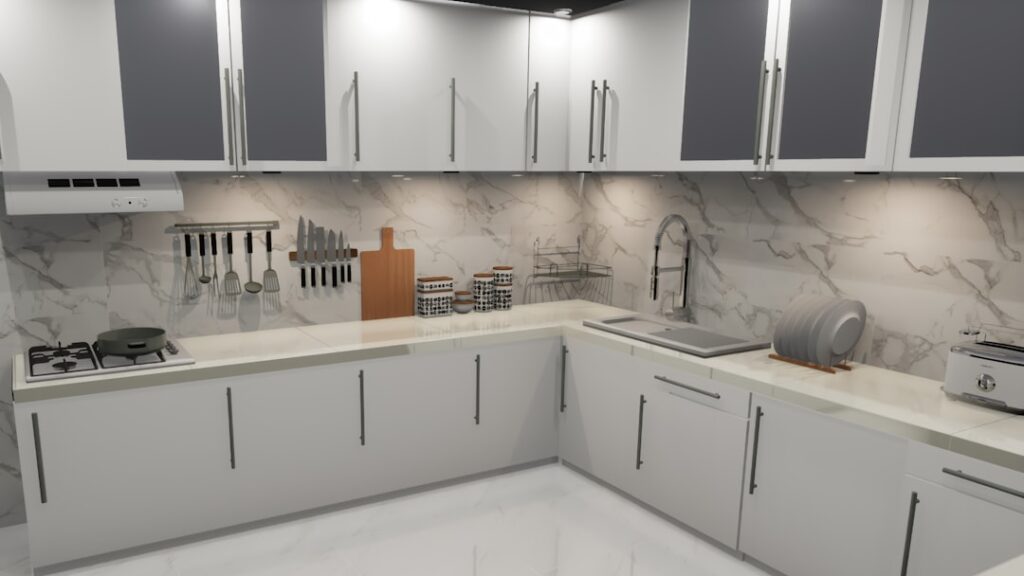
A double-bowl sink looks like it should need twice the plumbing, but in reality both bowls share a single trap and drain line. Understanding double kitchen sink plumbing comes down to learning how the tailpieces, the continuous waste tee, and the shared P-trap fit together, plus how venting, a garbage disposal, and a dishwasher tie into the system. Get the layout right and you’ll have smooth-draining, odor-free bowls; get it wrong and you’ll fight gurgles, slow drains, and trap-siphoning problems.
Part of our Kitchen Remodeling guide — explore the full guide →
The Basic Components
Before assembling anything, it helps to know the parts that make up a typical double-sink drain.
- Strainer baskets: The drain assemblies that thread into each bowl.
- Tailpieces: The vertical pipes dropping down from each strainer.
- Continuous waste: The horizontal pipe with a tee or wye that joins both bowls into one outlet.
- P-trap: The U-shaped trap that holds water to block sewer gas.
- Trap arm: The pipe running from the trap to the wall drain, which must connect to a vent.
Most modern kits use 1-1/2 inch PVC for kitchen drains, and slip-joint connections with washers make assembly and adjustment straightforward.
The Continuous Waste and Center Outlet Tee
The heart of double-bowl drainage is the continuous waste pipe. Both tailpieces feed into a horizontal run that meets at a tee, and that tee directs the combined flow down into a single P-trap. This is often called a center outlet waste, because the outlet to the trap sits in the middle between the two bowls.
The fitting at the junction matters. A proper waste tee, sometimes a baffle tee or end-outlet tee, is designed to merge flow without letting water from one bowl back up into the other. Using a standard sanitary tee in the wrong orientation can cause one sink to fill while the other drains. Slope the continuous waste slightly toward the outlet, roughly a quarter inch per foot, so water moves rather than pooling.
The Shared P-Trap
A standard double-bowl setup uses one P-trap serving both bowls through the center outlet. The trap holds a plug of water that blocks sewer gases from rising into your kitchen, which is why you should never replace it with a straight pipe. The trap arm exits the trap and runs to the drain stub in the wall, and that arm must stay within code-defined distance of a vent so the trap doesn’t get siphoned dry.
If your bowls are unusually far apart, some installs use two traps, but for the typical side-by-side double sink, a single shared trap on the center outlet is standard and reliable.
Venting: The Part People Forget
Venting is essential and often misunderstood. A vent lets air into the drain line so water flows smoothly and the trap seal isn’t sucked out by negative pressure. Without proper venting, you’ll hear gurgling, smell sewer gas, and watch the sink drain slowly. Most double sinks tie into the home’s vent stack through the wall drain. Where running a full vent isn’t practical, code in many areas permits an air admittance valve, a one-way device mounted under the sink that admits air but blocks gas. Always confirm what your local code allows before relying on one.
Adding a Garbage Disposal
A disposal changes the layout because it replaces the tailpiece on one bowl and discharges through its own outlet. The disposal mounts under one bowl, and its discharge tube ties into the continuous waste, joining the other bowl’s flow on the way to the shared trap.
A couple of points keep a disposal install trouble-free. First, if a dishwasher drains through the disposal, you must knock out the disposal’s dishwasher inlet plug before connecting the hose, or the dishwasher won’t drain. Second, position the disposal so its discharge meets the continuous waste at the correct height and slope, and keep the trap downstream of where both bowls combine.
Connecting the Dishwasher Drain
The dishwasher drain hose typically connects either to the disposal’s dishwasher inlet or to a dedicated dishwasher branch tailpiece if there’s no disposal. Either way, the hose should rise to a high loop secured under the countertop, or pass through an air gap fitting mounted on the sink deck, before dropping to the connection. This high loop or air gap prevents dirty sink water from siphoning back into the clean dishwasher. Many local codes require an air gap specifically, so check before relying on a high loop alone.
Common Mistakes to Avoid
When tackling double kitchen sink plumbing, a few errors cause most callbacks. Forgetting the dishwasher high loop or air gap leads to backflow. Skipping or undersizing the vent causes slow drains and gurgling. Reversing a directional waste tee makes one bowl back up into the other. Over-tightening slip nuts cracks plastic threads and creates leaks. And forgetting to remove the disposal’s dishwasher knockout plug is a classic, frustrating oversight.
Choosing Pipe Materials and Fittings
Most modern double-sink drains use white PVC or, for under-sink visibility, the tubular plastic kits sold at any hardware store. These slip-joint kits assemble without glue, using compression washers and nuts, which makes them easy to take apart for cleaning a clog. For permanent, glued sections in the wall, PVC with solvent cement is standard. Brass tubular drain parts are a higher-end alternative that resist warping but cost more.
When buying a kit, match the pipe diameter to your existing setup, typically 1-1/2 inch for kitchen sinks, and choose a center-outlet or end-outlet continuous waste depending on where your wall drain sits relative to the bowls. A center-outlet tee suits a drain centered behind the sink, while an end-outlet works when the drain is off to one side, often the case when a disposal occupies the other bowl.
Maintenance and Clearing Clogs
A well-built double-sink drain still needs occasional attention. The shared P-trap is the most common spot for clogs, since food and grease collect in the U-bend. To clear it, place a bucket underneath, loosen the slip nuts on the trap by hand or with channel-lock pliers, and remove the trap to clean it out. Reassemble snugly without overtightening.
To prevent clogs, avoid pouring grease down either bowl, run plenty of cold water when using a disposal, and periodically flush the drain with hot water. If both bowls drain slowly at once, the blockage is likely past the trap in the shared line; if only one bowl is slow, the problem is usually in that bowl’s tailpiece or the continuous waste before the junction.
Putting It All Together
The logic is simple once you see it: two tailpieces merge at a waste tee into a center outlet, flow through one shared P-trap, pass a properly placed vent, and head to the wall drain, with the disposal and dishwasher tying in upstream of the trap. Dry-fit everything first, check slope, then tighten the slip joints by hand plus a small final turn. When in doubt about venting or local code requirements, a licensed plumber can verify the setup, but understanding the layout puts you in control of a kitchen drain that simply works.


