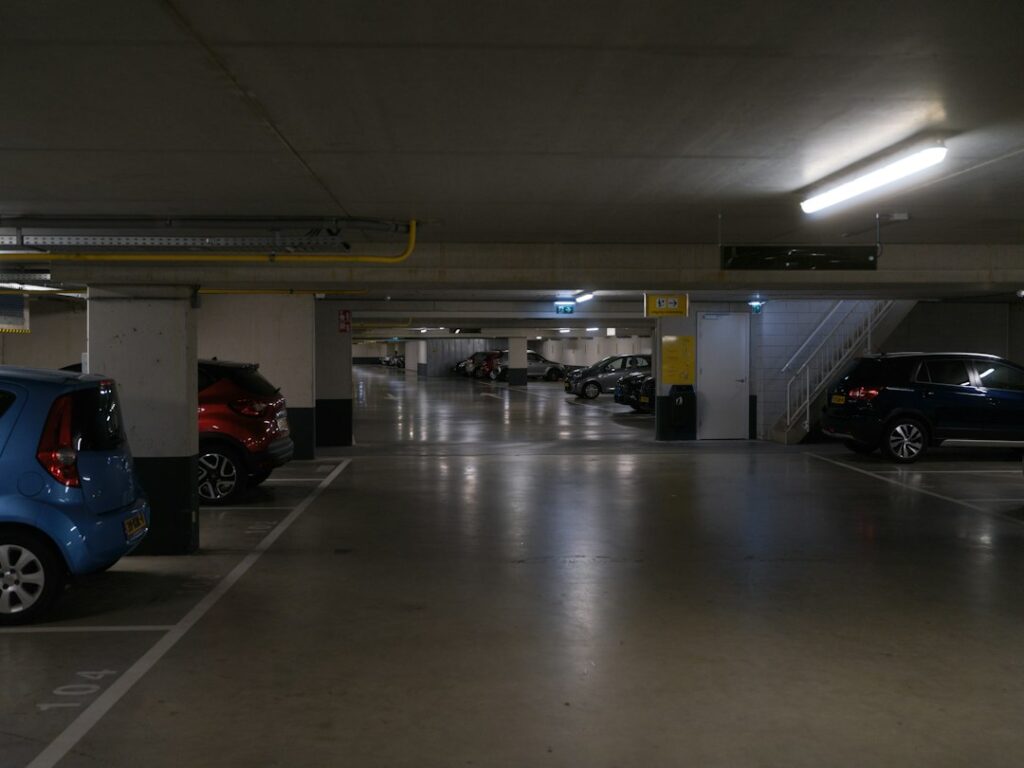
Most garage ceiling projects go wrong before the first sheet goes up: the wrong board, no insulation above it, or a plan to hold 70-pound panels overhead with a helper and a broom handle. A drywall garage ceiling done right uses 5/8 inch Type X fire-resistant board where fire separation is required, gets insulated and inspected first, and goes up on a rented panel lift. It is a very doable weekend-plus project for a handy homeowner.
Part of our Paint & Walls guide — explore the full guide →
If your garage is attached and there is a bedroom, bonus room, or any living space above it, local code almost always requires fire-rated drywall on the ceiling. Most codes also require fire separation on the wall shared with the house. Requirements vary by jurisdiction, so call your building department before you buy material. For a detached garage with nothing above, standard or moisture-resistant 1/2 inch board is often acceptable, though many owners still choose 5/8 inch to reduce sag between joists.
- Drywall Garage Ceiling Fire Separation Basics
- Choosing Board: Type X, Standard, or Moisture-Resistant
- Tools and Materials
- Step 1: Insulate and Prep Before Hanging
- Step 2: Set Up the Panel Lift
- Step 3: Hang the Sheets
- Step 4: Tape and Finish
- Ladder and Overhead Safety
- Troubleshooting Common Problems
- Cost Ranges
- When to Call a Pro
- Frequently Asked Questions
Below you will find material choices, the insulation sequence, lift setup, fastener spacing, taping, and which finish level makes sense for a garage.
Drywall Garage Ceiling Fire Separation Basics
An attached garage is treated as a higher-risk space because of vehicles, fuel, and stored chemicals. Residential building codes generally require a fire-resistant barrier between the garage and the house. Where habitable rooms sit above the garage, that barrier usually has to be 5/8 inch Type X gypsum board on the ceiling, and supporting walls may need protection too. Where the garage has only attic space above, 1/2 inch board on the house side may be allowed in some jurisdictions.
Details matter. Penetrations such as recessed lights, pull-down attic stairs, and ductwork can compromise the separation, and many areas require the attic access in a fire-rated ceiling to meet specific rules. Rather than guessing, ask the building department three questions: is Type X required on my ceiling, are there requirements for the attic hatch or stair, and do I need a permit and inspection. A detached garage typically has none of these requirements unless it shares a wall with another structure.
Choosing Board: Type X, Standard, or Moisture-Resistant
- 5/8 inch Type X: Glass-fiber reinforced core for fire resistance. Heavier (a 4 x 8 sheet runs roughly 70 pounds, 4 x 12 around 100+), but stiffer and less prone to sag on joists 24 inches on center.
- 1/2 inch sag-resistant ceiling board: Lighter, designed for ceilings, but not fire-rated as Type X. Fine for many detached garages.
- Moisture-resistant board: Useful in humid climates or garages that get washed down, and available in Type X versions.
Longer sheets (4 x 12) mean fewer butt joints to tape, which saves hours of finishing on a two-car ceiling. They are also heavier and harder to maneuver, so a lift is essentially mandatory.
Tools and Materials
- Drywall panel lift (rental), sturdy step ladder or rolling scaffold
- 5/8 inch Type X drywall or the board your code allows
- 1-5/8 inch coarse-thread drywall screws for wood joists (fine-thread for steel)
- Screw gun with dimpler bit or clutch, T-square, utility knife, drywall saw, rasp
- Rotary cutout tool or hole saw for light boxes
- Paper or mesh tape, setting-type compound for fire-rated joints, all-purpose and topping compound
- Taping knives (6, 10, 12 inch), mud pan, sanding pole
- Insulation (batts or blown), vapor retarder if your climate calls for it
- Safety glasses, dust mask, gloves, hard hat when working overhead
Step 1: Insulate and Prep Before Hanging
Insulate first. Once the ceiling is closed, the only way to add insulation is to blow it in from above, which is not an option under a finished room. For living space above, fill the joist bays with batts sized to joist depth, pressed up against the subfloor, and air-seal gaps around pipes and wiring with fire-rated foam or caulk where required. For an attic above, you can hang drywall first and blow insulation in afterward.
Check that all electrical boxes, garage door opener outlets, and lighting are roughed in and that any required inspections are complete. Snap chalk lines on the walls marking joist locations so you can find framing once the board covers it. Replace or sister any joists that sag badly; drywall will telegraph a dip across the entire ceiling.
Step 2: Set Up the Panel Lift
Never lift ceiling sheets overhead by yourself, and do not rely on two people holding a 5/8 inch sheet at arm’s length while a third drives screws. That is how backs, shoulders, and ceilings get damaged. A drywall panel lift raises the sheet on a winch, holds it tight to the joists, and lets one person drive screws with both hands free.
- Assemble the lift on a clean, level floor and lock the casters.
- Load the sheet finished-side down onto the cradle, with the long edge perpendicular to the joists.
- Tilt the cradle flat, crank the sheet up to about an inch below the joists, and position it.
- Crank until the board is snug against the framing, then fasten.
Step 3: Hang the Sheets
- Start in a corner and run sheets perpendicular to joists. Butt ends must land on the center of a joist.
- Stagger butt joints by at least one joist from row to row so seams do not line up.
- Leave about 1/8 inch at the walls; the wall board will cover the gap. Ceilings go up before walls.
- Cut openings for boxes by measuring carefully or using a rotary tool after the sheet is lightly tacked.
- Keep sheets tight to each other along tapered edges, but do not force them.
Fastener Spacing
Ceiling screws are commonly spaced about 12 inches on center in the field and 7 to 8 inches along edges, but fire-rated assemblies may specify a particular pattern, so follow the board manufacturer’s instructions and whatever your inspector requires. Drive screws just below the paper surface without tearing it; a dimpler bit makes this nearly automatic. Keep fasteners at least 3/8 inch from edges.
Step 4: Tape and Finish
For fire-rated separations, codes and manufacturers generally require taped joints and covered fastener heads even if you do not plan to paint. That minimum is often called Level 1 or Level 2. Beyond that, choose based on how the garage will be used:
- Level 1: Tape embedded in compound at joints. Common above ceilings or in areas never seen.
- Level 2: Tape plus one coat over tape and fasteners. Typical in garages that will not be painted, and often enough for fire taping.
- Level 3: Two coats; good for a garage that will get flat or textured paint.
- Level 4: Three coats, sanded smooth. Choose this for a finished garage, workshop, or gym with bright lighting.
Setting-type compound for the first coat dries harder and shrinks less, which helps on ceilings. Sand with a pole sander and wear a dust mask. Prime with a drywall primer before painting to avoid uneven sheen.
Ladder and Overhead Safety
Use a step ladder rated for your weight plus tools, fully opened and locked, and never stand on the top cap. A rolling scaffold with locked casters is safer for taping a large ceiling. Wear safety glasses when driving screws or sanding overhead, since debris falls straight into your eyes. Keep the floor clear of cords and offcuts where the lift and ladder move.
Troubleshooting Common Problems
- Sagging between joists: Joists at 24 inches with 1/2 inch board or heavy blown insulation. Use 5/8 inch or sag-resistant board and add fasteners.
- Popping screws: Lumber shrinkage or screws that missed the joist. Drive a new screw an inch or two away and fill.
- Cracked butt joints: Joints not on framing or not staggered. Back-blocking between joists helps on future sheets.
- Visible seams after paint: Too low a finish level under raking light from garage windows. Add a skim coat.
- Condensation stains: Missing insulation or air sealing above. Fix the cause before patching.
Cost Ranges
DIY costs for a drywall garage ceiling are mostly material and rentals: board, screws, tape, compound, primer, and a day or two with a panel lift. Type X runs somewhat higher per sheet than standard board. Hiring a drywall contractor adds labor for hanging and finishing, and the price climbs with each finish level, high ceilings, and cutouts. Permits and insulation are separate costs. Get at least two quotes that specify board type, finish level, and whether fire taping is included.
When to Call a Pro
Bring in a drywall contractor for ceilings above about 10 feet, very large garages, or when you want a Level 4 or Level 5 finish without spending weekends sanding. If electrical boxes, lighting, or an opener outlet need to be added or moved, have a licensed electrician do that work before the ceiling closes. And when fire separation is required, confirm with the building department whether an inspection is needed before taping so the ceiling passes the first time.
Frequently Asked Questions
Does a garage ceiling need fire-rated drywall?
An attached garage with living space above typically requires 5/8 inch Type X on the ceiling. Detached garages usually do not. Always confirm with your local building department.
Should I use 1/2 or 5/8 inch drywall on a garage ceiling?
Use 5/8 inch Type X where fire separation is required. For detached garages, 5/8 inch still resists sag better on joists 24 inches on center, while 1/2 inch sag-resistant board is a lighter option.
Can one person hang a drywall garage ceiling?
Yes, with a drywall panel lift. Never try to lift and hold ceiling sheets overhead alone.
Do I have to tape drywall in a garage?
Fire-rated assemblies generally require taped joints and covered screws. Unrated ceilings can be left untaped, but taping gives a cleaner, more durable surface.
Should I insulate the garage ceiling before drywall?
Yes, especially under a bedroom or bonus room. Once the drywall garage ceiling is closed, adding insulation under a floored room becomes very difficult.