Walk down almost any street of newer homes and you will see it everywhere, even if you have never known its name: dutchlap vinyl siding, with its distinctive notched shadow line running along the top of each course. That subtle decorative bevel is what separates Dutch lap from plain traditional-lap siding, and it is the reason many homeowners find Dutch lap more visually interesting. It reads as a bit more crafted and old-world, echoing the hand-carved wood siding it was designed to imitate.
If you are re-siding a home or building new and weighing your options, this guide breaks down what the Dutch lap profile actually is, the styles and thicknesses available, how much it costs, and how it compares to the alternatives so you can choose with confidence.
What the Dutch Lap Profile Is
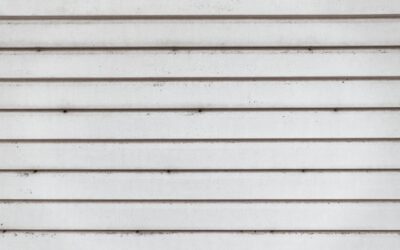
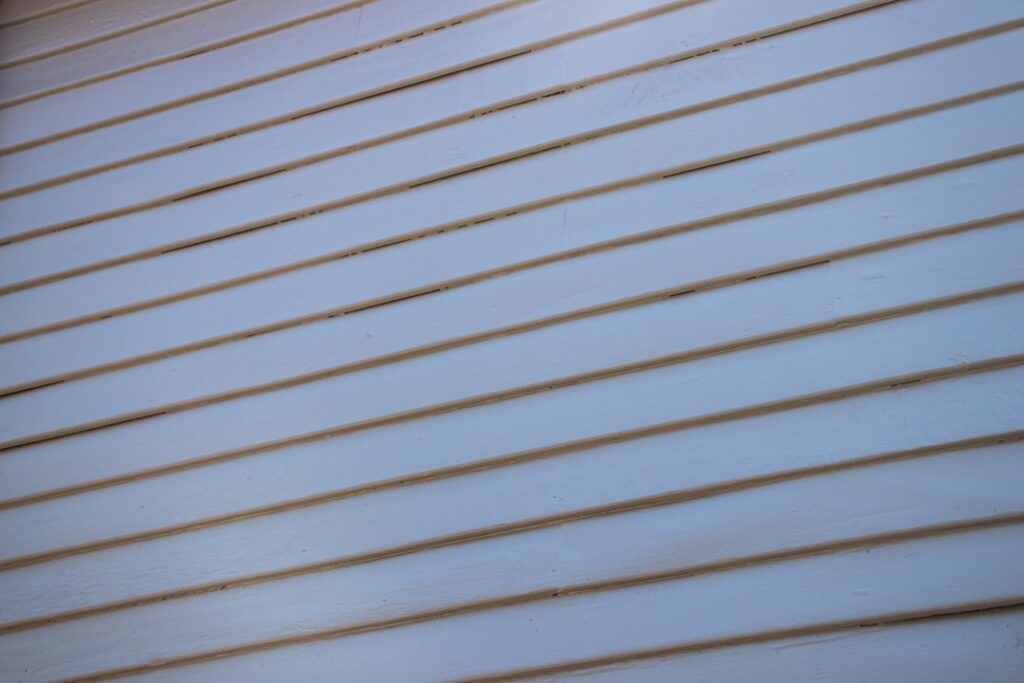
Dutch lap refers to the shape of the panel face rather than the material. Each course has a concave notch cut into the upper portion, so where the courses overlap you get an extra shadow line and a slight decorative bevel above the main flat of the board. Traditional clapboard, by contrast, is a simple straight bevel with a single shadow line where one board laps the one below. That small notch is the entire visual difference, but it changes the character of a wall noticeably.
The look comes from history. Old wood Dutch lap siding was carved with that bevel by hand, and vinyl manufacturers reproduced the profile to give homes a more traditional, detailed appearance. Because vinyl is extruded, the notch and the woodgrain texture are molded right into the panel, so you get the classic look without any of the carving, painting, or upkeep that the original wood demanded.
Panel Styles and Sizes
Dutch lap panels come in single, double, and occasionally triple configurations, which describes how many simulated boards are molded into each physical panel. A double four Dutch lap, for example, has two four-inch boards per panel for an eight-inch exposure, while a double five gives two five-inch boards. Smaller board widths like four inches create a busier, more traditional look; wider exposures read as more contemporary and cover a wall in fewer courses.
Finish texture matters too. Most Dutch lap vinyl carries a woodgrain emboss that mimics cedar, though smoother, lower-gloss finishes are available for a cleaner appearance. Low gloss is generally the better choice because a high sheen makes vinyl look plasticky and highlights any waviness in the wall. Panels come in a broad palette of factory colors, from classic whites and tans to deep blues, greens, and grays, and the color runs all the way through the vinyl so scratches do not show as bare spots.
Thickness and Quality Grades
Not all Dutch lap vinyl is created equal, and thickness is the first thing to check on a quote. Panel thickness, measured in mils, runs from thin builder-grade material around forty mils up to premium panels of fifty mils or more. Thicker panels resist the wavy, oil-canning look, hold up better to impacts and hail, and hang straighter on the wall. If your budget allows, stepping up in thickness is one of the most worthwhile upgrades you can make.
Beyond thickness, look at the panel’s wind rating and its fade warranty. Quality Dutch lap siding carries a strong wind rating and a lifetime, prorated warranty that includes protection against excessive fading. Insulated Dutch lap, which bonds a contoured foam backer to the panel, costs more but adds rigidity, dampens sound, and improves the wall’s energy performance. For homes in harsh climates or windy sites, those upgrades earn their keep.
What Dutch Lap Vinyl Siding Costs
Vinyl remains one of the most affordable siding materials, and Dutch lap sits right in the mainstream of vinyl pricing. Material costs are usually quoted per square, an industry unit equal to one hundred square feet of coverage. Standard-grade panels are the least expensive option, thicker premium panels cost more per square, and insulated Dutch lap sits at the top of the vinyl range. Trim pieces, corner posts, J-channel, and starter strips add to the material total.
Labor typically makes up a large share of an installed price, and it varies with the height and complexity of the house, the amount of trim work, and whether old siding must be removed first. A simple single-story ranch costs far less per square foot installed than a cut-up two-story with many gables, dormers, and windows to flash around. When you gather bids, make sure each one specifies the panel thickness and whether tear-off and disposal are included, so you are comparing equal scopes.
Dutch Lap Versus Clapboard and Alternatives
The most common comparison is Dutch lap against traditional clapboard, and the choice is almost entirely aesthetic since both use the same vinyl and install the same way. Dutch lap gives you that extra decorative shadow line and a more traditional, detailed face, while clapboard offers a cleaner, simpler bevel that some prefer for modern or farmhouse styles. Neither is more durable than the other; pick the profile that suits your home’s architecture and your taste.
Against other materials, vinyl Dutch lap wins on price and maintenance but trades away some of the depth and repairability of fiber cement or real wood. Fiber cement offers a heavier, more premium look and better fire resistance at a higher cost and with paint upkeep down the road. Wood gives unmatched authenticity but demands regular painting or staining. For homeowners who want an attractive, traditional look with minimal maintenance and a friendly budget, Dutch lap vinyl remains the pragmatic favorite.
Color, Trim, and Curb Appeal
Choosing a color is a bigger decision with vinyl than with paint, because you cannot easily change it later; the color is molded into the panel for its whole life. Lighter shades are the safe, timeless choice, they hide expansion movement well and never look dated, while darker colors make a bolder statement but can absorb more heat and show more thermal movement, so they demand quality panels engineered for darker tones. Look at large samples on the actual wall, in real daylight, before committing, since chips never quite predict how a color reads across a whole house.
Trim ties the whole look together. Corner posts, window and door surrounds, soffit, and fascia in a complementary or contrasting color frame the Dutch lap field and lift the finished appearance from builder-basic to genuinely attractive. Many homeowners pair a neutral Dutch lap body with crisp white trim, or add board-and-batten or shake accents in gables for visual interest. Thoughtful trim and accent choices are where a straightforward vinyl re-side turns into a real curb-appeal upgrade, and they cost far less than changing the whole material.
Installation and Longevity
Proper installation is what keeps Dutch lap vinyl looking good for decades. Vinyl expands and contracts with temperature, so panels must be hung to hang, nailed loosely enough to slide, and not driven tight. Fasteners centered in the nailing slots, a hand-width gap between panel ends and trim receivers, and a level starter strip all prevent the buckling and waviness that plague rushed jobs. Because these details are easy to get wrong, an experienced installer is worth seeking out.
Once it is up, dutchlap vinyl siding asks almost nothing of you. An annual rinse with a garden hose, or an occasional gentle wash to clear mildew on shaded walls, keeps it looking fresh. It never needs paint, it will not rot or attract insects, and its through-body color means minor scuffs disappear into the surface. Keeping shrubs trimmed back from the walls and rinsing the shaded north side once a year prevents the green algae film that tends to build up in damp, low-sun areas. That combination of a handsome traditional profile and near-zero upkeep is exactly why Dutch lap has become one of the most popular siding choices on the market.