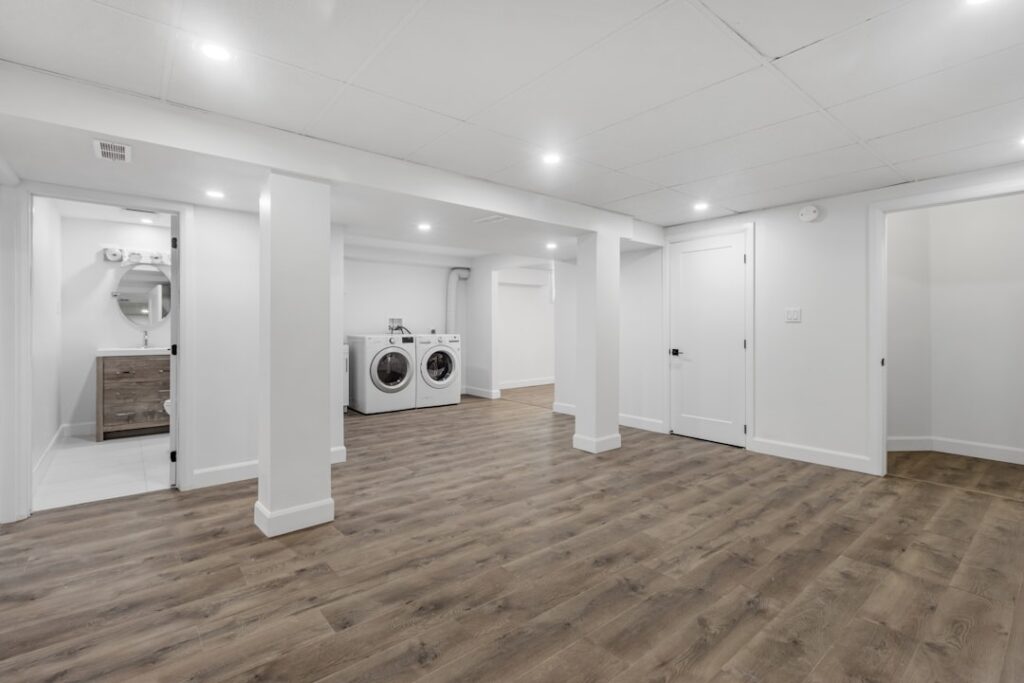
Putting real wood underfoot in a below-grade space used to be a gamble, but engineered wood flooring for basement installations has changed that math. Unlike solid hardwood, which expands and contracts wildly with moisture, engineered planks are built on a dimensionally stable plywood core that shrugs off the humidity swings a basement throws at it. You get the genuine hardwood veneer and warmth you want, with far less risk of cupping and gapping. I’ve seen these floors hold up beautifully in finished basements, but only when the moisture prep is done right, so let’s cover both the promise and the pitfalls.
This guide walks through why engineered wood suits basements, where it can still fail, how to prepare the concrete, and what you can expect to spend.
- Why Engineered Wood Beats Solid Hardwood Below Grade
- The Pros of Engineered Wood in a Basement
- The Cons You Need to Know
- Moisture Prep Is Everything
- Installation Methods for Basements
- What Engineered Wood Flooring for Basement Costs
- Caring for Engineered Wood in a Basement
- Is It the Right Choice for Your Basement?
Why Engineered Wood Beats Solid Hardwood Below Grade
Solid hardwood is a single piece of wood that moves in every direction as it absorbs and releases moisture. In a basement, where humidity is naturally higher and concrete slabs wick moisture, that movement leads to cupping, crowning, and unsightly gaps. Most manufacturers flat-out void solid hardwood warranties below grade.
Engineered wood is different by construction. Thin layers of wood are cross-laminated, each ply oriented at 90 degrees to its neighbor, and topped with a real hardwood wear layer between 0.6mm and 6mm thick. That plywood core resists the swelling and shrinking that wrecks solid boards, which is exactly why engineered wood flooring for basement projects has become the go-to for homeowners who want authentic wood down there.
The Pros of Engineered Wood in a Basement
- Real wood look: The top layer is genuine hardwood, so it looks and feels like the real thing, not a printed image.
- Dimensional stability: The cross-ply core handles humidity swings that would destroy solid wood.
- Flexible installation: Can be floated, glued, or nailed (over a subfloor), and floating click-lock systems are DIY-friendly.
- Refinishing potential: Planks with a 2mm or thicker wear layer can usually be sanded and refinished once or twice.
- Adds resale value: Real wood underfoot in a finished basement appeals to buyers more than vinyl or carpet.
The Cons You Need to Know
Engineered wood is more forgiving than solid hardwood, but it is still wood, and wood and standing water don’t mix. Be honest about your basement before you commit.
- Not waterproof: Engineered wood is moisture-resistant, not waterproof. A burst pipe or flood can still ruin it. If your basement floods, choose waterproof luxury vinyl or tile instead.
- Requires a dry slab: Excess moisture vapor from the concrete can delaminate planks and grow mold underneath.
- Thin wear layers can’t be refinished: Budget planks with a 0.6mm veneer are one-and-done if they scratch or dent.
- Cost: It’s pricier than laminate or vinyl for a comparable look.
My rule of thumb: if your basement has a history of water intrusion, skip engineered wood and go with waterproof vinyl plank. If it’s dry and you’re finishing the space for comfort, engineered wood is a strong, upscale choice.
Moisture Prep Is Everything
The single biggest reason basement wood floors fail is skipped moisture management. Concrete slabs continuously release water vapor, and that vapor has to be blocked from reaching the wood. Do this part right and everything else falls into place.
Test the Slab First
Before you buy a single plank, run a moisture test. A calcium chloride test measures vapor emission in pounds per 1,000 square feet over 24 hours, and most engineered products want under 3 to 5 lbs. A simpler in-situ relative humidity probe should read below 75 to 80 percent. You can also tape a 2-foot square of plastic sheeting to the slab for 72 hours; condensation underneath means you have a moisture problem to solve first.
Build the Right Assembly
- Vapor barrier: Lay 6-mil polyethylene sheeting or use a manufacturer-approved vapor-retarding underlayment over the slab.
- Subfloor or underlayment: A dimpled subfloor panel or rigid foam under plywood raises the wood off the cold, damp concrete and adds an air gap and insulation.
- Acclimate the planks: Let the flooring sit in the basement for 3 to 7 days so it adjusts to the room’s temperature and humidity before installation.
- Control humidity year-round: Run a dehumidifier to keep relative humidity between 35 and 55 percent, which keeps the floor stable long-term.
Installation Methods for Basements
Below grade, a floating floor is usually the smartest approach. Click-lock engineered planks snap together and “float” over an underlayment without being fastened to the slab, so they can expand and contract as a unit and tolerate minor slab imperfections.
- Floating (click-lock): Best for most basements. DIY-friendly, forgiving, and works over a vapor barrier and underlayment.
- Glue-down: Bonds planks directly to the slab with a moisture-barrier adhesive. Solid and quiet, but demands a very flat, dry slab and is far harder to remove.
- Nail-down: Only possible if you first install a plywood subfloor, since you can’t nail into concrete directly. Adds height and cost.
Leave a 1/4- to 1/2-inch expansion gap around the entire perimeter regardless of method. Wood needs room to move, and trapping it against a wall is a fast track to buckling.
What Engineered Wood Flooring for Basement Costs
Prices vary with wear-layer thickness and species, but here’s a realistic range for materials and installation.
- Budget engineered (0.6mm veneer): $3 to $5 per square foot.
- Mid-range (2mm to 3mm veneer): $5 to $9 per square foot.
- Premium (4mm+ veneer, wide planks): $9 to $14 per square foot.
- Underlayment and vapor barrier: $0.50 to $1.50 per square foot.
- Professional installation: $3 to $8 per square foot.
For a 600-square-foot basement, expect roughly $4,000 to $9,000 installed for a mid-range floor with proper moisture prep. Spend the extra for a thicker wear layer if you want the option to refinish down the road, since it dramatically extends the floor’s usable life.
Caring for Engineered Wood in a Basement
Once the floor is down, a little routine care keeps it looking new. The biggest long-term threat below grade isn’t foot traffic, it’s humidity, so your maintenance plan should focus as much on the air as on the boards themselves.
- Keep humidity in check: Aim for 35 to 55 percent relative humidity year-round. Run a dehumidifier in summer and monitor with a cheap hygrometer.
- Clean dry, then damp: Sweep or vacuum grit first, then use a barely damp microfiber mop with a wood-floor cleaner. Never wet-mop or let water pool.
- Wipe spills immediately: Standing water is the enemy. Blot spills the moment they happen.
- Use felt pads and rugs: Protect the wear layer under furniture legs and in high-traffic paths.
- Watch for warning signs: Cupping, a musty smell, or edges lifting all point to a moisture problem you need to trace back to the slab or humidity.
Handled this way, a quality engineered floor can look great for 20 to 30 years, and boards with a thick veneer can be refinished once to reset the surface entirely.
Is It the Right Choice for Your Basement?
Engineered wood flooring for basement spaces is an excellent pick when the slab is dry, the space stays climate-controlled, and you want authentic hardwood character below grade. It outperforms solid hardwood in stability and gives you a warmer, more premium feel than vinyl or laminate. Just be clear-eyed: it is moisture-resistant, not flood-proof. Test your slab, install a real vapor barrier, run a dehumidifier, and choose a thicker veneer, and a properly prepped engineered wood floor will keep your basement looking sharp and inviting for many years.
Prefer to explore on your own?
See how new flooring looks in your actual room in seconds — free, no signup.
Try the free Floor Studio →