
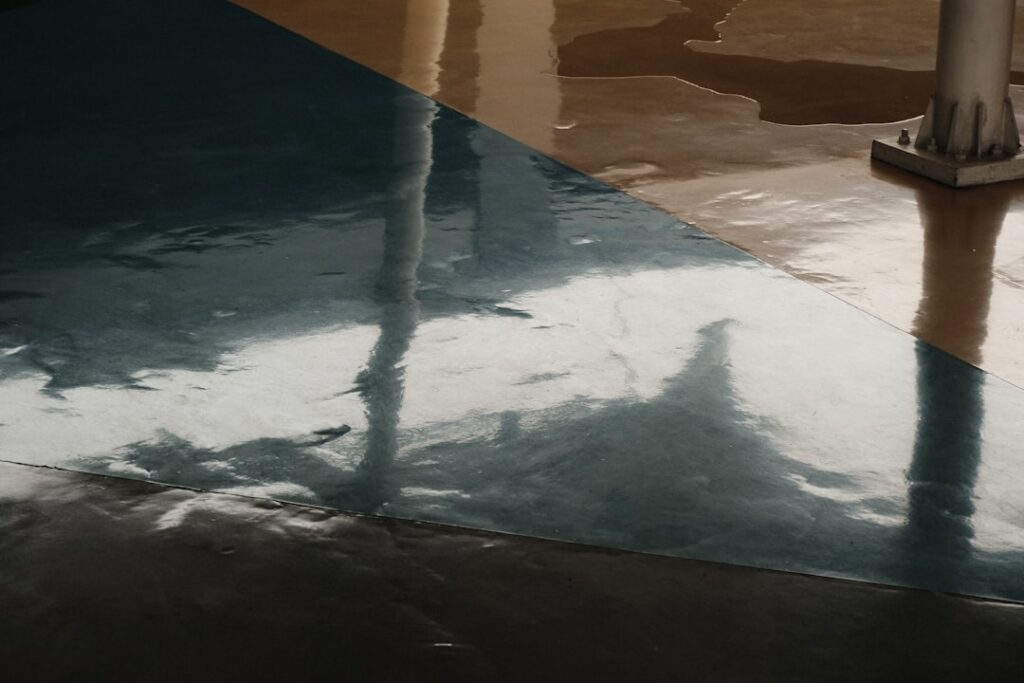
Bare concrete in a basement soaks up moisture, dusts constantly, and stains at the first spilled paint can. Epoxy basement floor paint seals that porous surface under a hard, chemical-resistant coating that shrugs off water, oil, and foot traffic for years. Unlike ordinary porch paint, a true epoxy chemically bonds to the slab, creating a finish that resists the exact abuse a basement dishes out. Done right, it turns a damp, chalky floor into a bright, wipeable surface — but the prep makes or breaks the whole job.
Part of our Epoxy, Concrete & Garage Floors guide — explore the full guide →
- What “Epoxy Paint” Actually Means
- The Moisture Test You Can’t Skip
- Surface Prep: 80% of the Job
- How to Apply Epoxy Floor Paint
- Cost Per Square Foot
- Cure Time and When to Use the Floor
- How Long It Lasts and Maintenance
- Epoxy vs Other Basement Floor Coatings
- Troubleshooting Common Epoxy Problems
- Frequently Asked Questions
- Is Epoxy Right for Your Basement?
What “Epoxy Paint” Actually Means
The term covers a range of products, and the differences matter for durability.
- 1-part epoxy paint is really a latex paint with a small amount of epoxy added. It’s the cheapest option, brushes on like regular paint, and lasts a few years in light-traffic areas.
- 2-part water-based epoxy mixes a resin and a hardener before application. It bonds far better and handles moderate traffic and moisture — a solid mid-range choice for most basements.
- 2-part solids epoxy is the professional-grade coating, with little or no water thinning it. It builds the thickest, toughest film and lasts the longest, but it cures fast and is less forgiving to apply.
For a basement that stays reasonably dry, a quality 2-part water-based epoxy hits the best balance of durability and DIY-friendliness.
The Moisture Test You Can’t Skip
Basements are below grade, so moisture pushing up through the slab is the number-one cause of epoxy failure. Before you buy a single gallon, run a plastic sheet test: tape a 2-by-2-foot square of plastic to the concrete and seal all four edges. Leave it 24 to 48 hours. If condensation forms under the plastic or the concrete darkens, you have moisture vapor coming through the slab.
High moisture doesn’t kill the project, but it changes the product. You’ll need a moisture-tolerant epoxy or a vapor-barrier primer rated for damp slabs. Applying standard epoxy over a wet slab guarantees peeling within months.
Surface Prep: 80% of the Job
Epoxy bonds to a clean, slightly rough, contaminant-free surface. Rushing prep is the top reason DIY coatings fail.
- Clear and clean. Empty the space and sweep, then scrub with a concrete degreaser to pull out oil and grime.
- Etch or grind. Acid-etch with the manufacturer’s etching solution, or better, rent a floor grinder to open the concrete pores. The surface should feel like 120-grit sandpaper when done.
- Repair cracks. Fill cracks and pits with an epoxy or polyurea patch and let it cure fully.
- Vacuum and dry. Remove every trace of dust with a shop vac, then let the slab dry completely — often 24 hours after wet etching.
The prepped floor must be bone dry and dust-free when you start coating. Wipe your hand across it; if it comes up chalky, vacuum again.
How to Apply Epoxy Floor Paint
Temperature and timing rule the application. Aim for a slab temperature between 55°F and 85°F, and check that no moisture condensation is forming — a common issue in cool basements.
- Mix the resin and hardener in the exact ratio, and stir for the full time on the label. Under-mixing leaves soft spots that never cure.
- Cut in the edges with a brush, then roll the field with a 3/8-inch nap roller on an extension pole.
- Work in the pot life window — most 2-part epoxies stay workable for only 40 to 90 minutes after mixing.
- Broadcast decorative color flakes into the wet coat if you want a garage-floor look that also hides imperfections.
- Let the first coat cure per the label, then apply a second coat or a clear topcoat for added wear resistance.
Keep a wet edge and move steadily; epoxy that starts to gel will roll unevenly. Ventilate well, since even low-odor epoxies release fumes while curing.
Cost Per Square Foot
Epoxy floor coating is affordable relative to most flooring. Here’s what to budget:
- DIY 1-part epoxy paint: $0.50 to $1.00 per sq ft in materials
- DIY 2-part water-based kit: $1.50 to $2.50 per sq ft
- Professional solids-epoxy install: $5 to $12 per sq ft, prep included
For a 600-square-foot basement, a mid-range DIY kit runs roughly $900 to $1,500 in materials, plus grinder rental. Professional installation of that same floor lands around $3,000 to $7,000.
Cure Time and When to Use the Floor
Patience during curing pays off in longevity. Most epoxies allow light foot traffic after 24 hours, but full chemical cure — the point where the floor reaches maximum hardness and can take furniture or a car — takes 5 to 7 days. Walking on it too soon leaves footprints; setting heavy items too early can dent the film. Keep the room ventilated and at a stable temperature through the entire cure window.
How Long It Lasts and Maintenance
A properly prepped 2-part epoxy basement floor lasts 5 to 10 years in a home setting, and professional solids coatings can push 15 to 20 years. Maintenance is easy: sweep or dust-mop regularly and damp-mop with a mild cleaner. Avoid harsh acids and soap-based cleaners that leave a film. Placing mats under any washer, water heater, or workbench prevents point wear and catches drips before they sit on the finish.
Epoxy vs Other Basement Floor Coatings
Epoxy isn’t the only way to finish a basement slab, and knowing the alternatives helps you spend wisely. Concrete stain soaks color into the slab and costs the least, around $2 to $4 per square foot installed, but it offers almost no wear protection and won’t hide flaws. Polyurea and polyaspartic coatings cure in a single day, tolerate colder temperatures than epoxy, and resist UV yellowing better, which is why garage-floor pros favor them — but the materials run $3 to $5 per square foot and the fast cure leaves little working time for a first-timer.
Where epoxy wins is film build and value: a 2-part solids product lays down a thicker, harder shell than stain or a thin topcoat, at a lower material cost than polyaspartic. Many homeowners split the difference by rolling an epoxy base coat for thickness and color, then a polyaspartic or polyurethane clear top for abrasion and UV resistance. That hybrid stack is common on high-traffic basement floors that double as workshops or gyms.
Troubleshooting Common Epoxy Problems
Most epoxy failures trace back to moisture, temperature, or contamination — and each leaves a telltale sign. Learning to read them saves an expensive redo.
- Peeling or bubbling almost always means moisture pushed up through the slab or the concrete wasn’t properly etched. There’s no patch for this; the loose coating has to be ground off and the slab re-mitigated before re-coating.
- Fisheyes and craters in the wet film point to oil, silicone, or dust the degreaser missed. Stop, let it cure, sand the spots, and clean more aggressively before the next coat.
- Soft or tacky finish that never fully hardens means the resin and hardener were off-ratio or under-mixed, or the room was too cold. A slab below 55°F stalls the chemical cure.
- Roller lint or texture comes from a cheap nap roller shedding fibers; always use a shed-resistant 3/8-inch roller cover made for epoxy.
Adding a broadcast of anti-slip aggregate or fine silica into the topcoat is smart insurance in a basement, where a wet epoxy floor near a laundry or water heater turns dangerously slick.
Frequently Asked Questions
Can I epoxy over painted concrete?
Not reliably. Epoxy needs to bond to bare, profiled concrete. If old paint is present, it must be stripped or fully ground off — epoxy applied over existing paint is only as strong as that paint’s bond to the slab, which is usually weak.
Does epoxy stop basement moisture?
No. A coating is not a waterproofing system. Epoxy resists surface water and spills, but it can’t hold back hydrostatic pressure from below. Fix drainage, grading, or a high water table before you coat, or the film will lift.
Can I apply epoxy in winter?
Only if you can hold the slab and air above 55°F for the full cure window. Cold concrete slows or halts curing and invites condensation between coats. Heated basements are fine; unheated ones should wait for warmer weather or use a polyaspartic rated for low temperatures.
Is Epoxy Right for Your Basement?
If your slab passes the moisture test and you’re willing to invest in real prep, epoxy basement floor paint delivers a durable, easy-clean surface at a fraction of the cost of tile or vinyl. If the slab shows heavy moisture, address the water problem first — no coating survives a wet basement. Nail the moisture test, grind and clean thoroughly, and respect the cure time, and you’ll have a floor that looks sharp and holds up for a decade or more.
Prefer to explore on your own?
See how new flooring looks in your actual room in seconds — free, no signup.
Try the free Floor Studio →

