
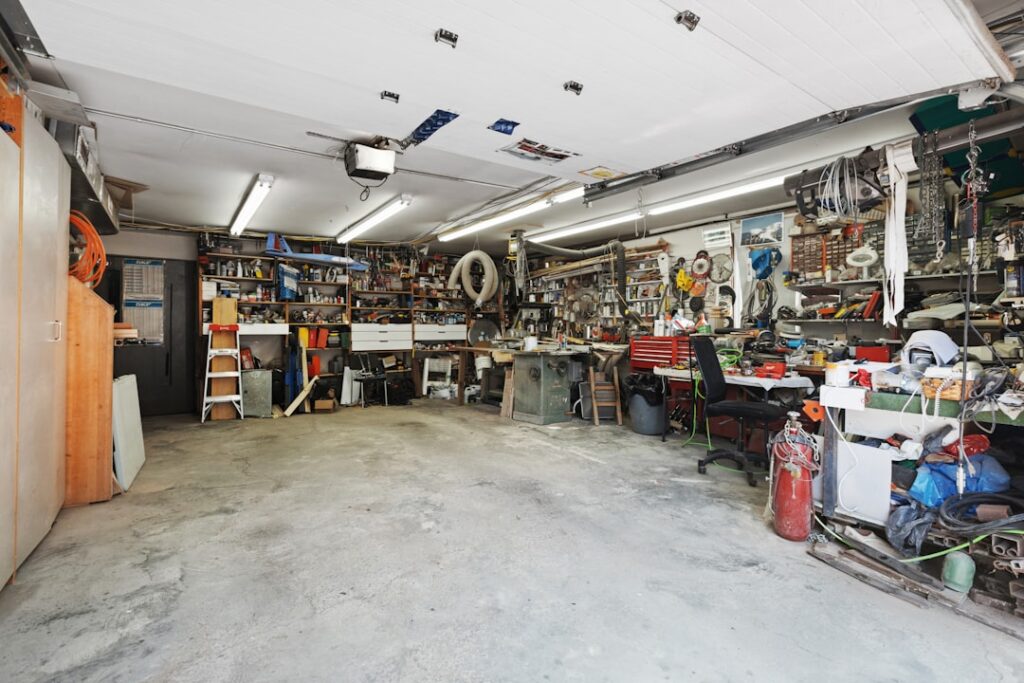
An epoxy flooring system transforms a bare concrete garage floor into a durable, chemical-resistant surface that looks as good as a showroom. It protects against oil stains, tire marks, road salt, and the everyday abuse that garage floors endure. Whether you tackle the project yourself with a kit or hire a professional, epoxy flooring is one of the most impactful upgrades you can make to a garage.
Part of our Epoxy, Concrete & Garage Floors guide — explore the full guide →
This guide covers the different types of garage epoxy systems, preparation requirements, cost comparisons, and maintenance tips to help you get the best results.
What Is Garage Epoxy Flooring?
Epoxy flooring for garages is a multi-layer coating system applied over concrete. The system typically includes a primer, an epoxy base coat (or multiple coats), optional decorative flakes or quartz broadcast, and a clear polyurethane or polyaspartic topcoat. When cured, the system creates a hard, seamless surface that bonds directly to the concrete.
True epoxy is a two-part system consisting of a resin and a hardener. When mixed, these components undergo a chemical reaction that produces a rigid, cross-linked polymer far harder and more durable than single-component garage floor paint. This distinction matters because many consumer products labeled as “epoxy” are actually latex-based paints with a small amount of epoxy added. These single-component products don’t deliver the same performance.
Types of Garage Epoxy Systems
Water-Based Epoxy (DIY Kits)
Water-based epoxy kits from brands like Rust-Oleum EpoxyShield and BEHR Premium are the most accessible option. They typically include a two-part epoxy base coat, decorative color flakes, and a clear topcoat. These products are thinner than professional systems (3 to 5 mils compared to 10 to 20 mils) and produce a coating that lasts 3 to 5 years under normal garage use.
Best for: Budget-conscious homeowners who want a quick improvement and are willing to recoat in a few years.
Solvent-Based Epoxy
Solvent-based epoxy provides better adhesion and chemical resistance than water-based alternatives. It’s thicker, more durable, and bonds more aggressively to concrete. However, it produces strong fumes during application and requires better ventilation. This is the middle ground between DIY kits and professional systems.
Best for: Experienced DIYers who want better performance and are comfortable working with solvent-based products.
100% Solids Epoxy (Professional)
Professional-grade 100% solids epoxy contains no water or solvents. Every drop of what you apply stays on the floor, producing an extremely thick, hard coating in a single application. These systems build 10 to 20+ mils of thickness and last 10 to 20 years or more. They require professional equipment, precise mixing, and fast application due to short pot life.
Best for: Homeowners who want the best possible result and are hiring a professional installer.
Polyaspartic Coatings
Polyaspartic is a modern alternative to traditional epoxy that cures much faster (often same-day return to service), handles UV light without yellowing, and performs well in extreme temperatures. Many professional installers now use a hybrid system with an epoxy base coat and a polyaspartic topcoat, combining the adhesion of epoxy with the UV stability and speed of polyaspartic.
Best for: Cold climates, UV-exposed areas, and anyone who needs the garage back in service quickly.
Garage Floor Preparation
Surface preparation is the single most important factor in a successful epoxy garage floor. More epoxy failures result from poor prep than from product quality. The concrete must be clean, dry, and properly profiled to accept the coating.
Step 1: Clean Thoroughly
Remove all oil, grease, paint, and sealers from the concrete. Degrease oil-stained areas with a commercial concrete degreaser. Sweep and vacuum the entire surface.
Step 2: Test for Moisture
Tape a 2×2-foot sheet of plastic to the floor and leave it for 24 hours. If moisture collects under the plastic, the slab has a moisture issue that must be addressed before coating. Moisture vapor transmission can cause epoxy to delaminate.
Step 3: Profile the Concrete
The concrete surface needs a rough texture (called a profile) for the epoxy to grip. Two methods are common:
- Acid etching: Muriatic or phosphoric acid solution is applied, allowed to react, then neutralized and rinsed. This is the DIY standard and produces a light profile suitable for water-based epoxy kits.
- Diamond grinding or shot blasting: Mechanical methods produce a more aggressive profile that professional-grade epoxy requires. Diamond grinders are available for rent, but shot blasters are typically professional-only equipment.
Step 4: Repair Cracks and Damage
Fill cracks, divots, and spalled areas with epoxy-based concrete repair compound. Allow repairs to cure fully before coating. Expansion joints should be honored (left unfilled or filled with flexible joint filler) to prevent cracking.
Step 5: Final Cleaning
After profiling, vacuum the floor thoroughly and allow it to dry completely. Any dust, debris, or moisture remaining on the surface will compromise adhesion.
DIY Epoxy Installation Steps
- Mix the epoxy: Combine Part A (resin) and Part B (hardener) according to kit instructions. Stir thoroughly for the specified time. Most kits require a 30-minute induction period after mixing.
- Cut in edges: Use a brush to apply epoxy along walls, around floor drains, and in corners where a roller can’t reach.
- Roll the base coat: Apply the mixed epoxy with a 3/8-inch nap roller on an extension pole, working in 4×4-foot sections. Maintain a wet edge to prevent lap marks.
- Broadcast decorative flakes: While the epoxy is still wet, toss decorative flakes into the air above the floor so they land randomly. Apply as heavily or lightly as desired.
- Allow curing: Let the base coat cure for 12 to 24 hours (or per product instructions).
- Apply clear topcoat: Roll on the clear topcoat to seal in flakes and provide UV and chemical resistance. Add anti-slip additive to the topcoat if traction in wet conditions is a concern.
- Cure fully: Allow 24 to 72 hours of curing before walking on the floor and 5 to 7 days before parking vehicles.
Cost Comparison
DIY Epoxy Kit
- Materials: $100 to $300 for a standard two-car garage (400 to 500 sq ft)
- Additional supplies: $50 to $100 (rollers, brushes, tape, acid etch, degreaser)
- Total: $150 to $400 ($0.30 to $0.80 per sq ft)
- Expected lifespan: 3 to 5 years
Professional Epoxy or Polyaspartic
- Total installed cost: $2,500 to $6,000 for a standard two-car garage
- Per square foot: $5 to $12
- Expected lifespan: 10 to 20+ years
On a cost-per-year basis, professional coatings often deliver better value despite the higher upfront investment. A $4,000 professional system lasting 15 years costs roughly $267 per year, while a $250 DIY kit lasting 3 years costs $83 per year but requires the labor and disruption of recoating five times over the same period.
Decorative Options
Color Flakes (Chips)
Vinyl color flakes are the most popular decorative option for garage epoxy. Available in dozens of color blends, flakes add visual interest, hide imperfections, and provide a slight texture that improves traction. Light, full-broadcast flake floors (where flakes cover the entire surface) are the most popular garage aesthetic.
Metallic Epoxy
Metallic epoxy uses metallic pigments that create swirling, three-dimensional effects resembling marble or liquid metal. It’s a premium look typically applied by professionals. Metallic garage floors are conversation starters but cost 30% to 50% more than standard flake systems.
Quartz Broadcast
Colored quartz aggregate provides maximum slip resistance and a terrazzo-like appearance. It’s more common in commercial applications but works well for garages that double as workshops where oil and water on the floor create slip hazards.
Solid Colors
A simple solid-color epoxy in gray, tan, or custom colors provides a clean, uniform appearance. Solid colors show tire marks and dust more readily than flake finishes but can be easier to maintain.
Common Problems and How to Avoid Them
Peeling and Delamination
Almost always caused by inadequate surface preparation. The fix is prevention: test for moisture, profile the concrete properly, and ensure the surface is clean and dry.
Hot Tire Pickup
Hot tires from driving can soften cheap epoxy coatings and pull them off the floor when the car moves. This is rare with quality 100% solids epoxy and polyaspartic topcoats but common with thin water-based DIY kits. A polyaspartic or polyurethane topcoat virtually eliminates this issue.
Bubbles
Air bubbles in the cured surface result from applying epoxy when the concrete is outgassing (releasing trapped air as it warms up). Apply epoxy when temperatures are falling or stable, not when the garage is heating up in the morning sun.
Yellowing
Standard epoxy yellows with UV exposure. Garages with south-facing doors or significant sunlight need a UV-stable topcoat (polyaspartic or aliphatic polyurethane) to prevent discolouration.
Maintaining an Epoxy Garage Floor
- Sweep regularly to prevent grit from scratching the surface
- Mop with warm water and a mild detergent as needed
- Wipe up chemical spills (gasoline, brake fluid, battery acid) promptly
- Avoid using harsh solvents or abrasive cleaners
- Place mats under vehicles that drip fluids
- Touch up chips or damage promptly to prevent moisture from reaching the concrete underneath
Frequently Asked Questions
How long does epoxy garage flooring last?
DIY kits typically last 3 to 5 years. Professional 100% solids epoxy or polyaspartic systems last 10 to 20+ years with proper maintenance.
Can I epoxy my garage floor in winter?
Standard epoxy requires temperatures above 50°F for proper curing. Polyaspartic coatings can cure at lower temperatures (some down to 30°F), making them a better cold-weather option.
Is epoxy slippery when wet?
Smooth epoxy can be slippery when wet. Adding anti-slip aggregate to the topcoat or using a full-flake or quartz broadcast system provides adequate traction for garage use.
Can I apply epoxy over painted concrete?
Not reliably. Existing paint should be fully removed by grinding before applying epoxy. The epoxy bonds to concrete, not to paint, so any remaining paint becomes a weak layer that can cause delamination.
Final Thoughts
Epoxy flooring for garages is one of the best investments you can make in your home’s most utilitarian space. The key to success is honest preparation: test your concrete, profile it properly, and choose a product system that matches your performance expectations and budget. Whether you go DIY or professional, a well-executed epoxy garage floor protects your concrete, resists stains, and makes your garage a space you’re actually proud to show off.


