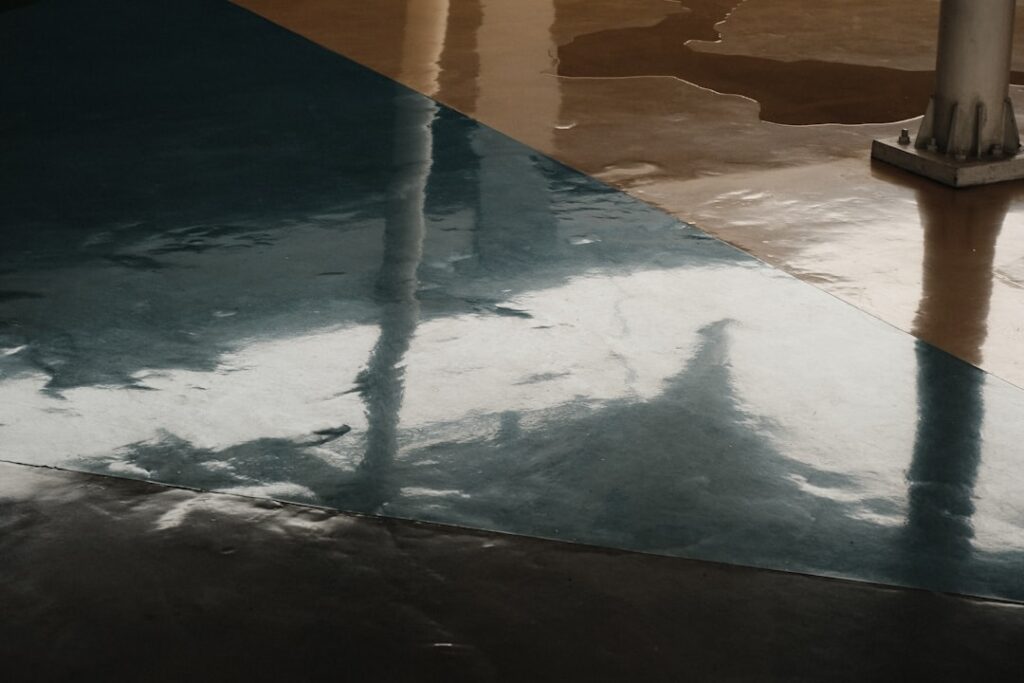
Nine out of ten failed garage floor coatings fail for one reason: bad prep. Rust-Oleum EpoxyShield garage floor coating is a popular water-based epoxy kit that delivers a tough, glossy, easy-to-clean surface for a fraction of what a professional installer charges, but only if you clean and etch the concrete properly first. This guide walks through what is in the kit, how to apply it, realistic durability, and the mistakes that peel a coating within a year.
Part of our Epoxy, Concrete & Garage Floors guide — explore the full guide →
What EpoxyShield Is
EpoxyShield is a two-part, water-based epoxy floor coating sold as a DIY kit by Rust-Oleum. You mix a resin (Part A) with a hardener (Part B), and the chemical reaction cures into a hard, plastic-like film bonded to the concrete. The kit includes the epoxy, decorative color chips, a cleaner/degreaser or etch, and often a stir stick and instructions. Some kits also include an optional anti-skid additive.
It is designed for garage floors, basements, and similar interior concrete slabs. The cured finish resists gasoline, oil, antifreeze, road salt, and hot tire pickup better than bare concrete, and it wipes clean with a mop, which is the main reason homeowners install it.

If you’re running out of room even with a clean garage floor, a backyard shed takes the overflow — seasonal gear, tools, lawn equipment. And if you’re parking outside while the garage doubles as a workshop, a carport keeps your car covered without needing a second garage.
We may earn a commission when you purchase through our links.
What You Get and What It Covers
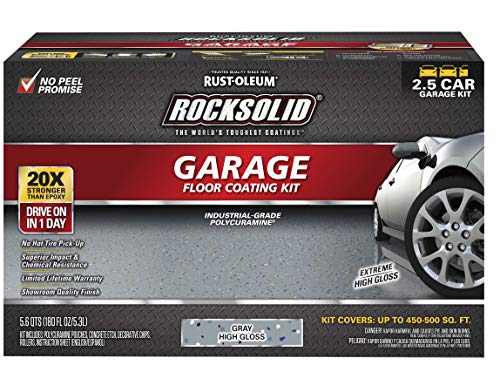
A standard single-car kit covers roughly 200 to 250 square feet with one coat, and a two-car kit covers about 450 to 500 square feet. Coverage drops on rough or porous concrete that drinks up more product, so measure your slab and buy accordingly, with a little extra. Typical kit pricing runs around $80 to $160 depending on the size and whether it is the basic or professional-grade formula.
Rust-Oleum sells several tiers. The basic EpoxyShield is water-based and DIY-friendly, while the professional and high-solids versions build a thicker, more durable film at a higher price and with more demanding application. For a daily-driver garage, the standard kit is usually sufficient; for a shop floor that sees dropped tools and heavy traffic, step up to a higher-solids product.
Surface Prep: The Step That Makes or Breaks It
Epoxy only bonds to clean, properly profiled concrete. Skipping or rushing prep is the single biggest cause of peeling. Do it in order:
- Test for moisture by taping a plastic sheet to the slab overnight; condensation underneath means the slab is too damp to coat.
- Remove all oil and grease with a degreaser, scrubbing spots until water no longer beads on them.
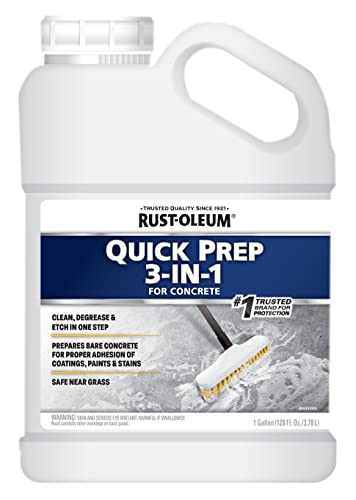
- Etch or clean the concrete with the included etch (or a mechanical grind) to open the pores so the epoxy can grip.
- Rinse thoroughly and let the slab dry completely, which can take 24 hours or more.
- Confirm the surface feels like medium-grit sandpaper; if it is still slick, etch again.
A new or previously sealed slab needs extra attention, because sealers block adhesion. When in doubt, mechanical grinding with a diamond cup wheel gives a more reliable profile than acid etching, especially on hard, dense concrete.
Application Step by Step
Once the slab is prepped and dry, application moves quickly, and the epoxy has a limited working time after mixing, so organize your tools first.
- Pick a mild day, ideally 50 to 90 degrees Fahrenheit with low humidity, since temperature affects cure.
- Mix Part A and Part B thoroughly for the full time stated, then let it sit for the induction period the label specifies.
- Cut in the edges with a brush along walls and around obstacles.
- Roll the field in manageable sections with a roller, working in one direction and keeping a wet edge.
- Broadcast the color chips by tossing them into the wet epoxy for texture and hidden imperfections.
- Work fast; the mixed epoxy has a working window, often around two hours, before it starts to gel.
Do not coat the whole floor into a corner and trap yourself; start at the back and work toward the door. A second coat, where the kit allows, roughly doubles durability and gloss.
Cure Times and When You Can Use the Floor
Patience during curing protects your work. Typical guidance for the water-based kit is to keep foot traffic off for about 24 hours and wait 72 hours before driving a vehicle onto the coating. Full chemical cure, where the film reaches maximum hardness and chemical resistance, can take up to a week. Rushing a car back in, especially with hot tires, is a fast way to peel a fresh coat.
Cooler temperatures extend cure times, so a garage coated in fall may need extra days. Do not coat if temperatures will drop near or below the minimum during curing.
Durability and Honest Limitations
Applied over well-prepped concrete, EpoxyShield holds up for years against oil, salt, and normal traffic, and it dramatically improves cleanability. That said, water-based DIY epoxy is thinner than professional high-solids or polyaspartic systems and is more prone to hot-tire pickup, where hot tires lift the coating, if prep was marginal or the floor is used hard. It can also yellow over time under UV exposure near an open door.
For a step up in longevity, homeowners increasingly choose polyaspartic or polyurea coatings, which cure faster, resist UV and hot tires better, and last longer, but cost more and are less forgiving to apply. For a budget-friendly weekend upgrade with good results, EpoxyShield remains a solid choice, provided you respect the prep.
Tools and Time You Will Need
Plan for a two-day project even though the coating itself goes on in a few hours. Day one is almost entirely prep: degreasing, etching, rinsing, and letting the slab dry. Day two is application. Gather a stiff-bristle brush, a pump sprayer or watering can for the etch, a squeegee, a 3/8-inch nap roller on an extension pole, a brush for cutting in, and a mixing bucket before you start, along with rubber gloves and eye protection.
Budget your labor honestly. A single-car garage is a manageable one-person weekend, but a two-car slab moves faster with a helper, one person rolling the field while the other broadcasts chips and keeps a wet edge. Clear the garage completely first, since you cannot coat around parked cars, shelving, or clutter, and you want the whole slab open to work quickly within the epoxy’s pot life.
Maintaining the Finished Coating
Once cured, an EpoxyShield floor is easy to live with. Sweep or dust-mop regularly to keep grit off the surface, since grit is what eventually dulls the gloss. Wipe up oil, gas, and chemical spills promptly, even though the coating resists them, and clean the floor with a mild degreaser and a mop as needed. Avoid harsh solvents and aggressive scrubbing that can wear the finish. Place a mat under the vehicle’s engine bay if it drips, and use furniture pads under heavy tool chests to prevent gouging. Treated this way, the coating keeps its look for years before it needs a refresh coat.
Frequently Asked Questions
How long does EpoxyShield take to cure?
Keep foot traffic off for about 24 hours and wait 72 hours before driving on it. Full chemical cure takes up to a week, and cooler temperatures lengthen all of these times.
How much area does an EpoxyShield kit cover?
A single-car kit covers roughly 200 to 250 square feet and a two-car kit about 450 to 500 square feet with one coat. Rough or porous concrete absorbs more, so buy a little extra.
Why do epoxy garage coatings peel?
Almost always from poor prep: oil left on the slab, no etching or grinding, or coating over a damp or sealed surface. Proper cleaning, etching, and a dry slab are what make the coating last.
Can I put my car back in the garage right away?
No. Wait at least 72 hours before driving on a fresh EpoxyShield coating, and longer in cool weather. Hot tires on an undercured floor are a common cause of coating failure.
Is EpoxyShield as good as a professional coating?
It is a good budget DIY option but thinner than professional high-solids epoxy or polyaspartic systems. Those last longer and resist hot-tire pickup and UV better, but cost more to install.