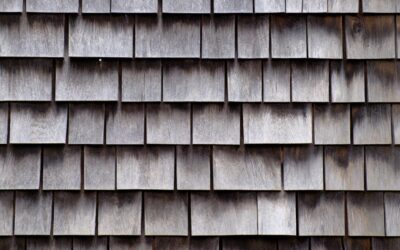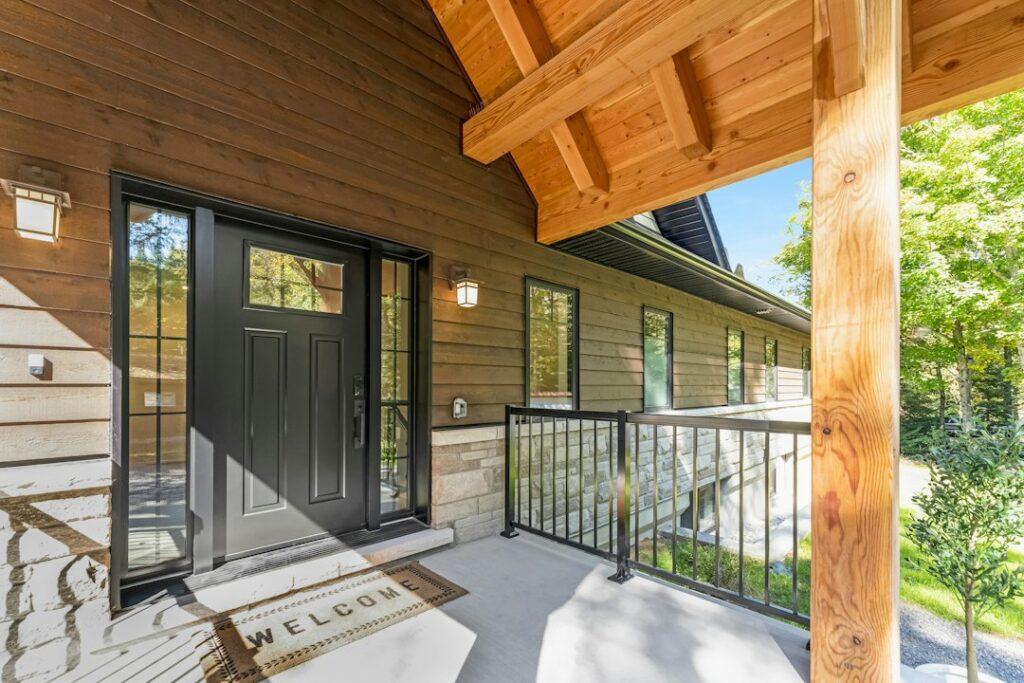
Shiplap was invented for barns and boats, so it handles weather well, but only when the boards face the right way and the wall behind them can dry. Exterior shiplap siding fails most often because installers treat it like interior shiplap: boards nailed tight to sheathing, the rabbet facing the wrong direction, and cut ends left raw. Water then wicks into the joints, gets trapped against the wall and rots the boards from behind.
The fix is a short list of habits. Use a rot-resistant or pre-primed board, install it over a weather-resistive barrier with a rainscreen gap, orient every overlap so the upper board laps over the lower one, nail through the overlap zone so boards can move, and seal every cut end before it goes up. Follow those rules and outdoor shiplap siding can last decades with routine repainting.
- Choosing Boards for Exterior Shiplap Siding
- Horizontal vs Vertical Orientation
- The Rainscreen Gap and Water Management
- Tools and Materials
- Installing Shiplap Siding Step by Step
- Corners, Windows and Edge Details
- Troubleshooting
- Cost Ranges
- Ladder Safety and When to Call a Pro
- Frequently Asked Questions
Shiplap differs from bevel lap siding because each board has a rabbet (a stepped notch) along both edges. Neighboring boards nest together to create a flat face with a crisp shadow line. That flat profile is what gives the modern farmhouse look, but it also means the wall depends on the rabbet overlap rather than a sloped bevel to shed water.
Choosing Boards for Exterior Shiplap Siding
Not every shiplap board sold at a home center is meant for exteriors. Interior shiplap is often thin MDF or knotty pine with a shallow rabbet that will swell and cup outside. For exterior shiplap siding, look for boards labeled for exterior use with a rabbet deep enough to provide at least a 1/2 inch overlap.
- Western red cedar: naturally rot resistant, stable and lightweight. Takes paint, stain or clear finishes. Premium price.
- Cypress and redwood: similar durability with heartwood grades; availability varies by region.
- Pre-primed pine or spruce: affordable and paint-ready, but must stay painted and sealed. Choose finger-jointed boards with exterior-rated glue.
- Treated or thermally modified wood: improved decay resistance, though some need extra drying time before painting.
- Engineered wood and fiber cement shiplap panels: dimensionally stable, resistant to rot and insects, and often come primed. Follow the maker’s specific nailing and clearance rules.
Primed shiplap boards save a lot of labor because all six faces are already sealed. If you buy raw wood, back-prime every board (front, back and edges) before installation. That single step does more to prevent cupping and paint failure than anything else.
Horizontal vs Vertical Orientation
Horizontal shiplap exterior siding is the classic look, and it is the simplest to make watertight. Install boards from the bottom up with the rabbet on the upper board overlapping the outside of the lower board, so the lip points down and water runs off the face.
Vertical shiplap reads more contemporary and makes walls look taller. Water runs along the joints rather than across them, which is actually favorable, but the top and bottom ends of every board become the weak points. Vertical installation also needs horizontal nailing support, so you will add horizontal furring strips or blocking every 16 to 24 inches. For vertical runs, orient each overlap away from the prevailing wind if possible, and use flashing at any horizontal break between boards.
The Rainscreen Gap and Water Management
A rainscreen is a small air space, usually 1/4 to 3/4 inch, between the siding and the weather barrier. It lets water that gets behind the boards drain away and allows both sides of the siding to dry. Shiplap’s flat profile has less natural ventilation than bevel siding, so a rainscreen matters even more.
- Weather-resistive barrier: house wrap or building paper lapped shingle-style, top layers over bottom layers.
- Furring strips: treated 1×3 or 1×4 strips nailed over studs, or a plastic drainage mat.
- Insect screen: a vented strip at the bottom and top of the cavity to keep insects out while allowing airflow.
- Flashing: head flashing over windows and doors, kick-out flashing where a roof meets a wall, and Z-flashing at any horizontal joints.
Keep the bottom course at least 6 inches above grade and 1 to 2 inches above roofs, decks and patios. Wood touching soil, roof shingles or concrete stays wet and rots quickly.
Tools and Materials
- Shiplap boards plus 10 to 15 percent extra for waste
- House wrap, seam tape and window/door flashing tape
- Furring strips or drainage mat, plus vented insect screen
- Stainless steel or hot-dipped galvanized ring-shank siding nails
- Pneumatic siding nailer or hammer, miter saw and circular saw
- Level, chalk line, story pole and spacer gauges
- Exterior primer, paintable exterior sealant and end-grain sealer
- Ladders or scaffolding, safety glasses, gloves and hearing protection
Installing Shiplap Siding Step by Step
- Inspect and repair sheathing. Replace any soft or water-stained areas and fix leaks before covering the wall.
- Install the weather barrier and flashing. Lap house wrap shingle-style, integrate window and door flashing, and tape seams.
- Add furring strips. Fasten vertical strips over each stud for horizontal siding, or horizontal strips for vertical siding. Install insect screen at the bottom and top.
- Prime all faces. Back-prime and edge-prime any raw boards, and let primer dry fully.
- Set the starter course. Snap a level line at the bottom. Rip the lower lip off the first board or use a starter strip so it sits plumb and kicks water away from the wall.
- Nail at the overlap. Drive one nail per stud or furring strip through the face about 1 inch above the bottom edge, positioned so it goes through the board’s own overlap without pinning the board beneath. Boards wider than 8 inches may need two nails per support; follow the manufacturer’s pattern. Penetrate framing at least 1 1/4 inches.
- Leave the right gap. Use a spacer (a nickel or a 1/8 inch shim) in the rabbet joint so boards can expand without buckling.
- Stagger and seal butt joints. Land end joints over furring, scarf-cut them at 45 degrees with the upper piece overlapping the lower, seal the cut ends and stagger joints at least two studs apart.
- Work up the wall. Check level every few courses with a story pole so shadow lines align with window heads and sills.
- Finish quickly. Apply two topcoats of quality exterior paint or stain within the time the primer label allows.
Corners, Windows and Edge Details
Outside corners can be handled with corner boards (two trim boards butted together), mitered corners, or metal corner caps. Corner boards are the most forgiving because siding butts into them and any movement is hidden. Mitered shiplap looks sleek but tends to open up as the wood moves, so reserve it for very stable materials.
At inside corners, install a square trim strip and butt siding against it. Around windows and doors, use casing or brick molding with head flashing above, and leave a 1/8 inch gap between siding and trim to be filled with sealant. Never caulk the bottom of the drainage cavity or the lap joints of the siding, since water needs a way out.
Troubleshooting
- Boards cupping: often caused by unprimed backs or a missing rainscreen. Back-prime replacements and improve ventilation.
- Paint peeling: moisture behind the boards or painting over wet wood. Find the water source first.
- Gaps opening at joints: boards installed too wet or too tight. Acclimate lumber and use spacers.
- Dark stains around nails: non-galvanized fasteners reacting with tannins, especially in cedar. Use stainless steel.
- Rot at the bottom course: insufficient clearance to grade or a missing drip edge. Raise the starter course and regrade soil.
- Mold or mildew behind boards: fix the moisture problem before replacing siding. Areas larger than 10 sq ft should be handled by a mold remediation professional.
Cost Ranges
Material costs vary widely. Pre-primed pine shiplap often runs about $2 to $5 per sq ft, engineered or fiber cement shiplap about $3 to $7, and clear cedar $6 to $12 or more. Add house wrap, furring, flashing and paint. Professional installation typically adds $4 to $10 per sq ft depending on wall height, complexity and trim work. A rainscreen adds modest cost but pays for itself in longer paint life and fewer repairs.
Ladder Safety and When to Call a Pro
Siding work happens on ladders, so set extension ladders on firm, level ground at a 4 to 1 angle, extend them 3 feet past the landing, and keep three points of contact. Never overreach; move the ladder instead. For walls taller than one story, rent scaffolding or hire a siding contractor who has fall protection and staging. A pro is also the right call if you find rotted sheathing or framing, widespread mold, or if your local building department requires a permit and inspection for re-siding. Many areas do, so check before you start.
Frequently Asked Questions
Can you use shiplap for exterior siding?
Yes, as long as the boards are rated for exterior use, installed over a weather barrier with a rainscreen gap, and the overlap faces down so water sheds off the face.
Which way should the shiplap overlap face outside?
On horizontal siding, the lip of each upper board should overlap the outside of the board below it, like shingles, so water runs down and away.
Does exterior shiplap need a rainscreen?
It is strongly recommended. A small air gap lets trapped water drain and both sides of the boards dry, which prevents cupping, peeling paint and rot.
What nails should I use for shiplap siding?
Use stainless steel or hot-dipped galvanized ring-shank siding nails long enough to penetrate framing at least 1 1/4 inches. Stainless steel is best for cedar and redwood.
Is horizontal or vertical shiplap better outside?
Both work when detailed correctly. Horizontal is simpler to flash and install, while vertical sheds water along the joints but needs horizontal furring and careful end sealing.