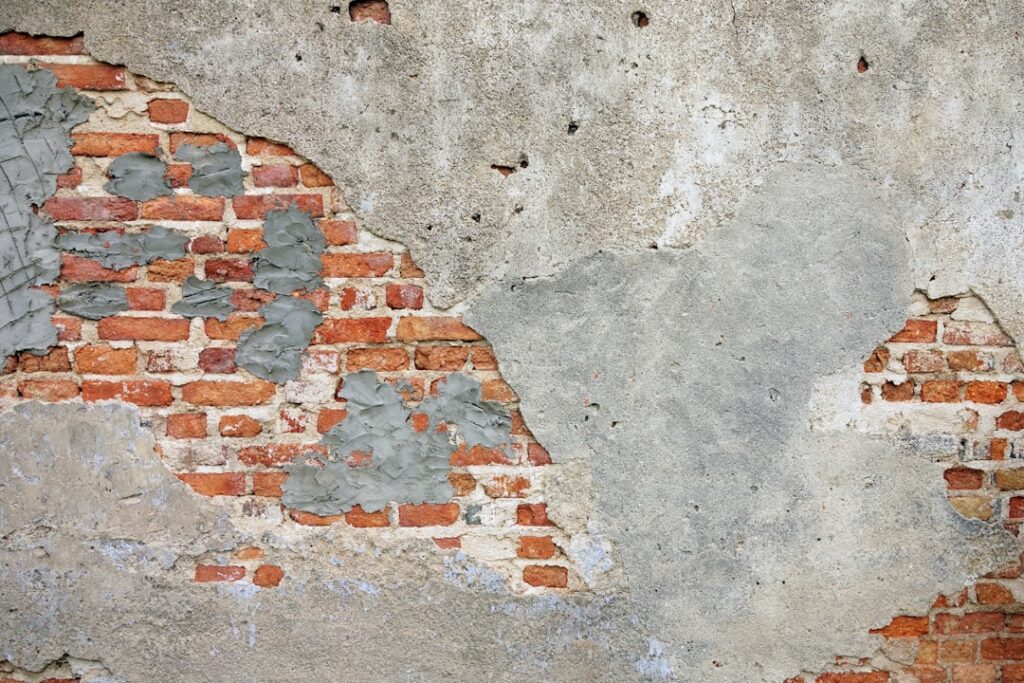
Most cracks in brick, block and concrete are cosmetic, and you can fill masonry cracks yourself in an afternoon with the right material. The trick is matching the filler to the crack: flexible masonry caulk for hairline cracks that open and close with the seasons, mortar for failed joints and wider static cracks, and hydraulic cement for cracks that leak water. Pick the wrong one and the repair pops out by next winter.
Here is the short answer. For cracks under 1/4 inch that move slightly, clean them out and use a polyurethane or siliconized masonry sealant. For stable cracks between 1/4 and 3/4 inch in mortar joints, rake them out and pack in fresh Type N mortar. For active leaks in a foundation or retaining wall, use hydraulic cement, which expands as it sets and stops water within minutes. Anything wider than 1/4 inch that keeps growing, runs diagonally in a stair-step pattern, or shows one side offset from the other needs an evaluation before you patch it.
- Before You Fill Masonry Cracks: Is the Crack Safe to Patch?
- Choosing a Filler: Masonry Caulk vs. Mortar vs. Hydraulic Cement
- Tools and Materials
- Step-by-Step: How to Fix Masonry Cracks
- Cement Block Wall Crack Repair and Brick-Specific Tips
- Color Matching So the Repair Disappears
- Troubleshooting Common Problems
- Typical Costs
- When to Call a Structural Engineer or Mason
- Frequently Asked Questions
- What is the best way to fix masonry cracks that are hairline thin?
- Can I use caulk instead of mortar on brick?
- Is hydraulic cement a good cement wall crack filler for dry cracks?
- How long should I wait before painting or sealing a repaired crack?
- Do vertical foundation cracks mean my house is failing?
The rest of this guide covers how to choose between fillers, how to prep so the patch actually bonds, step-by-step methods for each material, and how to make the repair blend in instead of standing out as a gray scar.
Before You Fill Masonry Cracks: Is the Crack Safe to Patch?
Start by measuring and watching. A crack-width gauge costs about $5, but a credit card works too: a card is roughly 1/32 inch thick. Pencil a line across each end of the crack and date it. Check again in four to eight weeks. If the crack has extended past your marks or widened, something is still moving, and filling it only hides the evidence.
These are typically safe DIY candidates:
- Hairline shrinkage cracks in concrete slabs, walks and poured walls
- Vertical cracks under 1/8 inch in poured foundation walls that are dry or only damp
- Cracked or crumbling mortar joints in brick or block where the units themselves are sound
- Small corner chips and spalls on steps and ledges
These signal a structural question, not a patching job: horizontal cracks in a basement wall, stair-step cracks wider than 1/4 inch, walls bowing or leaning inward, cracked bricks (not just mortar) in a line, and doors or windows above the crack that suddenly stick. Treat them as a reason to call a structural engineer first.
Choosing a Filler: Masonry Caulk vs. Mortar vs. Hydraulic Cement
Every product sold as a cement wall crack filler falls into one of a few families. Knowing what each does well saves you from redoing the job.
| Filler | Best For | Limits |
|---|---|---|
| Masonry caulk / sealant | Hairline to 1/2 in. cracks that move; brick and block joints you want sealed fast | Glossy look; poor match to mortar texture |
| Mortar (Type N or S) | Repointing joints; static cracks 1/4 to 3/4 in. | Rigid; cracks again if the wall still moves |
| Hydraulic cement | Actively leaking foundation cracks and holes | Sets in 3-5 minutes; small batches only |
| Vinyl concrete patch | Shallow spalls and chips on slabs and steps | Not for deep structural cracks |
| Epoxy or polyurethane injection kit | Poured concrete foundation cracks that leak | Poured walls only, not block or brick |
Masonry caulk
A polyurethane masonry sealant stays flexible, sticks to damp surfaces reasonably well, and handles a crack that opens a little in winter and closes in summer. Sanded versions have grit mixed in so they look less like caulk. It is the easiest brick crack filler for a beginner and the right call for most hairline cracks in concrete.
Mortar
For brick and block, mortar is the traditional brick filler repair material and the one that looks right. Use Type N for most above-grade walls and older soft brick; Type S is stronger and suits below-grade or retaining walls built with modern units. Never put hard Portland-rich mortar against soft historic brick, because the brick ends up cracking instead of the joint.
Hydraulic cement
Hydraulic cement is the go-to cement wall filler when water is coming through. It expands slightly while setting and can even be pressed into a crack that is actively trickling. Mix only what you can place in three minutes.
Tools and Materials
- Safety glasses, work gloves and an N95 respirator (cutting and grinding masonry releases silica dust)
- Cold chisel and 2-lb hand sledge, or an angle grinder with a masonry blade for long cracks
- Wire brush and shop vacuum
- Spray bottle or garden sprayer
- Pointing trowel and a 3/8 in. or 1/2 in. tuck-pointing (joint) tool
- Caulk gun and polyurethane masonry sealant ($8-$15 per tube)
- Bagged Type N or S mortar mix ($10-$20 per 60-lb bag) or a pre-mixed mortar repair tube
- Hydraulic cement ($15-$30 per 10-lb pail)
- Foam backer rod for cracks deeper than 1/2 inch
- Bucket, margin trowel, stiff nylon brush and a sponge
Step-by-Step: How to Fix Masonry Cracks
1. Prep the crack
- Wear eye protection and a respirator. Chip out loose, crumbling material with a cold chisel held at a shallow angle.
- For hydraulic cement or mortar, widen hairline cracks into a slight inverted “V” or, better, an undercut “dovetail” about 1/2 inch deep. The wider back locks the patch in place.
- Scrub with a wire brush, then vacuum every bit of dust. Dust is the number one reason patches fail.
- Remove efflorescence (white salty crust) with a stiff brush and a diluted masonry cleaner, then rinse.
2. Fill hairline and moving cracks with sealant
- Let the crack dry per the sealant label; most polyurethanes tolerate damp but not wet surfaces.
- Press foam backer rod into cracks deeper than 1/2 inch so the sealant is roughly as deep as it is wide.
- Cut the nozzle to match the crack width and push a continuous bead in, driving the tip forward so sealant is forced into the gap rather than laid on top.
- Tool the bead flush with a putty knife or a gloved finger dipped in soapy water. Sprinkle matching sand on a wet bead to kill the shine.
3. Repoint joints and fill static cracks with mortar
- Rake failed mortar joints out to a depth of 2 to 2.5 times the joint width, typically 1/2 to 3/4 inch.
- Mix mortar to a stiff, peanut-butter consistency. It should hold its shape on a tilted trowel.
- Mist the joint so the dry brick or block does not suck water out of the mortar.
- Pack mortar in layers no thicker than 3/8 inch, letting each layer get thumbprint-firm before adding the next.
- When the final layer is thumbprint-hard, strike it with a jointing tool to match the existing profile (concave is most common), then brush off crumbs.
- Mist two to three times a day for three days, especially in hot or windy weather.
4. Stop leaks with hydraulic cement
- Undercut the crack as described, then soak the area with water.
- Mix a fist-sized batch to a putty consistency in a gloved hand or small bucket.
- Roll it into a plug, press it hard into the crack starting at the top (or at the leak), and hold pressure for three to five minutes as it sets.
- Shave off excess with a trowel before it fully hardens, and keep the patch damp for 15 minutes.
Cement Block Wall Crack Repair and Brick-Specific Tips
Concrete block walls are hollow, so a cement block wall crack repair often means filling more than just the surface. If a crack exposes an open core, stuff the void with crumpled wire lath or foam and fill with mortar in stages. Stair-step cracks that follow the mortar joints in block are usually repaired by repointing those joints; cracks that cut straight through the blocks deserve a closer look for movement.
With brick, the goal is to keep the joint weaker than the brick. Water and stress should always find the mortar first, because mortar is cheap to replace and brick is not. That is why a soft, lime-rich mortar is often the correct brick crack filler on pre-1940 homes. If a brick itself is cracked all the way through or spalling, it can be chiseled out and replaced with a salvaged match.
Color Matching So the Repair Disappears
Fresh mortar dries lighter than it looks when wet, and it never matches 30-year-old weathered joints straight from the bag. Make three or four test batches with small amounts of mortar pigment, note the ratios, and dab them on a scrap brick or an inconspicuous joint. Let them cure at least three days before judging. Sand color matters as much as pigment, so a buff sand gives a warmer tone than gray.
For concrete, a thin slurry of patch material brushed over the repaired area and the surrounding inch or two feathers the color transition. On sealant repairs, broadcasting fine sand onto the wet bead is the fastest way to make it look like masonry instead of a plastic line.
Troubleshooting Common Problems
- Patch cracked or fell out within months: the crack is still moving, the surface was dusty, or the filler was too rigid. Switch to a flexible sealant and investigate the cause.
- Hairline shrinkage cracks around a mortar patch: the mix was too wet or dried too fast. Mix stiffer and mist during curing.
- White haze on new joints: efflorescence from moisture moving through the wall. Brush it off dry after a few weeks; persistent haze points to a water source.
- Crack reappears in the same place: check downspouts, grading and soil moisture. Water pooling against the wall is often the root cause.
- Hydraulic cement set before you placed it: batches are too large or water too warm. Mix smaller amounts with cool water.
Typical Costs
A DIY repair to fill masonry cracks usually costs $20 to $75 in materials for a few tubes of sealant or a bag of mortar. Renting an angle grinder with a masonry blade adds roughly $40 to $70 a day. Hiring a mason for tuck-pointing generally runs from a few hundred dollars for a small patch to several thousand for a full wall, with pricing often quoted per square foot of wall. Foundation crack injection by a waterproofing contractor commonly falls in the several-hundred-dollar range per crack. Structural repairs such as wall anchors, bracing or underpinning are a different category and can reach well into five figures, which is exactly why an honest diagnosis first is worth it.
When to Call a Structural Engineer or Mason
Patching is only the right move when the crack is stable and non-structural. Call a licensed structural engineer before you fill masonry cracks that are horizontal in a foundation wall, wider than 1/4 inch and growing, stair-stepped with offset between sides, or accompanied by a bowing or leaning wall, sloping floors, or doors and windows that have started to bind. An engineer’s inspection typically costs a few hundred dollars and gives you an unbiased report, which is useful before you get quotes from repair companies who sell the fix.
Bring in an experienced mason for historic brick, chimneys, tall walls that need scaffolding, and retaining walls taller than about 3 to 4 feet, which in many areas need a permit and engineered design. Load-bearing and foundation repairs should always be handled by a qualified contractor working from an engineer’s recommendation.
Frequently Asked Questions
What is the best way to fix masonry cracks that are hairline thin?
Clean the crack with a wire brush and vacuum, then press in a polyurethane masonry sealant and tool it flush. Hairline cracks are usually shrinkage-related, and a flexible sealant handles minor seasonal movement better than rigid mortar.
Can I use caulk instead of mortar on brick?
Yes for small cracks you mainly want sealed, but caulk looks glossy and does not match mortar texture. For failed joints in a visible brick wall, repointing with mortar gives a far better and longer-lasting appearance.
Is hydraulic cement a good cement wall crack filler for dry cracks?
It works, but it is overkill for dry, stable cracks and sets so fast that it is hard to finish neatly. Save hydraulic cement for cracks that leak water and use mortar or sealant elsewhere.
How long should I wait before painting or sealing a repaired crack?
Mortar and cement patches generally need about 28 days to cure fully before masonry sealers or paint. Most polyurethane sealants can be painted within a few days; check the label for the exact window.
Do vertical foundation cracks mean my house is failing?
Not usually. Thin vertical cracks in poured walls are common shrinkage cracks. Monitor them, seal them if they leak, and call an engineer if they widen, shift out of plane, or appear alongside horizontal cracks.