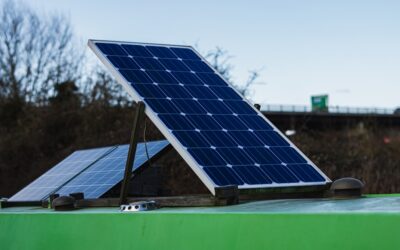
The fastest way to shorten the life of a thin, bendable panel is to glue it flat against a hot metal roof with no way for heat to escape. A careful flexible solar panel installation balances three things: a secure bond that survives wind and vibration, enough airflow to keep cell temperatures down, and a mounting method you can undo if the panel ever needs replacing. Get those right and a lightweight panel can power a shed, camper, boat or curved rooftop for years. Get them wrong and you may see output drop, delamination, or a panel that lifts off at highway speed.
Flexible panels weigh a fraction of rigid glass modules and can bend to follow gentle curves, which makes them ideal where racking is impractical. They also run hotter and generally wear out sooner than framed panels. This guide covers adhesive versus mechanical mounting, how to create an air gap, surface prep, step-by-step installation, and when a rigid panel is simply the better choice.
- Flexible Solar Panel Installation Basics: Where These Panels Fit
- Adhesive Mounting vs Screw and Track Mounting
- Why the Air Gap Matters for Heat and Lifespan
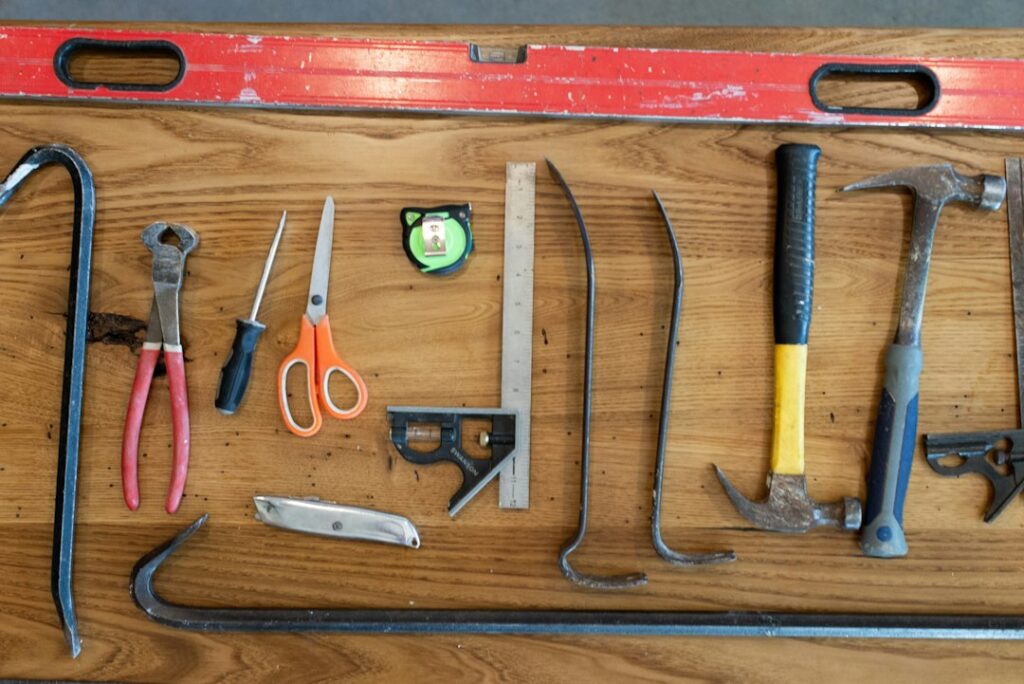
- Tools and Materials
- Step-by-Step Installation
- Safety: Ladders, Roofs and Electrical Connections
- Troubleshooting Common Problems
- Lifespan and Cost Tradeoffs vs Rigid Panels
- When to Call a Professional
- Frequently Asked Questions
Flexible Solar Panel Installation Basics: Where These Panels Fit
Thin-film and semi-flexible monocrystalline panels are usually 1/8 inch thick or less and can flex to a modest arc, often around 30 degrees depending on the product. They shine in a few specific situations:
- Camper vans and RV roofs: Curved or ribbed roofs where rigid racking adds height, weight and wind drag.
- Boats: Biminis, dodgers, cabin tops and hatches where glass panels are heavy and hard to mount.
- Sheds and garden structures: Lightweight roofs that cannot carry the weight of framed modules.
- Curved or low-slope metal roofs: Barrel roofs, carports and trailers.
- Portable setups: Panels that get tied down temporarily at a campsite.
For a permanent, high-output home rooftop array, rigid panels on engineered racking remain the standard. Flexible panels are a specialty tool, and the installation method should match how the surface moves, how hot it gets, and whether you may need to remove the panel later.
Adhesive Mounting vs Screw and Track Mounting
The central decision in any flexible solar panel installation is whether to bond the panel directly to the surface or attach it mechanically. Each approach has clear tradeoffs.
Adhesive Mounting
Adhesive installs use either a structural sealant-adhesive (typically a polyurethane or hybrid polymer marine-grade product) or high-bond double-sided acrylic foam tape. The panel sits nearly flush, adds almost no wind profile, and requires no holes in the roof.
- Pros: Low profile, no roof penetrations, clean look, quiet at speed.
- Cons: Little or no air gap, so cells run hotter; removal is difficult and can damage both panel and roof; failures often mean a destroyed panel.
Screw, Grommet and Track Mounting
Many flexible panels have reinforced grommet holes at the corners. You can screw through them with sealing washers, fasten them to a thin aluminum or composite backer, or slide the panel into edge tracks or channel mounts that bolt to the roof.
- Pros: Removable, allows an air gap, easier to replace a failed panel.
- Cons: Roof penetrations must be sealed well; more visible hardware; grommets alone can let the center flutter in wind.
A popular hybrid approach is to bond the panel to a rigid-but-light backer sheet, such as corrugated plastic or thin aluminum composite, and then mechanically fasten that backer to the roof with standoffs. You get the panel support of an adhesive install, the airflow of a raised mount, and the ability to remove the whole assembly.
Why the Air Gap Matters for Heat and Lifespan
Solar cells lose efficiency as they heat up, commonly around 0.3 to 0.5 percent of output per degree Celsius above 77°F (25°C). A flexible panel glued directly to a dark roof in summer can reach 150°F or more. That heat costs power today and ages the laminate and cell connections over time, which is a major reason flexible panels often carry shorter warranties than rigid modules.
Even a small gap helps. Aim for these targets where possible:
- 1/4 to 1/2 inch: Minimum practical gap on vehicles using low-profile standoffs or corrugated backers.
- 1 inch or more: Better cooling on sheds, carports and stationary roofs where profile does not matter.
- Open edges: Leave the front and rear edges open so air can flow through; sealing all four sides traps heat.
If your flexible solar panel installation must be adhered flush, choose a lighter roof color where you have a say, and expect some output and lifespan penalty compared with a ventilated install.
Tools and Materials
- Flexible solar panel sized for your system and battery
- Marine-grade polyurethane or hybrid polymer adhesive-sealant, or high-bond acrylic mounting tape
- Optional backer sheet (corrugated plastic or aluminum composite) and standoffs or edge tracks
- Stainless screws with EPDM sealing washers and butyl tape for penetrations
- Isopropyl alcohol, lint-free rags, fine abrasive pad, and a surface primer if the adhesive maker specifies one
- Waterproof cable entry gland for roof penetration
- UV-rated solar cable, compatible solar connectors, and cable clips
- Charge controller, fuse or breaker sized per the system design
- Caulk gun, drill with step bit, measuring tape, masking tape, and a roller for tape installs
- Gloves, safety glasses, and fall protection or a stable work platform
Step-by-Step Installation
- Plan the layout. Dry-fit each panel. Avoid vents, hatches, and areas that shade the panel at midday. Mark the outline with masking tape.
- Check curvature. Confirm the roof curve is within the panel’s bend limit. Never force a panel into a tighter arc than rated, and never bend it repeatedly.
- Clean and prep the surface. Wash, dry, lightly scuff glossy surfaces, then wipe with isopropyl alcohol. Apply primer if the adhesive or tape maker calls for it.
- Prepare the backer or standoffs (if used). Bond the panel to the backer on a flat bench, let it cure, then position the assembly on standoffs or tracks.
- Apply adhesive or tape. For adhesive, run beads in parallel lines front to back, leaving gaps between beads for airflow and moisture escape. For tape, apply strips in the same direction and press firmly with a roller.
- Set and secure. Lay the panel from one edge to the other to avoid trapping air. For mechanical mounts, fasten through grommets or tracks with sealed stainless screws set into butyl tape.
- Seal the leading edge on vehicles. A bead of sealant along the forward edge reduces wind lift at highway speeds. Leave the rear edge open for ventilation where the design allows.
- Route the wiring. Run cables to a waterproof entry gland, drip-loop them, and clip them every 12 to 18 inches so they cannot chafe or flap.
- Connect to the system. With the charge controller and battery disconnect switched off and panels covered, make DC connections per the system diagram, then commission in the order the controller maker specifies.
- Let it cure. Most adhesives need 24 to 72 hours before driving or heavy wind exposure. Check the product’s full cure time.
Safety: Ladders, Roofs and Electrical Connections
Many flexible panels go onto van roofs, boat tops and shed roofs that are slippery, sloped or fragile. Use a stable ladder set at the proper angle (about 1 foot out for every 4 feet of height), extended at least 3 feet past the roof edge, and have a helper steady it. Maintain three points of contact while climbing, and never carry panels up a ladder by hand; hoist them with a rope or hand them up. Do not step on fiberglass camper roofs, skylights or shed panels that are not rated to bear weight. Any work on a roof two or more stories high, or on a steep slope, should go to a professional with proper fall protection.
Panels produce voltage whenever light hits them, so cover them with an opaque tarp while connecting. Keep the battery disconnect off and fuses pulled until wiring is complete. For any connection to household AC circuits, an inverter tie-in, or a shore-power system, turn off the breaker and confirm power is off with a non-contact voltage tester before touching wiring. Adding new circuits, outlets or a grid connection is work for a licensed electrician, and permits are commonly required for home and outbuilding systems. Understand the difference between low-voltage DC wiring on the panel side and line-voltage AC wiring from the inverter; the latter carries far more risk.
Troubleshooting Common Problems
Output drops sharply in summer. The panel is overheating. Add an air gap with a backer and standoffs, or relocate to a lighter or better-ventilated surface.
The panel lifts at one edge. Surface prep was inadequate or adhesive beads ran perpendicular to airflow. Remove, clean thoroughly and remount; seal the leading edge on vehicles.
Hot spots or brown discoloration appear. A cell or connection may be damaged, often from excessive bending or foot traffic. Replace the panel; hot spots can worsen and pose a fire risk.
Leaks at the cable entry. Replace with a proper waterproof gland and add a drip loop so water runs off the cable before it reaches the entry point.
Lifespan and Cost Tradeoffs vs Rigid Panels
Flexible panels typically cost more per watt than rigid ones and often come with shorter warranties, commonly a few years to about a decade compared with 20 to 25 years for framed glass modules. Real-world lifespan depends heavily on heat and flexing. A well-ventilated panel on a shed may last many years, while one glued flat to a black van roof in a hot climate may fade noticeably within a few seasons.
Choose flexible when weight, curvature, or low profile genuinely matters. Choose rigid when you have a flat or pitched roof that can carry the weight, want the longest service life, and do not mind racking. General costs for a small DIY flexible setup run from a few hundred dollars for a single panel and controller to a couple thousand for a multi-panel van or boat system with batteries. Professional installation adds labor that varies by region and complexity.
When to Call a Professional
Bring in a qualified installer or licensed electrician for your flexible solar panel installation if the system ties into your home’s electrical panel, uses an inverter feeding household circuits, sits on a roof two or more stories up, or requires roof penetrations on a structure under warranty. Marine electricians should handle boat systems that connect to shore power or the vessel’s main distribution panel. A professional can also help size wire, fuses and the charge controller so the system runs safely and efficiently.
Frequently Asked Questions
Can you glue flexible solar panels directly to a roof?
Yes, with a marine-grade adhesive or high-bond tape, but a flush bond traps heat, which lowers output and shortens panel life. A backer sheet on standoffs is a better choice where profile allows.
How much air gap does a flexible solar panel need?
Even 1/4 to 1/2 inch helps on vehicles, and 1 inch or more is better on stationary structures. Leave the front and back edges open so air can flow underneath.
How long do flexible solar panels last?
Many last several years to about a decade depending on heat, flexing and UV exposure. Ventilated installs on moderate climates last longest, while panels glued flat to dark roofs tend to degrade faster.
Can I walk on flexible solar panels?
Avoid it. Foot traffic can crack cells even when the panel looks undamaged, leading to hot spots and power loss over time.
Do flexible panels need a charge controller?
Yes. Any panel charging a battery needs a properly sized charge controller, plus fuses or breakers on the wiring, to prevent overcharging and protect against short circuits.