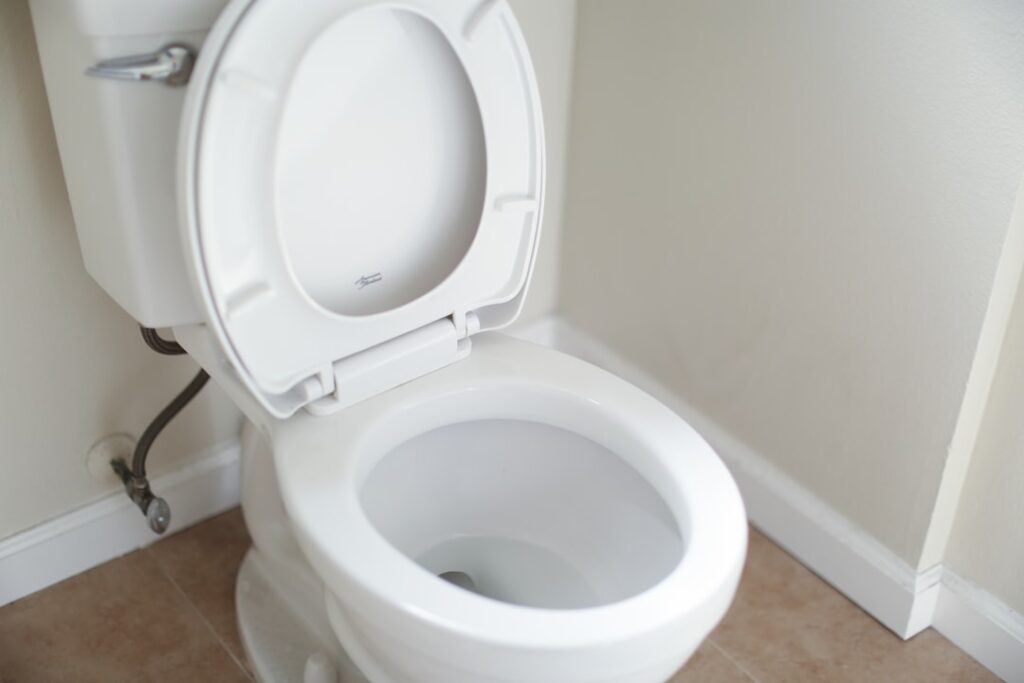
When people picture a toilet, they picture a floor mounted toilet, the bowl-and-tank fixture bolted to the bathroom floor over a wax ring. It is the default for a reason: it is affordable, easy to service, and compatible with nearly every drain layout in American homes. Before you buy or replace one, though, a few measurements and material choices determine whether the swap is a smooth afternoon project or a frustrating series of trips to the hardware store. This guide walks through everything that actually matters.
Part of our Bathroom Remodeling & Flooring guide — explore the full guide →
How a Floor Mounted Toilet Works
The design is refreshingly simple. The toilet base sits over a flange, a plastic or metal ring anchored to the floor and connected to the drainpipe below. A wax or rubber gasket seals the gap between the toilet horn and the flange, and two bolts pull the porcelain down tight against that seal. Waste and water flow straight down into the drain, using gravity and the trap built into the bowl.
Because the entire mechanism rests on the floor, the fixture carries its own weight and the user’s weight directly to the slab or subfloor. That structural simplicity is why a floor mounted unit costs far less to install than a wall-hung alternative, which needs an in-wall carrier frame and reinforced framing.
One-Piece Versus Two-Piece Designs
The most common decision is between a one-piece and a two-piece toilet. A two-piece unit ships with a separate tank that bolts onto the bowl during installation. It is cheaper, typically $90 to $300, and lighter to carry in two manageable pieces, but the seam between tank and bowl collects dust and can develop a slow leak at the gasket over many years.
A one-piece toilet fuses tank and bowl into a single molded unit. It costs more, generally $250 to $700, and is heavy enough to warrant a helper, yet it wipes clean in seconds and eliminates the tank-to-bowl leak point entirely. For a low-profile modern look and easy cleaning, one-piece wins; for budget and easy handling, two-piece remains the practical pick.
The Critical Rough-In Measurement
Before buying anything, measure your rough-in. This is the distance from the finished wall behind the toilet to the center of the flange bolts, and it dictates whether a given toilet will physically fit. The standard rough-in is 12 inches, found in the vast majority of homes, but older houses sometimes use 10-inch or 14-inch rough-ins.
Measure from the wall, not the baseboard, to the center of the closet bolts on each side. If you buy a 12-inch model for a 10-inch rough-in, the tank will collide with the wall and never seat, so this single measurement prevents the most common replacement failure. Note the bowl shape too: elongated bowls add about two inches of front projection over round-front bowls, which matters in tight powder rooms where door swing is limited.
Tools and Parts for a Replacement
Swapping a floor mounted toilet is well within DIY range, and the parts are inexpensive. Assemble everything before you disconnect the old fixture so you are not stranded with an open drain.
- New wax ring or waxless rubber seal ($4 to $12)
- New closet bolts and a supply line ($8 to $15)
- Adjustable wrench, putty knife, and a hacksaw
- Level, sponge, bucket, and old towels
- Bathroom caulk and a rag for cleanup
Step-by-Step Installation
Start by shutting off the supply valve and flushing to empty the tank, then sponge out the remaining water in both tank and bowl. Disconnect the supply line, unbolt the old toilet, and rock it gently to break the wax seal before lifting it away. Stuff a rag into the exposed drain to block sewer gas while you work, and scrape the old wax off the flange down to clean plastic.
Inspect the flange closely. If it is cracked, corroded, or sitting below the finished floor, repair it now with a flange spacer or repair ring, because a bad flange is the number-one cause of leaks after a fresh install. Set the new closet bolts into the flange slots, press a new wax ring onto the flange, and lower the toilet straight down over the bolts without twisting.
Press down with your body weight to compress the wax evenly, then hand-tighten the nuts alternately, a little on each side, until the toilet is snug. Do not overtighten; porcelain cracks easily, and the seal is made by the wax, not brute force. Reconnect the supply, turn the water on, and watch for leaks through two full flush cycles before caulking the base.
Sealing, Caulking, and Final Details
A frequent debate is whether to caulk around the base. Building code and most manufacturers recommend it, because caulk keeps mop water and spills from wicking under the toilet where they breed mold you cannot see. Leave a small gap, roughly one inch, at the very back of the base uncaulked; that gap acts as a telltale, letting a hidden leak show on the floor before it rots the subfloor.
Trim the closet bolts with a hacksaw so the decorative caps snap on flush, and confirm the toilet does not rock. A rocking toilet flexes the wax seal with every use and will leak within months. Shim any wobble with plastic toilet shims before you caulk, never after.
Comparing Flush Systems
The mechanism inside the tank affects performance as much as the bowl shape, and it is worth understanding before you buy. A gravity-fed flush, the traditional design, drops water from the tank into the bowl and uses the weight of that water to create the siphon. It is quiet, simple, and cheap to repair, which is why it dominates residential toilets; the trade-off is that it needs a properly sized trapway and clean rim jets to flush strongly.
Pressure-assisted toilets use a sealed inner tank that compresses air to force water through with far more velocity, clearing the bowl aggressively and resisting clogs. They cost more, run louder with a distinctive whoosh, and are common in busy households and light-commercial settings. Dual-flush models split the difference, offering a partial flush around 0.8 gallons for liquid waste and a full 1.28-gallon flush for solids, which trims water use noticeably over a year.
Whatever the system, look for the WaterSense label if efficiency matters to you. A WaterSense toilet uses 1.28 gallons per flush or less while still meeting flush-performance standards, and in many regions a rebate offsets part of the purchase price. Over the life of the fixture, dropping from an old 3.5-gallon toilet to a 1.28-gallon model saves thousands of gallons a year for a typical household.
When to Repair Instead of Replace
Not every toilet problem demands a new fixture. A running toilet usually needs a $15 flapper or fill valve, and a weak flush often traces to mineral buildup in the rim jets that a wire and vinegar soak will clear. Replace the whole floor mounted toilet when the porcelain is cracked, when you want to upgrade to a water-saving 1.28-gallon model to cut your water bill, or when repeated wax-ring leaks signal a warped base.
Keep an eye out for the specific symptoms that mean replacement rather than repair. Water pooling around the base after every use signals a failed wax seal or a warped base, and if reseating the toilet on a fresh wax ring does not stop it, the flange or the base itself is the problem. A persistent crack in the porcelain, even a hairline one weeping at the tank bolts, only worsens and warrants a new fixture before it splits.
Overall, expect $90 to $700 for the fixture and, if you hire a plumber, another $150 to $350 for labor. Done yourself with careful attention to the rough-in and the flange, a floor mounted toilet is one of the most reliable, serviceable fixtures in the house, and a well-installed one runs trouble-free for 15 to 20 years.
Prefer to explore on your own?
See how new flooring looks in your actual room in seconds — free, no signup.
Try the free Floor Studio →