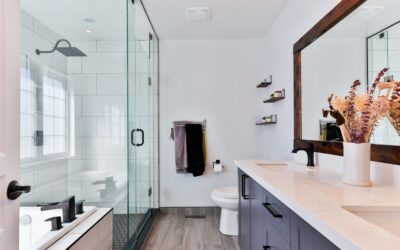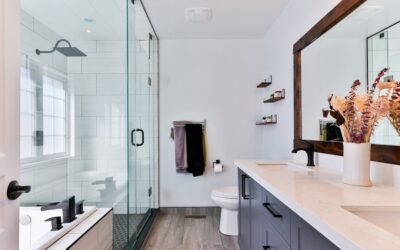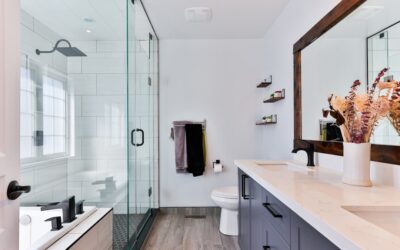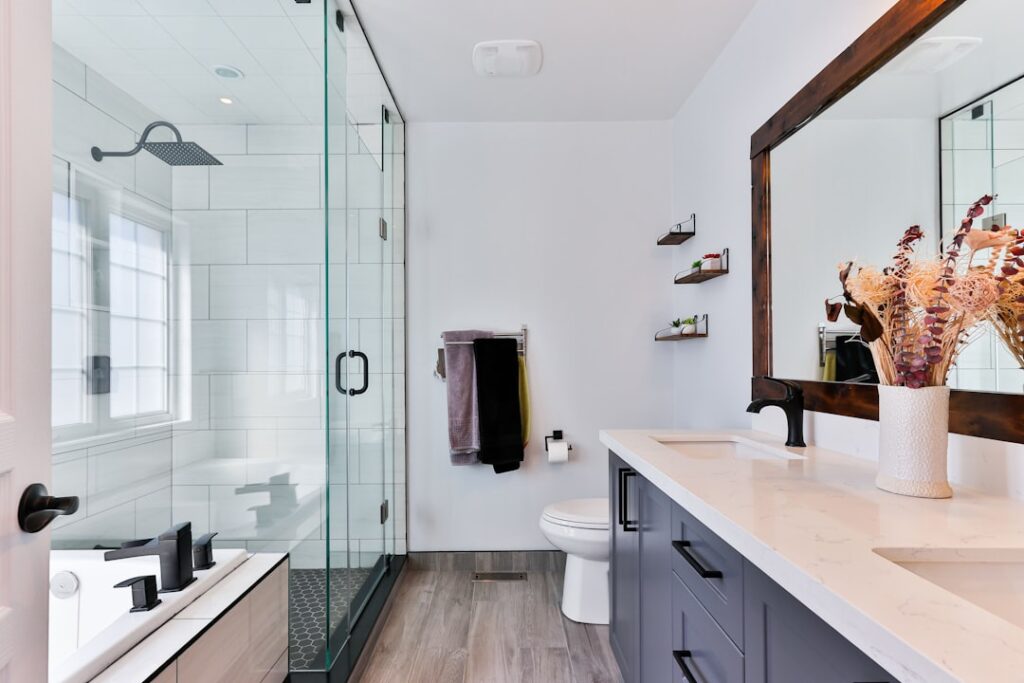
A frameless shower door installation is one of the highest-impact upgrades you can make to a bathroom, transforming a dated enclosure into a clean, spa-like space that shows off your tile instead of hiding it behind bulky aluminum. Because these doors rely on thick tempered glass anchored directly into the wall studs and curb, the job demands more precision than a standard framed unit. Getting the layout, hardware, and waterproofing right the first time is the difference between a door that operates smoothly for twenty years and one that sags, leaks, or shatters.
Part of our Bathroom Remodeling & Flooring guide — explore the full guide →
- Why Homeowners Choose Frameless Glass
- Glass Thickness and Hardware Basics
- Frameless Shower Door Installation Cost
- Tools and Materials You Need
- Step-by-Step Overview of the Install
- Waterproofing and Leak Control
- Common Mistakes to Avoid
- DIY Versus Hiring a Pro
- Maintenance for a Long-Lasting Door
- Design and Layout Decisions
Why Homeowners Choose Frameless Glass
Framed shower doors use aluminum tracks around every edge, which trap soap scum and mildew and interrupt the sightline of your tilework. Frameless designs eliminate all but the minimal hardware needed to hold the glass, typically a pair of heavy hinges and a handle. The result feels more open, is dramatically easier to clean, and reads as a premium finish that appraisers and buyers notice. The trade-off is cost and installation complexity: frameless glass is heavier, less forgiving of out-of-plumb walls, and unforgiving of measurement error because the glass is cut to order and cannot be trimmed on site.
Glass Thickness and Hardware Basics
Frameless doors use tempered safety glass, almost always 3/8 inch (10 mm) or 1/2 inch (12 mm) thick. Half-inch glass is the standard for a swinging door because it resists flexing and gives that solid, vault-like feel when it closes. A single 3-foot door panel in 1/2-inch glass can weigh 75 to 90 pounds, which is why hinge selection and anchoring matter so much. You will choose between glass-to-wall hinges (mounted to the tiled wall) and glass-to-glass hinges (connecting a fixed panel to the swinging door). Most hardware is available in brushed nickel, matte black, chrome, and oil-rubbed bronze so you can match faucets and towel bars.
Frameless Shower Door Installation Cost
Budgeting realistically prevents mid-project surprises. Here is what US homeowners typically pay:
- Stock frameless door kit (DIY): $500 to $1,300 for a pre-sized door and fixed panel from a big-box or online supplier.
- Custom fabricated glass: $900 to $2,500 depending on span, glass thickness, and hardware finish.
- Professional installation labor: $300 to $800 on top of the glass.
- Full custom enclosure (glass, hardware, pro install): $1,500 to $4,000, with steam enclosures and specialty coatings running higher.
A protective coating such as ClearShield or Diamon-Fusion adds $75 to $150 but keeps hard-water spots from etching the glass, which is money well spent in areas with hard water.
Tools and Materials You Need
If you tackle the job yourself, gather these before you start:
- Cordless drill and a set of masonry/glass-and-tile bits (carbide or diamond)
- 4-foot and torpedo levels
- Painter’s tape, a grease pencil, and a tape measure
- 100% silicone sealant (clear or color-matched) and a quality caulk gun
- Plastic wall anchors rated for the door weight, or better, solid blocking behind the tile
- Suction-cup handles to carry and position the glass safely
- Painter’s shims and setting blocks
Step-by-Step Overview of the Install
Start by dry-fitting. Set the fixed panel in place with suction cups and shims, check it for plumb in both directions, and mark your hinge and clip locations with a grease pencil. Because tile and shower pans are rarely perfectly square, the goal is a door that hangs plumb even if the wall leans slightly. Drill your pilot holes slowly with a diamond bit, keeping the tile wet to prevent cracking and heat buildup. Never let the drill hammer through glazed tile at full speed; a cracked field tile means demolition.
Install the fixed panel first, anchoring into blocking or heavy-duty anchors. Then mount the hinges to the wall or fixed panel, hang the swinging door, and adjust so the reveal along the strike side is even top to bottom. Add the handle, header bar or stabilizer bar if your design uses one, and any splash rails or sweeps along the bottom. Finally, run a continuous bead of silicone along the outside seams where glass meets wall and the fixed panel meets the curb, leaving the inside of the door largely open so water drains back into the pan. Let the silicone cure a full 24 hours before the first shower.
Waterproofing and Leak Control
Frameless doors are not watertight by design; they manage water rather than seal it out completely. That is why the shower must be designed so spray does not hit the door gap directly. Position the door hinge side away from the showerhead when possible, use a bottom sweep and a side seal on the swing side, and slope the curb slightly inward. The most common leak is not through the glass at all but at the curb where the fixed panel meets the tile, so seal that joint carefully on the exterior only. Sealing both sides traps water inside the joint and causes hidden rot.
Common Mistakes to Avoid
Even careful homeowners trip over the same issues. Avoid these:
- Anchoring into tile alone: without wood blocking or proper anchors behind the substrate, a heavy door will pull loose over time.
- Skipping the plumb check: a door hung to match a leaning wall will swing open or shut on its own.
- Using the wrong sealant: acrylic latex caulk fails in a wet enclosure; only 100% silicone belongs here.
- Over-tightening hardware: excessive torque on the glass clamps can crack tempered glass instantly, and it fails explosively.
- Measuring once: custom glass is non-returnable. Measure the opening at top, middle, and bottom and provide all three to the fabricator.
DIY Versus Hiring a Pro
A stock, pre-sized frameless kit installed on a standard alcove is within reach of a confident DIYer with a helper, since the panels are pre-cut and the hardware is engineered to fit. Budget a full weekend and expect the glass handling to be the hardest part; two people and suction cups are non-negotiable because a dropped panel is both dangerous and a total loss. Custom enclosures, out-of-square openings, steam units, and anything over a standard door width are worth handing to a glass shop. Professionals carry insurance for the glass, own the specialty tooling, and warranty the watertightness, which often justifies the labor cost on a high-end bathroom.
Maintenance for a Long-Lasting Door
Once installed, a frameless door rewards a little routine care. Squeegee the glass after each shower to prevent mineral buildup, and clean with a vinegar solution or a dedicated glass cleaner rather than abrasive pads that scratch coatings. Inspect the silicone seams once a year and re-caulk any spots that have pulled away. Check the hinge screws annually and snug them if the door begins to drift. With a protective coating and consistent squeegeeing, the glass stays crystal clear and the hardware operates smoothly for the life of the bathroom.
Design and Layout Decisions
Before you order glass, settle the layout choices that shape both function and appearance. Decide whether you want a single swinging door, a door plus a fixed inline panel, or a door with a return panel that wraps a corner, because each configuration changes the hardware and the glass count. Consider the swing direction carefully; a frameless door should swing outward into the bathroom so water drips back into the pan, and it must clear the vanity, toilet, and any towel bars without collision. Map the swing arc on the floor with painter’s tape and walk through it before committing.
Hardware finish is another decision that ties the bathroom together. Match the hinges, handle, and any header bar to your faucet and towel hardware, whether that is polished chrome, brushed nickel, matte black, or brushed gold. Handle style ranges from a simple knob to a ladder-style pull or a back-to-back towel-bar handle that doubles as a place to hang a washcloth. For the glass itself, you can choose clear, low-iron ultra-clear (which removes the slight green tint of standard glass for a truly colorless look), or lightly frosted and reeded textures for privacy. Low-iron glass costs more but is the premium choice when you want the tilework behind it to show in its true color.
Approach a frameless shower door as a precision project rather than a quick swap, and it will reward you with a bathroom that looks custom, cleans in minutes, and adds real value to your home. Measure meticulously, anchor into solid backing, seal only the exterior seams, and you will end up with an enclosure that performs as beautifully as it looks.