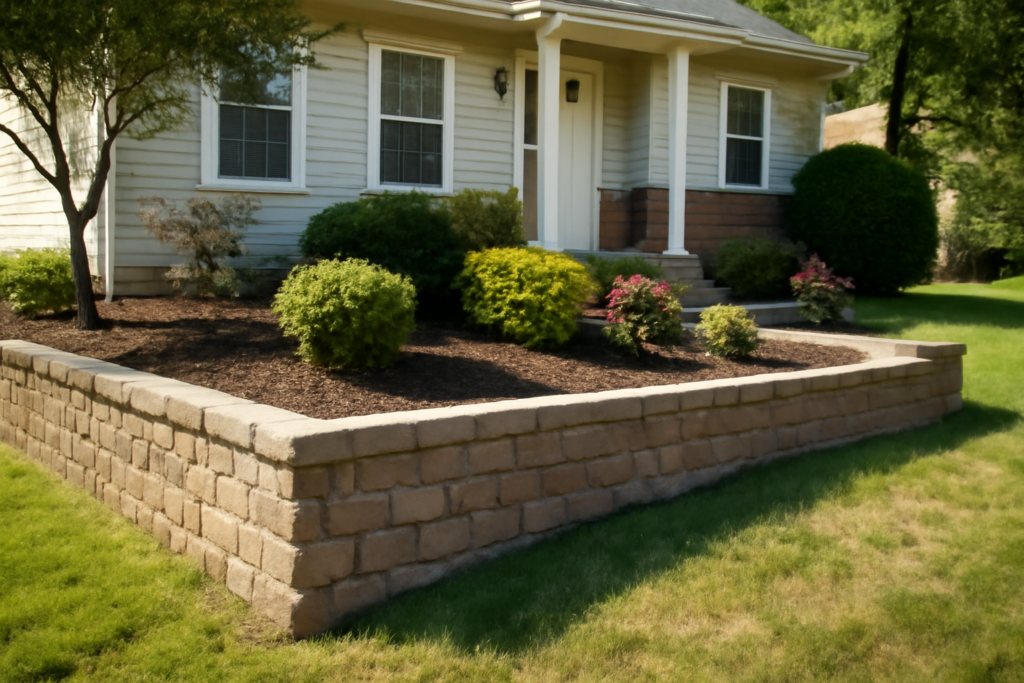
A sloped front yard can be a headache, mulch washing into the driveway, grass you can barely mow, and a house that seems to slide toward the street. A well-built front yard retaining wall solves the practical problems and doubles as one of the best curb-appeal upgrades you can make, turning an awkward slope into tidy, usable terraces and a framed entrance. But a front-yard wall is also the most visible structure on your property, so it has to look as good as it functions. This guide covers materials, structure, and the rules that keep your project standing and legal.
What a Front Yard Wall Accomplishes
A retaining wall holds back soil to create a level change, and in a front yard that serves several goals at once. It stops erosion by keeping soil from washing downhill during storms. It creates flat, plantable terraces out of an unusable slope. And it defines the landscape, framing walkways, raising planting beds to eye level, and giving the front of the house a finished, intentional look.
Because the front yard is your home’s first impression, the wall does design work too. A stone or block wall along the walkway or beneath the porch instantly elevates curb appeal and can meaningfully raise perceived home value.
Popular Materials and Their Looks
Your material choice sets both the budget and the style of the whole yard:
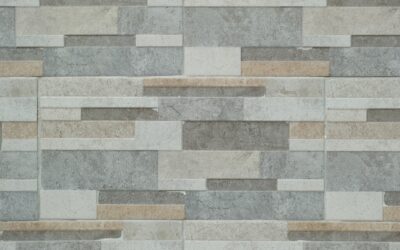
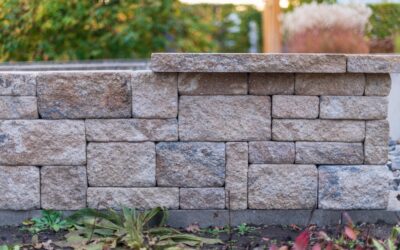
- Interlocking concrete blocks (segmental block) are the most popular DIY choice. They stack without mortar, come in many colors and textures, and their built-in lip creates the correct backward lean automatically. Durable, affordable, and beginner-friendly.
- Natural stone delivers the most timeless, high-end look. Dry-stacked fieldstone or cut stone suits traditional and cottage homes but costs more and takes real skill to build well.
- Poured concrete gives a clean, modern line and maximum strength but requires forms and usually a contractor.
- Brick ties a wall to a brick home beautifully, though it needs mortar and a solid footing.
- Timber is the cheapest option and blends into naturalistic yards, but it has the shortest lifespan as the wood eventually rots.
For most homeowners, segmental concrete block hits the sweet spot of good looks, durability, and a manageable DIY build.
Height Limits and Permits
Here is the rule that catches people: most municipalities require a permit and an engineer’s design for any retaining wall over three to four feet tall. Below that height, many areas let you build without a permit, but you should always confirm with your local building department first. Setback rules also govern how close a wall can sit to the sidewalk or property line, which matters a lot in a front yard.
If your slope needs more than about four feet of retained height, the smart and often required move is to build two or more shorter terraced walls rather than one tall wall. Terracing is safer, easier to build, usually stays under permit thresholds per wall, and looks far better with planting beds stepping up the slope.
Drainage Makes or Breaks It
The number-one reason retaining walls fail is trapped water. Soil behind the wall soaks up rain and gets heavy, and if that water has nowhere to go it pushes the wall outward until it bulges and collapses. Every properly built wall includes drainage, even a short decorative one.
The standard system is clean crushed gravel backfill behind the wall, a perforated drain pipe at the base that carries water to daylight at the end of the wall, and geotextile fabric between the gravel and the native soil to keep dirt from clogging the drainage. On a block wall, gaps between the blocks and weep holes also let water escape through the face. Skipping drainage to save time is the fastest way to rebuild your wall in a few years.
Building a Solid Base
A retaining wall is only as good as its foundation. Excavate a trench for the first course and dig down to firm, undisturbed soil, going below the frost line in cold climates so heaving does not tip the wall. Fill the trench with several inches of compacted crushed stone to create a level, well-draining base.
The first course of block or stone is the most important; take the time to get it perfectly level and straight, because every course above it inherits any error. Set the wall with a slight backward lean into the slope, roughly an inch of setback per foot of height, so it leans into the load it holds rather than away from it. Compact the backfill in layers as you build up.
Cost Expectations
Front yard walls vary widely in price. As a rough guide, a DIY segmental block wall runs $15 to $30 per square face foot in materials, while professionally installed walls range from $40 to $80 per square foot for block and $50 to $120 or more for natural stone. A typical modest front-yard wall project lands anywhere from a few hundred dollars for a short DIY border to several thousand for a professionally engineered terraced system.
Height and material drive the cost most. A low decorative border you build yourself is genuinely affordable, while a tall engineered wall with permits and a contractor is a significant investment. Get several bids for anything you are not building yourself.
DIY Versus Hiring a Pro
Whether you build the wall yourself comes down to height, material, and your appetite for heavy labor. A low segmental-block wall under three feet, on stable ground with good drainage, is a realistic weekend project for a fit homeowner with a plate compactor rental and a strong back. The interlocking blocks do much of the engineering for you, and the pace is forgiving as long as that first course is dead level.
Once a wall climbs past three or four feet, involves poured concrete, or holds back a steep slope, the calculus changes. Taller walls face enormous soil pressure and often legally require an engineer’s stamp and a licensed contractor. The cost of a professional build looks steep until you weigh it against a failed wall that has to be demolished and rebuilt, sometimes taking part of the yard with it. Know your limits, and hand off anything tall or structural.
Common Mistakes to Avoid
Most front-yard wall failures come from a short list of preventable errors. Steer clear of these:
- Skipping drainage. No gravel backfill or drain pipe means trapped water will eventually push the wall over. This is the number-one killer.
- A poor base. Building on soft topsoil instead of compacted stone lets the wall settle and lean.
- Building too tall without a permit or engineering, which risks both collapse and code violations.
- No backward lean. A perfectly vertical or forward-leaning wall has no margin against the soil’s push.
- Forgetting to check for utilities before digging; always call 811 before excavation.
Respect the base, the drainage, and the setback, and a front-yard wall is one of the more durable improvements you can make. Cut corners on those fundamentals and it becomes an expensive lesson.
Design Ideas for Curb Appeal
Since the wall is front and center, make it part of the landscape design. Cap the top with a contrasting stone or block for a finished edge that also serves as casual seating. Integrate steps into the wall where a walkway climbs the slope. Build raised planting beds behind the wall and fill them with layered shrubs and perennials so the wall becomes a backdrop for greenery rather than a bare face.
Lighting adds a final touch: low-voltage lights washing down the wall or tucked into the cap make the front yard glow at night and highlight your investment. Coordinate the wall’s color and texture with your home’s siding, brick, or trim so it reads as an intentional extension of the house.
Built with proper drainage, a solid base, and respect for height and permit rules, a front yard retaining wall tames a difficult slope and transforms your home’s first impression. Whether you stack a modest DIY block border or hire out a terraced stone showpiece, get the fundamentals right and the wall will hold its ground, and its good looks, for decades.