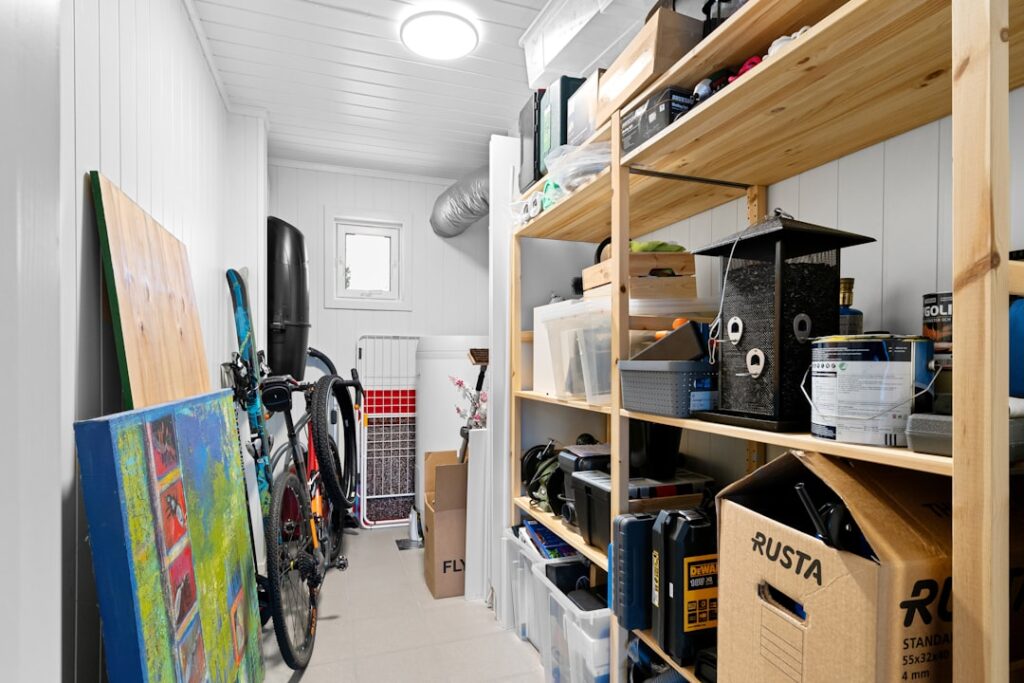
Every garage cleanup I have ever done starts the same way: get stuff off the floor. The single highest-return upgrade you can make in a garage is garage storage shelving, because vertical space is the space you are not using. A blank wall from waist height to the ceiling can swallow a decade of accumulated bins, and it costs less than dinner for four.
- The Four Types of Garage Shelving
- Weight Ratings and What They Mean
- Shelf Spacing: Plan for Your Bins, Not the Default
- What Garage Shelving Costs
- Freestanding vs. Wall-Mounted vs. DIY
- How to Install Wall-Mounted Shelving Correctly
- Organizing the Shelves So They Stay Organized
- Common Mistakes to Avoid
- Overhead Racks: The Best Untapped Space
- Combining Shelf Types Into One System
- Building a System That Lasts
This guide breaks down the shelving types, the weight and spacing numbers that matter, what to pay, and how to install racks that will not sag or pull out of the wall.
The Four Types of Garage Shelving
Nearly everything on the market falls into one of these categories:
- Freestanding steel racks (boltless/rivet): The workhorse. Cheap, strong, and reconfigurable. Best all-around choice for most garages.
- Wire shelving (chrome or coated): Lighter duty, good airflow, better for a pantry-style corner than heavy gear.
- Wall-mounted brackets and rails: Frees the floor completely; strength depends entirely on your studs and fasteners.
- Overhead ceiling racks: The best-kept secret for seasonal storage — holiday bins, luggage, camping gear that you touch twice a year.
Most well-organized garages use two or three of these together: floor racks for heavy daily items, wall shelves for reach-height access, and overhead racks for dead storage.
Weight Ratings and What They Mean
Shelving ratings are almost always given two ways, and confusing them is how shelves collapse. “Per shelf” is what one shelf holds when the load is spread evenly. “Total capacity” is the whole unit. A common boltless steel rack rated at 2,000 lbs total is really about 350-450 lbs per shelf distributed — more than enough for tires, batteries, and tool cases.
Ratings assume an even load. A single 5-gallon bucket of concrete parked in one corner concentrates weight and can bow a wire shelf that would happily hold 300 lbs spread out. Keep heavy items centered over the vertical posts, not floating in the middle of a span.
Shelf Spacing: Plan for Your Bins, Not the Default
The factory shelf spacing almost never matches your stuff. Before you set the shelves, measure your storage bins. Standard totes are 12-18 in. tall, so a 16-18 in. gap is the practical default. Then dedicate one tall bay — 24 in. or more — for the awkward stuff: a shop vac, a cooler, a stack of paint cans with a funnel on top.
- 16-18 in. — standard totes and boxes
- 12-14 in. — paint cans, jars, small parts bins
- 24-30 in. — shop vac, coolers, power tools in cases
- 8-10 in. — a top shelf for flat, light overflow
Boltless racks let you re-space shelves in five minutes with a rubber mallet, so do not overthink the first setup. You will adjust it once you live with it.
What Garage Shelving Costs
Realistic 2025 pricing:
- Boltless steel rack, 5-shelf, ~4 ft wide: $80-$160
- Heavy-duty industrial steel rack (2,000+ lb): $150-$300
- Wire shelving unit: $60-$130
- Wall-mounted bracket-and-rail system (per 4 ft section): $50-$120
- Overhead ceiling rack (4×8 ft): $120-$250
- DIY 2×4-and-plywood wall shelf (per 8 ft run): $40-$70 in lumber
For a two-car garage, budget $300-$600 to wall off a full run with a mix of floor and overhead racks. That is genuinely one of the cheapest square-foot-of-usable-storage deals in the whole house.
Freestanding vs. Wall-Mounted vs. DIY
Each has a clear best use:
- Freestanding boltless wins on speed and flexibility. No drilling, moves when you rearrange, holds serious weight. The one downside is it eats a bit of floor.
- Wall-mounted wins when you want to sweep or park under the shelves. It lives or dies by your fasteners — a bracket is only as strong as the stud it hits.
- DIY 2×4 and plywood wins on raw strength for the money. A ledger screwed into studs with 2×4 supports and a plywood deck will hold more than most store racks for half the cost, if you do not mind building it.
How to Install Wall-Mounted Shelving Correctly
This is where most failures happen, so do it right:
- Find the real studs. Use a stud finder, then confirm with a small pilot hole. Garages are often 16 in. on center, but not always.
- Screw into studs, never just drywall anchors. Drywall anchors are for picture frames, not 200 lbs of paint. Use 3-inch structural or lag screws driven at least 1.5 in. into the stud.
- Level the top rail first, then hang everything off it. A quarter-inch of slope over 4 feet means bins slide.
- Hit at least two studs per bracket run, and add a bracket every 24 in. for heavy loads.
For overhead racks, this matters even more — you are trusting the ceiling joists. Confirm joist direction, use the included lag bolts into solid wood, and never exceed the rated capacity. A ceiling rack failure drops everything on your car.
Organizing the Shelves So They Stay Organized
Shelving solves storage; labeling solves finding. A few habits keep it from sliding back into chaos:
- Use clear bins so you can see contents, or label opaque ones on the short end that faces out.
- Zone the garage: automotive on one rack, lawn and garden on another, sports and seasonal overhead.
- Keep the bottom shelf 4-6 in. off the floor so water from a wet car or a hose spill does not wick into cardboard.
- Put daily-use items at waist-to-chest height and dead storage up high.
Common Mistakes to Avoid
The failures I see repeat:
- Overloading one shelf. Spread it out; respect the per-shelf number.
- Skipping the wall anchor on tall freestanding racks. Even floor racks should be strapped to a stud so a climbing kid cannot pull them over.
- Buying wire shelving for heavy tools. Wire is for light, ventilated storage — use steel for weight.
- Storing directly on the slab. Concrete sweats; cardboard rots. Get everything up on a shelf.
Overhead Racks: The Best Untapped Space
The single most overlooked storage in any garage is the ceiling. Overhead racks bolt to the joists and hang down 12-24 inches, creating a shelf in the dead air above your car or the garage door track. A standard 4×8-foot rack holds 400-600 lbs and swallows a dozen bins of seasonal storage — holiday decorations, camping gear, luggage, out-of-season clothes. Because you only reach it a few times a year, it is the perfect home for anything you do not need at hand.
The rules for overhead racks are stricter than floor shelving because a failure drops everything onto your car or your head. Confirm which way your joists run, use only the included lag bolts driven into solid framing, never hang a rack from drywall or furring strips, and keep loads centered and within the rating. Leave enough clearance above the raised garage door and the car roof — measure both before you set the height. Done right, an overhead rack adds 30-plus cubic feet of storage without using a single inch of floor or wall.
Combining Shelf Types Into One System
The best garages do not rely on one kind of shelving — they layer three. Freestanding boltless steel handles the heavy daily items along the main wall. Wall-mounted brackets go above the workbench for reach-height access to things you grab constantly. Overhead racks take the seasonal dead storage. Mapping your stuff to the right zone is what keeps a garage organized long-term: daily items at waist-to-eye level, heavy items low, and rarely-touched items up high.
Sketch the whole plan before buying so the pieces work together instead of competing for the same wall. A little planning up front means you buy the right widths once, rather than returning racks that do not fit or leave awkward gaps.
Building a System That Lasts
Good garage storage shelving is not one purchase — it is a plan. Start with a full wall of boltless steel for the heavy daily stuff, add an overhead rack for seasonal bins, and finish with wall brackets over the workbench for reach-height access. Anchor the tall pieces, match your shelf spacing to your bins, and respect the weight ratings. Do that and you will have a garage where everything has a home and the floor stays clear enough to actually park the car.